

The Best Way to Save Squash Seeds


Plan your best garden with simple, step-by-step instructions!
This post may contain affiliate links, which means I make a small commission at no extra cost to you.
See my full disclosure here.
Wondering how to save squash seeds from your homegrown harvest? The process is super simple!
Why save squash seeds?
Here are three good reasons why you might want to save squash seeds from your homegrown varieties:
- Save a little cash: all those seed packets can add up! Saving squash seeds frees up a little of your gardening budget to put towards other seeds or garden supplies.
- Grow the best varieties: save the seeds from your best specimens in order to build a strong variety that is adapted to your particular growing climate.
- Earn bragging rights: think of how good it will feel to grow next year’s squash from your very own seeds. It’s an experience every serious gardener should enjoy!

The great squash disaster
Last year I planted all my squash and melons in a brand new addition to our large in-ground garden:
- Zucchini
- Yellow summer squash
- Butternut squash
- Tahitian melon squash
- Red Kuri squash
- Spaghetti squash
- Blue Hubbard squash
- Baby Blue squash
- Watermelon
- Canteloupe
I’ll spare you the details, but it turns out that the soil in that new addition is pretty poor. We had taken steps to amend the soil in that space, but apparently our efforts fell short.
Through the late fall, winter, and early spring, we’ve been working to build that soil in the hopes that it will do better this year.
Long story short, I should have reaped a huge crop of squash for my family and for our veggie CSA customers. Instead, I got only a few squash. It was a huge disappointment, and a good reminder that veggie harvests are all about the soil.
However, I did end up with three beautiful Tahitian Melon squashes. Since those three squashes survived the odds against poor soil and subsequent attacks from bugs, I figured they must be pretty hardy. That’s the kind of seed stock I want to grow from in my garden!
Naturally, I saved the seeds from my three prize Tahitian Melons. Not only did they beat the odds in my new garden addition, they also tasted great and stored really well. I can’t wait to grow more this year!

Have your squash and eat it too
Unlike carrots and greens, which take two seasons to produce seeds, squash seeds can be saved in the same year. No huge plants taking up extra space in the garden, just for the purpose of seed-saving.
What’s more, you don’t have to sacrifice the crop in order to save the seeds! You can have your squash and eat it, too. That is, you can save the seeds from the same squash that you eat. It’s a win-win!
Simply prepare the squash as usual, and set aside the seeds for next year’s garden.
How to save squash seeds
Note: do not save seeds from hybrid varieties. These seeds will not produce fruit true to the parent plant. It can also be illegal to save hybrid varieties, which may be patented. Always save seeds from open pollinated varieties!
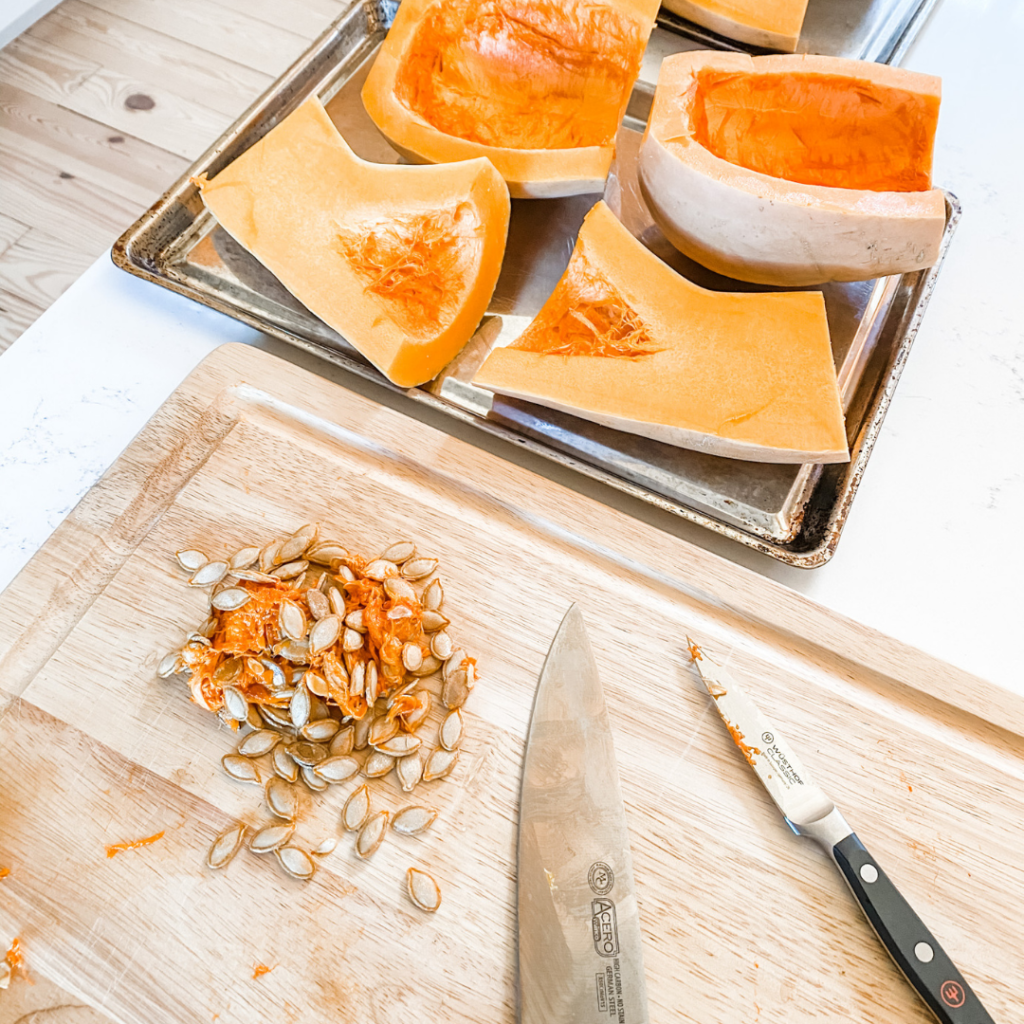
- Cut squash as usual, for eating.
- Remove seeds and membranes from the center of the squash. I like to slice around the opening with a knife first, and then scrape out with a spoon.
- Use your fingers to separate the seeds from the membranes.
- Toss the membranes and add the seeds to a small jar.
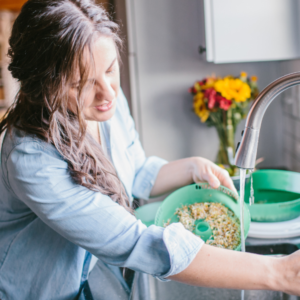
- Fill the jar with water and add a lid.
- Allow the seeds to ferment for a few days to a week.
- Drain and rinse the seeds, discarding bits of debris and any seeds that float.
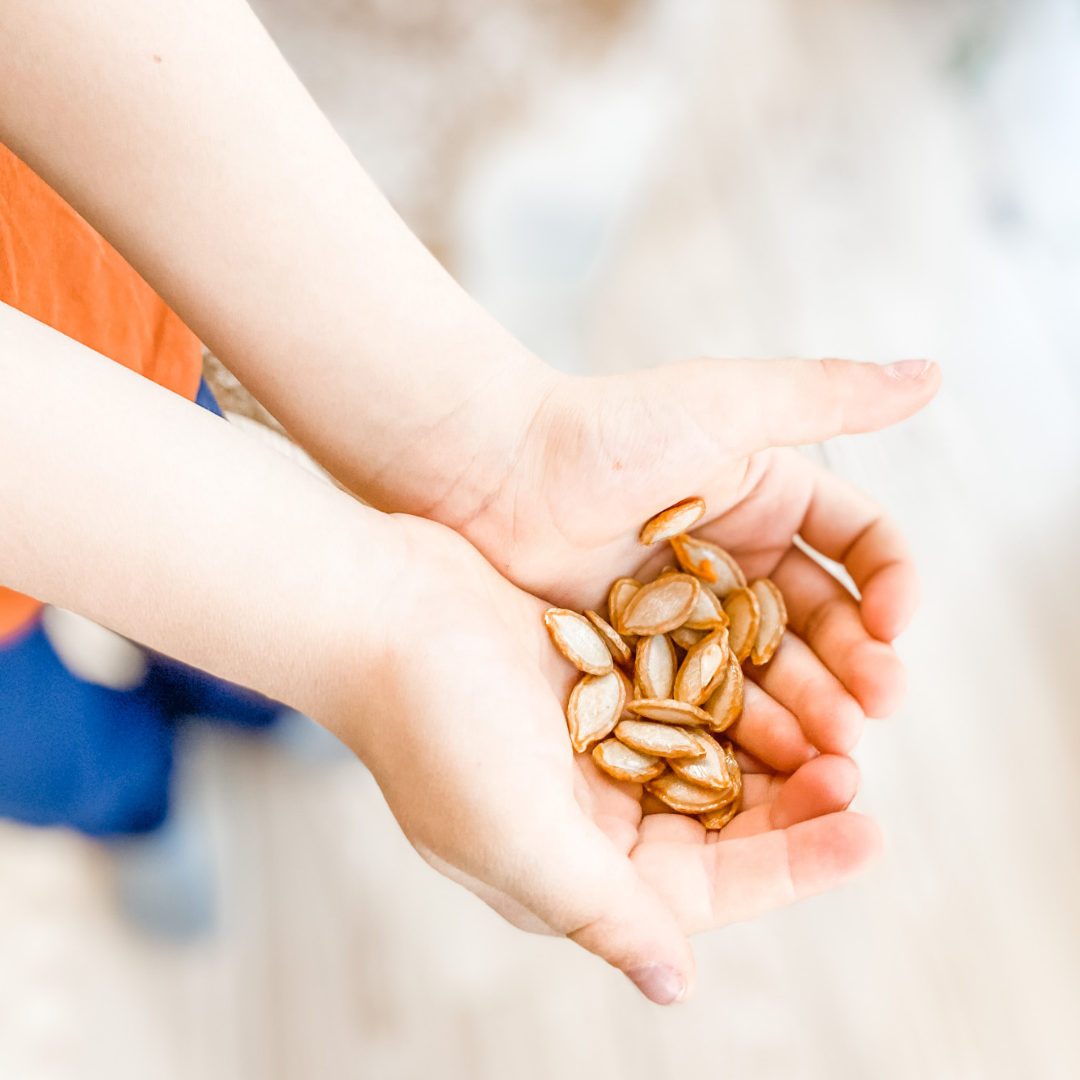
- Dry the remaining seeds by spreading out in a single layer on a towel or sheets of newspaper.
- Make sure the seeds are completely dry, which may take several days.
- When seeds are completely dry, store them in a glass jar or paper envelope.
- Be sure to label the jar or envelope with the date and the name of the squash.
- Most squash seeds should last for about three years.
And that’s it! Are you planning to grow squash this year? Have you ever tried growing Tahitian Melon squash?
More seed-saving ideas:
- How to Save Basil Seed
- How to Save Lettuce Seed
- How to Save Kale Seed
- Saving Cilantro Seed
- How to Harvest Sunflower Seeds
- How to Save Pepper Seeds
More gardening tips:
- How to Prune Basil for the Best Flavor
- How to Plant a Fruit Tree Guild
- 11 Ways to Use Swiss Chard
- How to Build a Raspberry Trellis
- How to Pinch Pepper Plants (& Why)
")
Sign up NOW for my best tips delivered weekly to your inbox!
You’ll also get instant access to my library of free ebooks and resources.
You might also like...


3 responses to “The Best Way to Save Squash Seeds”
-
Thank you for sharing! I’m going to try and save my seeds this year and this is just what I needed! We had plenty of squash so here’s hoping this works for us! Keep up the good work!
-
Happy seed-saving!!
-
-
This site was… hoow do you say it? Relevant!! Finaally I’ve found something
which helped me. Thank you!
Leave a Comment