

How to Start Seeds with the Soil Blocking Method

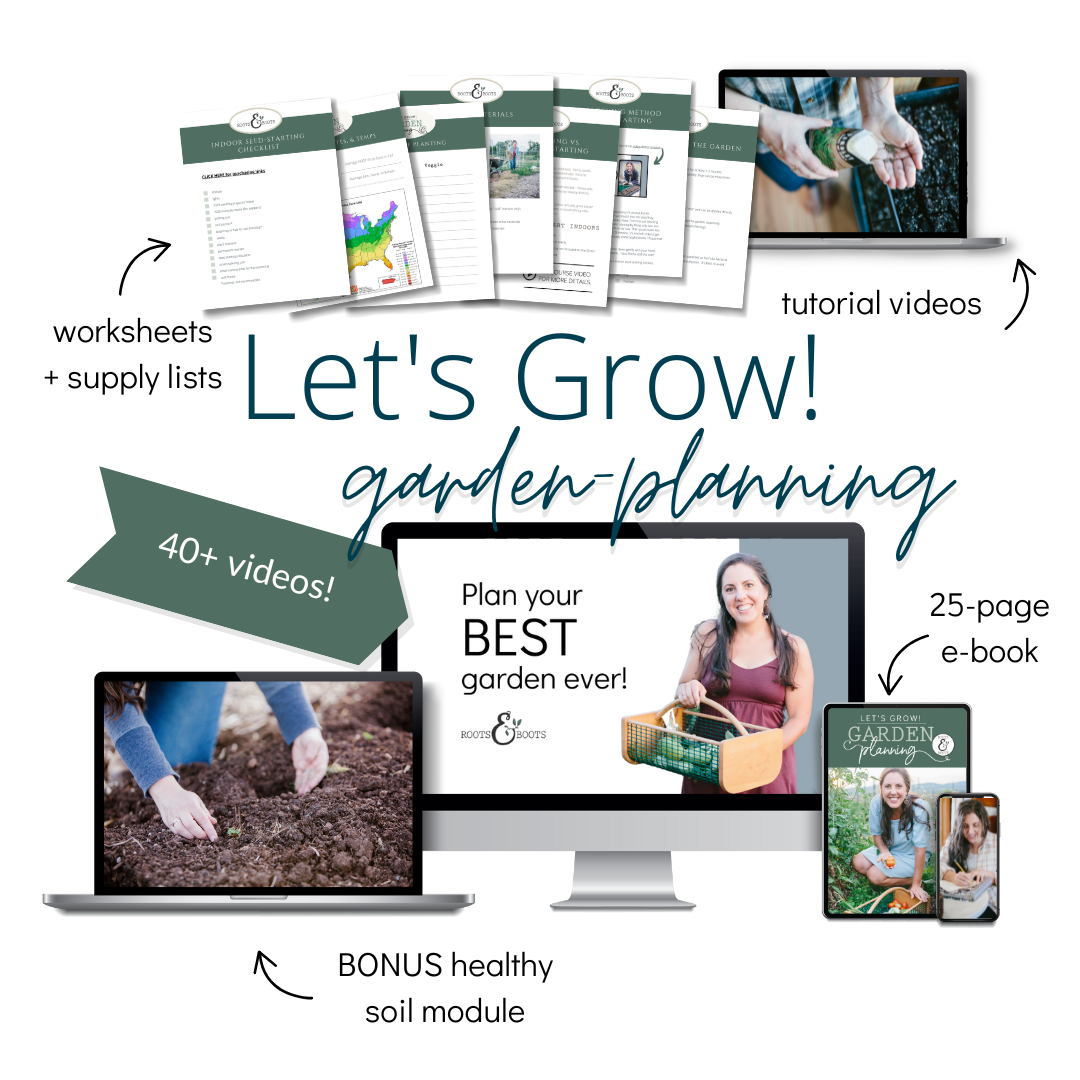
Plan your best garden with simple, step-by-step instructions!
This post may contain affiliate links, which means I make a small commission at no extra cost to you.
See my full disclosure here.
Start seeds with the soil blocking method and grow more seedlings in less space! Bonus: you’ll use less plastic and fewer supplies.
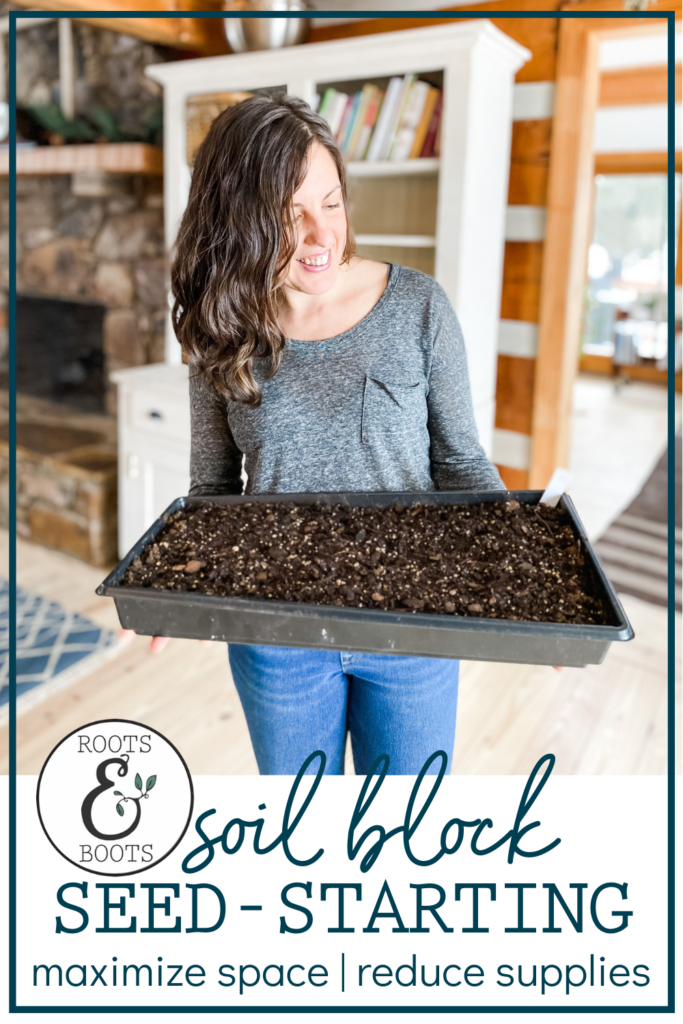
How to start seeds with the soil blocking method
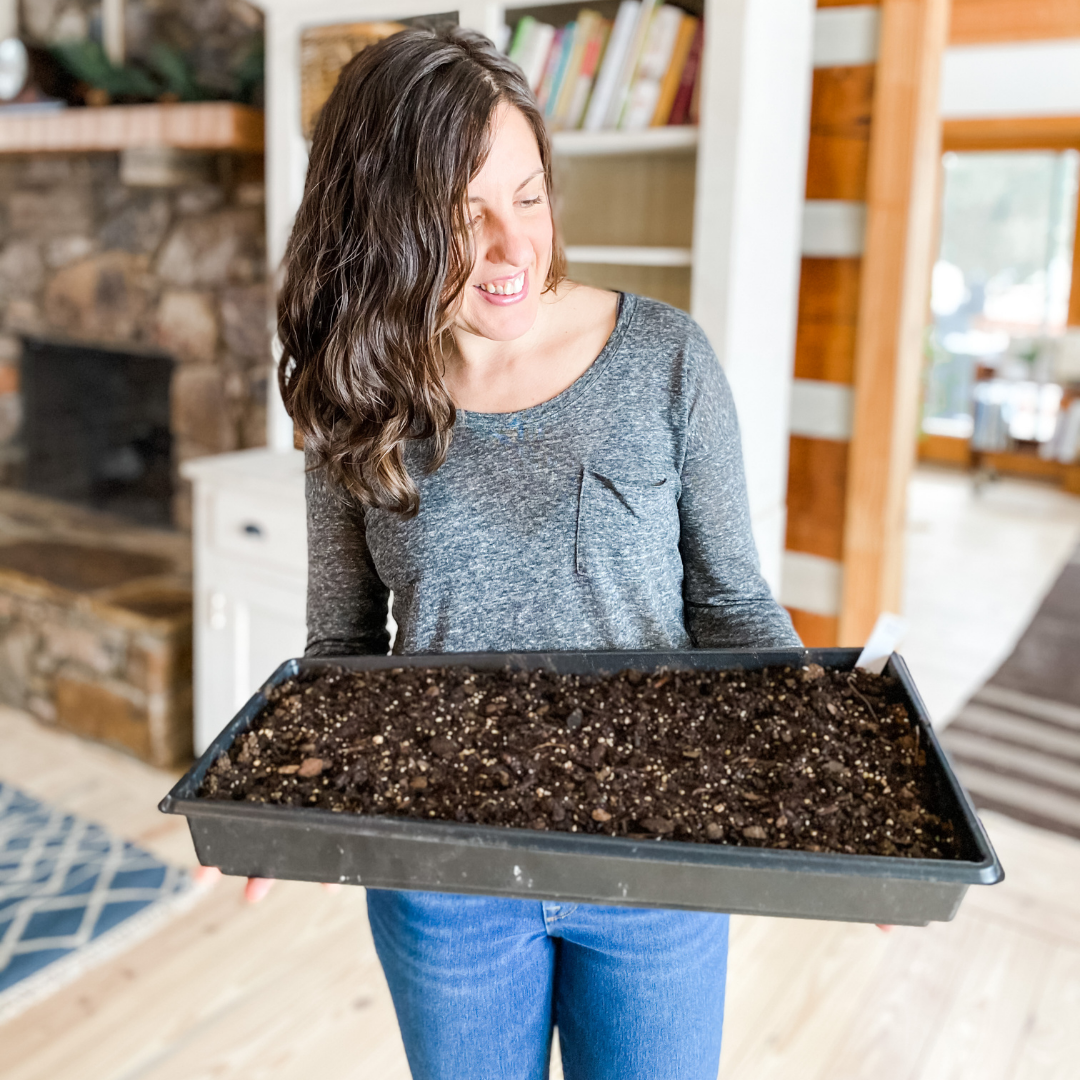
Do you start seeds with the soil blocking method? I am totally hooked on this space-saving technique for seed-starting.
I even made a video to show you the process. Don’t see the video? Click here to watch.
You will need:
- Potting soil option 1 or potting soil option 2
- Soil tray (here’s another tray option)
- Soil blocking tool*
- Water
- Seed trays (another seed tray option)
- Seeds
- Plant markers
*Mine is a 4-block tool that creates four 2-inch blocks.
If, like me, you don’t have a greenhouse, you’ll also need:
- Seed shelves
- Grow lights
- Optional: humidity domes
You’ll find detailed instructions for assembling your own cost-effective shelves and lights here: Simple DIY Seed-Starting System.
Instructions:
Reminder: watch the entire process in my quick video demonstration.
- Add soil to the tray.
- Add water to the soil.
- Mix well, and repeat until mixture reaches the consistency of peanut butter.
- Scoop up soil with the soil blocking tool and eject soil blocks into the seed tray.
- Repeat until the tray is filled with 50 2-inch soil blocks.
- Note: Turn the soil blocking tool to fill in the fifth row of ten blocks. I recommend starting by filling only two soil block cavities in your tool and ejecting them into that last row. Then you’ll make two full scoops of four blocks for a total of ten blocks. Otherwise, it’s kind of tricky to get those last two soil blocks into the row if you’ve already added eight blocks. I hope that makes sense!
- Add seeds.
- Sprinkle a thin layer of soil over the seeds, and tamp down gently with your hand.
- Be sure to label each tray with the name of the seeds. I also like to add the start date.
- Transfer the seed trays to a greenhouse or to your indoor seed-starting shelves.
- Water frequently.
And that’s it! Learning to start seeds with the soil blocking method simplifies the seed-starting process and maximizes growing space. It’s my favorite way to start seeds, and I hope you love it too!
More about seed-starting:
- Simple DIY seed-starting shelves
- 7 Reasons to Start Your Own Seeds Indoors
- How to Start Seeds Indoors: A Simple Method
- How to Build a Cold Frame Out of Pallets
- DIY Straw Bale Cold Frame
- How to Harden Off Seedlings
")
Sign up NOW for my best tips delivered weekly to your inbox!
You’ll also get instant access to my library of free ebooks and resources.
Leave a Comment