

How to Start Seeds Indoors: A Simple Method

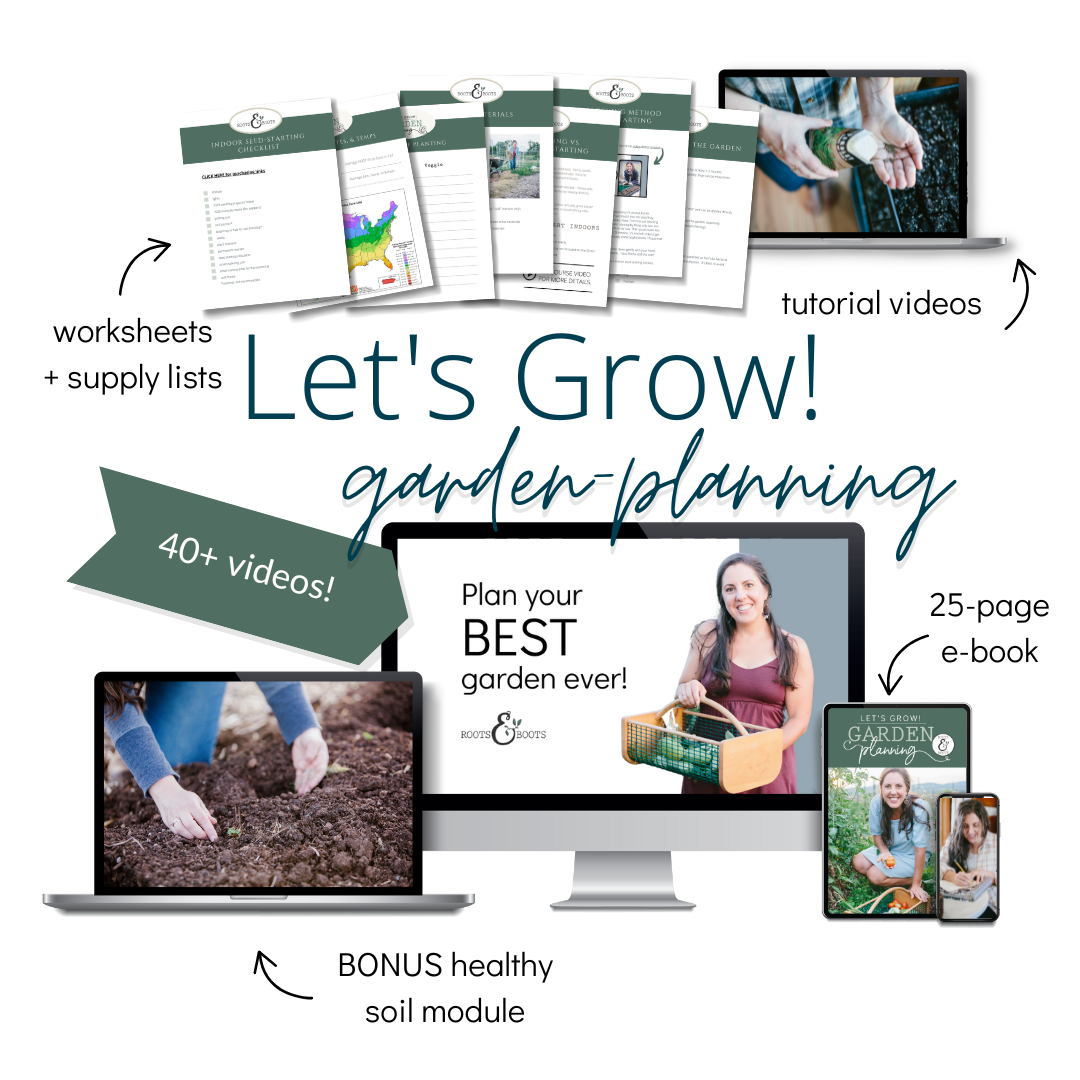
Plan your best garden with simple, step-by-step instructions!
This post may contain affiliate links, which means I make a small commission at no extra cost to you.
See my full disclosure here.
Even though I’ve been gardening for years and years, I was never exactly sure how to start seeds indoors. It felt like such an intimidating process. When we moved to the new farm last year, I decided it was finally time to tackle the challenge.
I would learn how to start seeds indoors.
But how? And when?
My two biggest obstacles to starting seeds indoors were equipment and timing.
1. Equipment
I wasn’t exactly sure how to set up a seed starting system, and I didn’t want to shell out lots of money for fancy supplies like grow lights, heat mats, and specialized racks.
2. Timing
The biggest question mark in my mind was timing: how do I know when to start which seeds? It all felt so overwhelming.
If you can relate to these challenges, I have good news! I figured out a simple (and cost effective) seed starting system that worked amazingly well and I also discovered a simple tool that takes the guesswork out of timing calculations.

How to start seeds indoors
Basic supply list
Scroll down for more details.
- shelves
- lights
- 6 1020 seedling trays (without holes)
- 1 1020 humidity dome for each tray of peppers planned
- (optional) toilet paper tubes, jiffy pots, grow bags, etc.
- potting soil
- soil blocker*
- seeds
- plant markers
- small watering can
- small nursery pots*
- cold frame
- seed starting calculator

I made a simple, printable seed starting checklist for you. To access the free printable, just type in your email address and click the button:
More details
1. Shelves & Lights
Follow these instructions for my simple DIY seed-starting system. It’s low-cost, easy to assemble, repurposable
2. Trays
I use 1020 trays withOUT drainage holes. Drainage holes would make a mess inside your house, and the trays can be used later to accommodate bigger seedlings in the cold frame.
As you may notice from some of my pictures, I also repurposed other tray-like containers: lettuce tubs from the grocery store, aluminum trays (after we ate the chili from the freezer), etc.
I haven’t tried these Bootstrap Farmer heavy duty trays, but have heard they’re awesome: super sturdy and long lasting.

3. Domes
Only necessary (and possibly optional) for heat loving plants like peppers.
Another option: Bootstrap Farmer heavy duty domes to match their trays listed above.
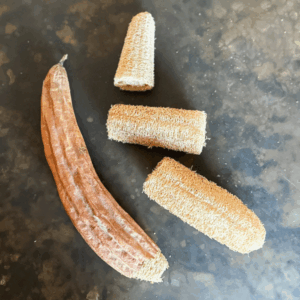
4. Optional small pots
Toilet paper tubes (pictured below, on the right), jiffy pots, grow bags, etc. Some folks prefer to start seeds in little pots and place the pots inside a tray. This method can help you skip the step of transferring baby plants into slightly larger pots to accommodate their growth, but it requires more space up front.

5. Potting soil
Make sure to choose a high quality soil!
6. Soil blocker
My preference is to plant seeds in soil blocks set directly into the 1020 trays. It’s very space efficient. Check out How to Start Seeds with the Soil Blocking Method for more details.
7. Seeds
Baker Creek Heirloom Seeds is a favorite source. I’m learning to avoid GMO and hybrid seeds, and Baker Creek makes it easy. Plus they send a free package of surprise seeds with every order, which is super fun.

8. Plant markers
Save the white plastic markers that come in your nursery plants. You can also recycle or repurpose any number of items around the house: paint stirrers, popsicle sticks, old spoons, etc. Or you can buy fancy expensive markers.

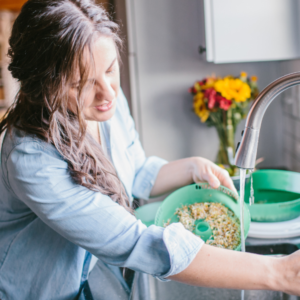
9. Small watering can
You’ll want a small watering can to keep in your kitchen or laundry room, or near your indoor seedlings.
10. Small pots for transplanting
This is a good reason to save all the little pots from any purchased plant, ever! You’re not hoarding, you’re repurposing.
When I run out of my repurposed pot supply, I turn to other repurposed containers (sour cream and hummus are pretty much the only foods my family buys in a plastic tub, but sometimes friends will save single serve yogurt containers and other tubs for you, especially if you promise them fresh garden tomatoes).
I also love jiffy peat pots and DIY paper tube pots, depending on the size of my seedlings.

11. Cold frame
Whether you construct a simple cold frame from straw bales, build one out of scrap wood, or purchase a fancy premade version, you’ll want a secure way to harden off your seedlings before planting.
12. Seed starting calculator
This handy tool takes the guesswork out of when to start seeds indoors, as well as when to transfer them to the garden. Your local extension office or state universities may offer similar calculators.
All you need to know is your last frost date, which you can obtain from local gardening friends (especially neighbors), local master gardeners, or your local extension office. You can also look up a map online, but real live gardeners are always the best source. The closer they live to you, the more reliable the data for your own garden.
Tip: After plugging in my last frost date, I print out the chart and keep it with my box of seeds.

The Method
I assume the method is pretty obvious, but here’s the general idea…
- Gather all materials.
- Assemble shelves & lights.
- Fill trays with soil blocks. Alternatively, fill trays with small soil-filled pots or grow bags.
- Press 1-2 seeds into each soil block indentation.
- Label your seeds with plant markers (and a Sharpie)!
- Water your seeds.
- Add humidity domes if planting peppers.
- Place seeded trays on shelves and turn on the grow lights.
- Wait as patiently as possible, watering every 1-2 days.
- Turn off the grow lights overnight, for 6-8 hours.
- When tiny seedlings emerge, rejoice and take pictures.
- Continue to water every 1-2 days.
- When seedlings begin to outgrow their tray and/or headroom, transfer each plant to its own bigger pot.
- After seedlings recover from transplanting (usually 1-2 days), place them in a covered cold frame to begin hardening off.
- As the weather permits (and according to your seed calculator), and after your transplants have developed a good root system in their little pots, transfer to prepared garden space.
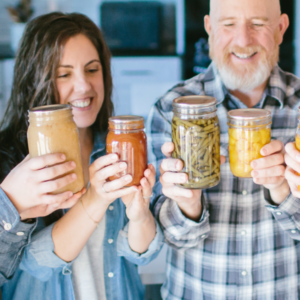
- Hooray for you! You grew your own plants from seeds started indoors.
- Repeat! After cool season plants are out of your indoor nursery, it’s time to start warm weather plants.
- Repeat again! You can do it all over again for certain crops in the fall. Check out this handy Fall Harvest Planting Calculator.
What are your favorite plants to start from seed? Have you ever started seeds indoors?
More about seed starting:
- Simple DIY seed-starting shelves
- How to Start Seeds with the Soil Blocking Method
- 7 Reasons to Start Your Own Seeds Indoors
- 12 Best Veggies for Your Spring Garden
- How to Build a Cold Frame Out of Pallets
- How to Make a Straw Bale Cold Frame
- How to Harden Off Seedlings
- 5 Secrets for Growing Better Carrots

")
Sign up NOW for my best tips delivered weekly to your inbox!
You’ll also get instant access to my library of free ebooks and resources.
Leave a Comment