

How to Make a Straw Bale Cold Frame


Plan your best garden with simple, step-by-step instructions!
This post may contain affiliate links, which means I make a small commission at no extra cost to you.
See my full disclosure here.
If you started seeds indoors this year, you’ll need a way to harden off your seedlings before planting them in the ground. I’m excited to share with you one of my absolute favorite ways to do that: with a straw bale cold frame.
Why straw bales? I’ve used other methods for protecting seedlings (like these cold frames built out of pallets), but keep coming back to the straw bale cold frame for several reasons.
More cold frame options
- DIY Cold Frame
- How to Build a Cold Frame Out of Pallets
- Portable Zipper Cold Frame
- Premium Polycarbonate Cold Frame
Advantages of a Straw Bale Cold Frame
- Inexpensive: straw bales are pretty cheap, and you’ll only need a few.
- Temporary: set it up when you need it, take it down when you’re finished.
- Two-for-one: after all your seedlings are in the ground, use the straw as a mulch in your garden.

How to Make a Straw Bale Cold Frame
Once you’ve gathered your supplies, it takes less than ten minutes to assemble a straw bale cold frame.
You will need:
- straw bales
- old windows
- 2×4
- heavy object(s) – optional, but recommended
Instructions:
- Decide where to locate your cold frame. The best spot is against the south or southeastern side of a building.
- Position the straw bales to form three sides of a rectangle, with the building serving as the fourth side.
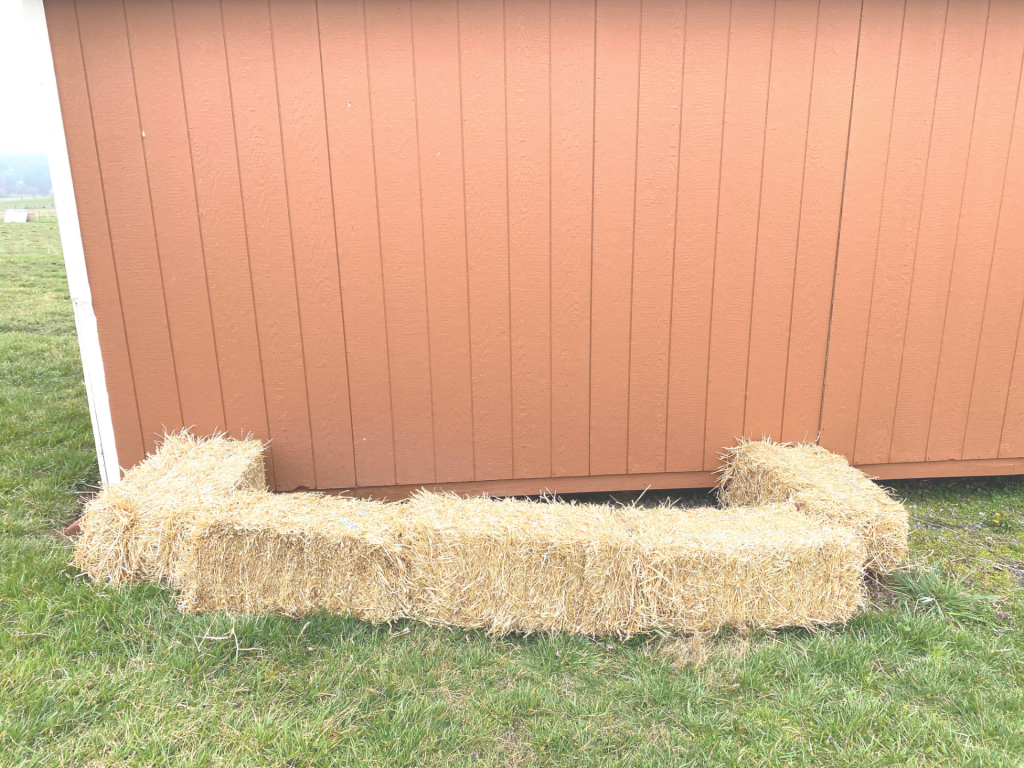
- Situate the 2×4 on top of the two end straw bales, along the fourth side and against the building. This will create a ledge to support the windows.
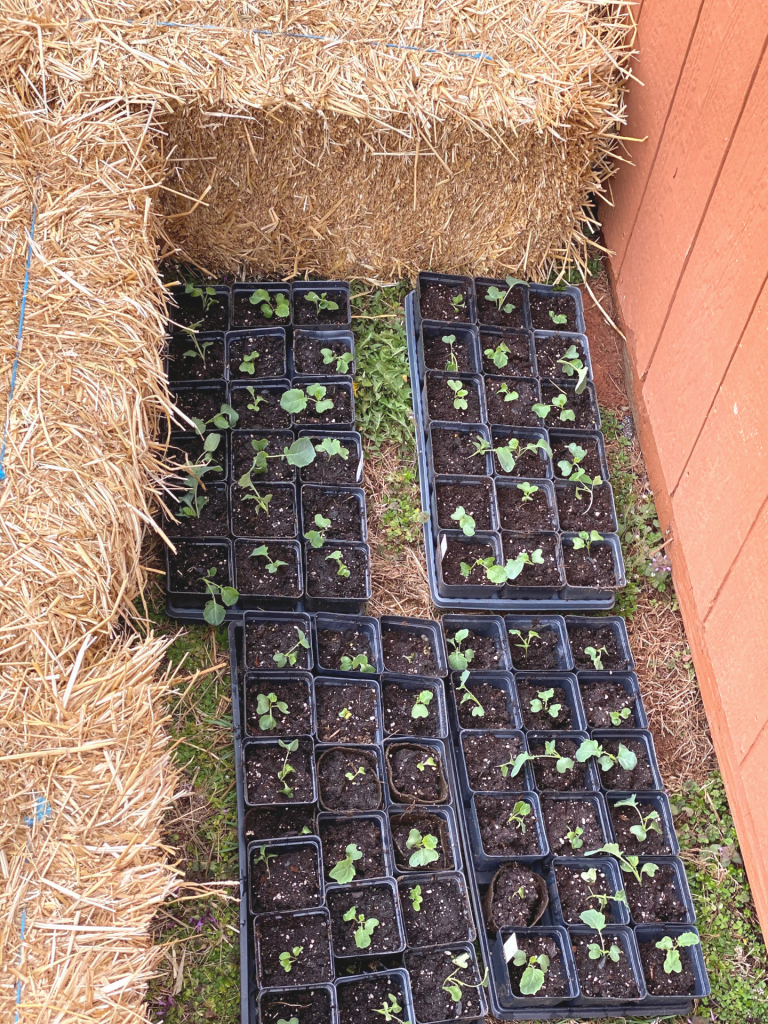
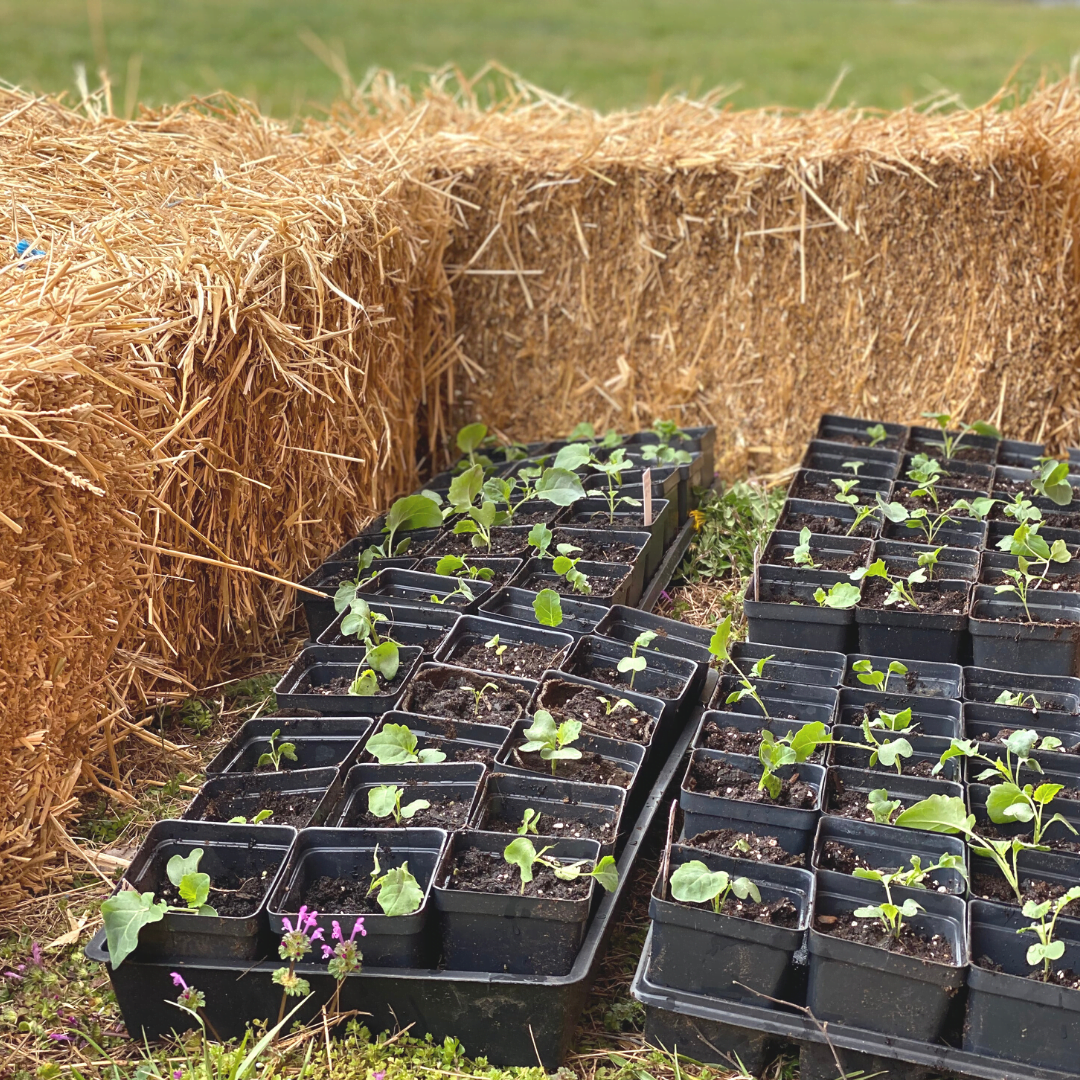
- Place your seedlings on the ground, inside the rectangle.
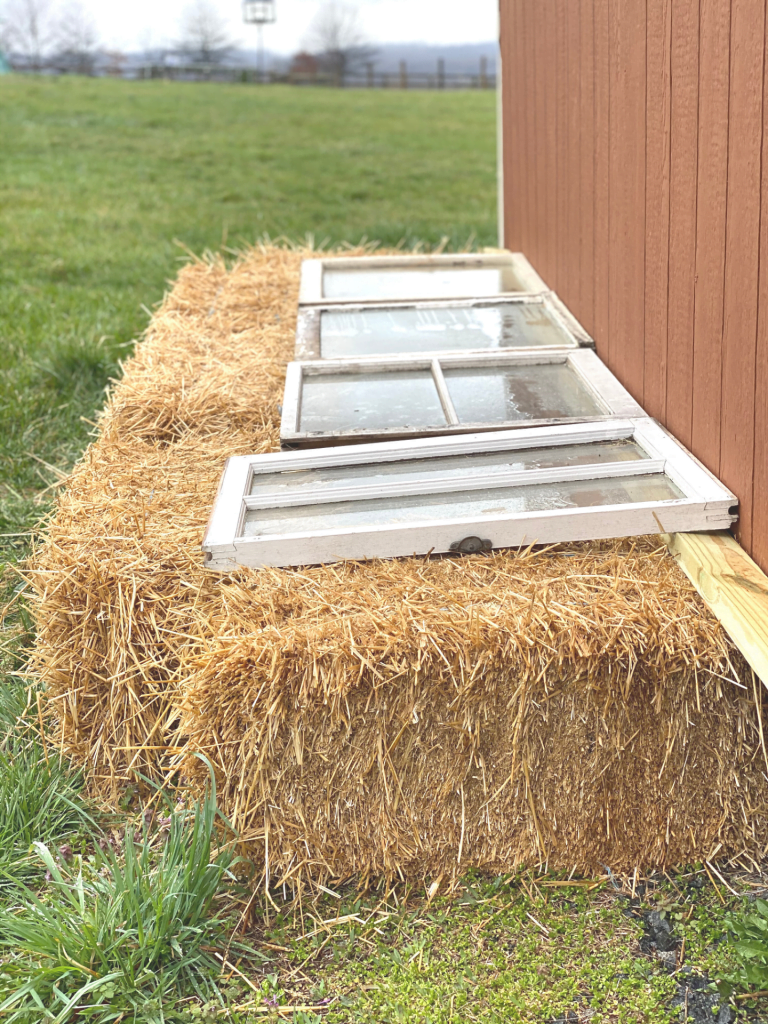
- Use the windows to create a roof for the cold frame.
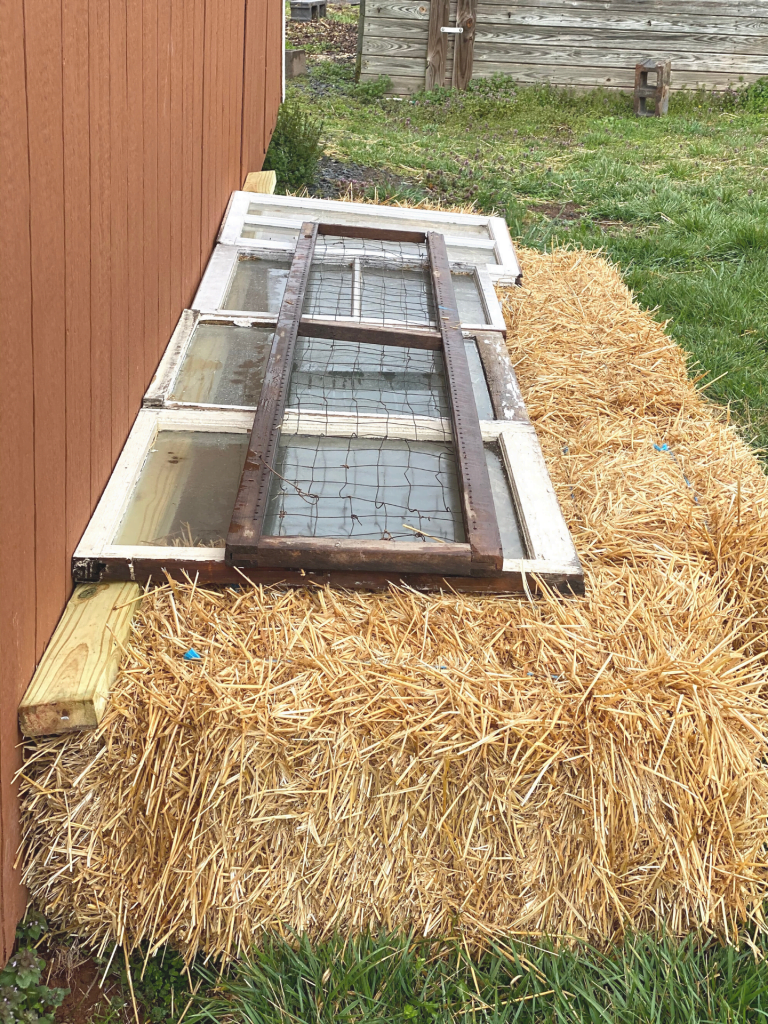
- You may want to weigh down the windows with a heavy object, like another 2×4, or something that will allow sunlight to reach your seedlings. We happen to have a long, skinny trellis that works perfectly. This will keep the windows in place on windy day,s and should keep pets or children from accidentally knocking a window out of place.
And that’s it! Use your straw bale cold frame to protect young plants for their first few days outside.
How to harden off seedlings in a cold frame
The bottom line is this: you want to allow the seedlings to acclimate gradually from indoor conditions (warm, no wind, no direct sunlight) to the outdoors.
- Aim to move your seedlings to the cold frame about seven to ten days before you plan to transplant them.
- The ideal temperature inside a cold frame is between 50º and 80º F.
- Check the soil regularly and water plants if necessary.
- Remove the windows during the day, keeping an eye out for strong wind, extreme temperatures, and heavy rain fall. Start by removing the windows for a few hours, and then gradually increase by and hour or two each day.
- Close the cover at night, especially if temperatures will fall below 40º F.
- After about a week, your plants will be ready to plant in the ground. Try to choose a cloudy day for transplanting, and water well afterwards.
More seed-starting resources
- How to Start Seeds Indoors
- Simple DIY seed-starting shelves
- 7 Reasons to Start Your Own Seeds Indoors
- 12 Best Veggies for Your Spring Garden
- 5 Secrets for Growing Better Carrots
Have you used a cold frame? Can you see a straw bale cold frame working well in your garden? What other questions do you have about cold frames or hardening off seedlings?
")
Sign up NOW for my best tips delivered weekly to your inbox!
You’ll also get instant access to my library of free ebooks and resources.
You might also like...

2 responses to “How to Make a Straw Bale Cold Frame”
-
I am not in favor of using the straw bales from the cold frames in my garden as mulch. Unless they are made of CLEAN straw you will introduce all sorts of weeds and unwanted into your garden. I know…we did it!
-
True, you want to use clean, weed-free straw in the garden.
-
Leave a Comment