

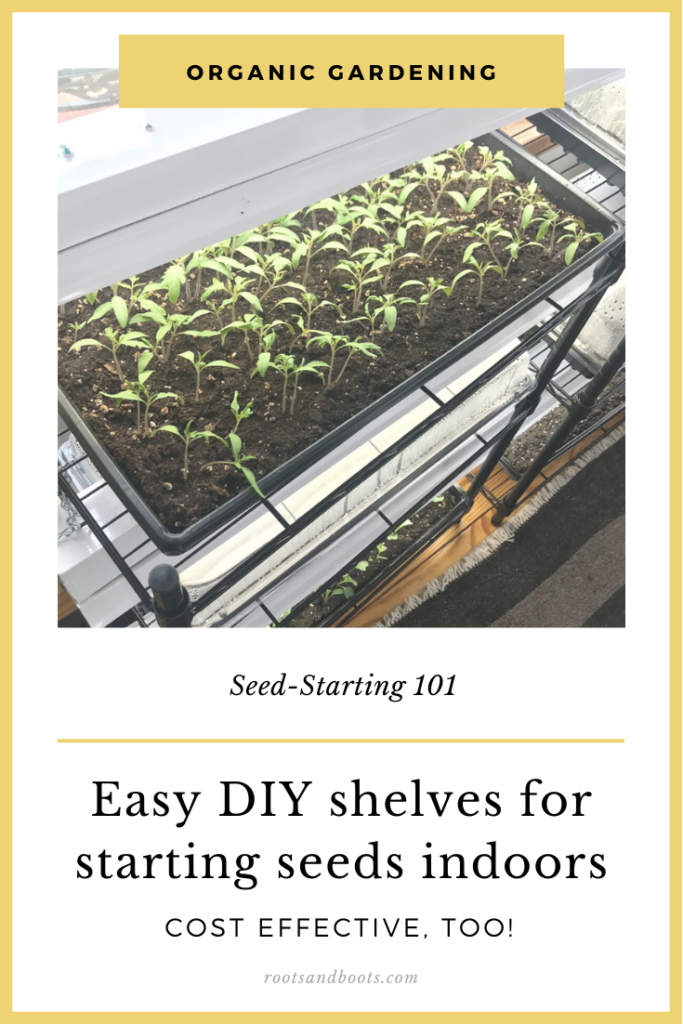
Simple DIY Seed Starting System: Shelves & Lights

Plan your best garden with simple, step-by-step instructions!
This post may contain affiliate links, which means I make a small commission at no extra cost to you.
See my full disclosure here.
Have you ever wanted to start seeds indoors but felt overwhelmed at the prospect of getting started? You’re going to love this simple (and cost effective) seed starting system!
I’ve wanted to start seeds indoors for years but felt a bit intimidated by the whole process, and especially by my lack of a simple seed-starting system. Getting started was the hardest part: I was sure that once I landed on a simple seed-starting system, the rest would be smooth sailing.
I finally took the plunge and created a simple seed-starting system this year, our first spring on the new farm. Even this year I wasn’t sure it would happen because we’ve been swamped with renovations and projects. Plus we were headed out of town at the very time it seemed I should be starting my seeds.
Taking on yet another new endeavor had the potential to push me over the edge, but I just couldn’t resist the thought of getting a head start on the growing season. Thankfully my DIY seed-starting system has worked so well that it hasn’t felt overwhelming at all!
I made a simple, printable seed starting checklist for you. To access the free printable, just type in your email address and click the button:
Simple DIY Seed Starting System
I’m totally hooked on starting seeds indoors, and it’s all because of this simple DIY shelving system with good ol’ hanging shop lights. Today I’m going to show you my quick and cost-effective method for creating your own seed-starting system.
I’ve even included links to the exact products I used to streamline the process for you. (And you can obviously modify this system to use shelves you may already have on hand.)
Aaaand, I made a video! If you’re a visual learner, you’ll love seeing my seed shelves up close and personal. Disclaimer: please bear with our amateur filming skills as my son served as my videographer. We’re both still learning!
You will need:
I ordered my supplies from Home Depot and provided those links below. In addition, I’ll list Amazon purchasing links because it’s always nice to have options! Please note: I may earn a small commission when you purchase through my affiliate links.
- 2 sets of wire shelves [Home Depot | Amazon]
- 3 4′ hanging shop lights [Home Depot | Amazon-similar]
- 6 fluorescent bulbs [Home Depot (T12) | Amazon (T8)]
- 1 2×4
- 4 bolts (3/8″ x 3″) [Home Depot | Amazon]
- 4 washers (3/8″) [Home Depot | Amazon]
- 4 nuts (3/8″) [Home Depot | Amazon]
- 2 eye bolt screws (1 3/8″) [Home Depot | Amazon]
- 6 small (1″) s-hooks [Home Depot | Amazon]
- drill
- power strip* [Home Depot | Amazon]
*Optional, but using a power strip with a power button allows you to turn all three lights on and off at once.
Instructions:
- Assemble wire shelves. This is a great task to outsource to kids: my older boys (8 and 12) assembled four sets of shelves in an hour or two. Save the cardboard to use in your garden!
- Place two shelves side by side to act as one unit.

- Cut 2×4 into two 28″ sections.
- Attach one wood support to each side of your double shelf unit by measuring and drilling four holes that will allow you to secure the support to the top shelf and middle shelf with a bolt, washer, and nut. You will have two holes in each wood support, one to line up with the top shelf and one to line up with the middle shelf. For our shelves, we drilled holes 1″ from the bottom of the wood support to line up with the middle shelf, and 12.5″ from the bottom of the wood support to line up with the top shelf.

- Attach one eye bolt to each piece of wood, centering the bolt about 1″ from the top.

- Add light bulbs to each hanging shop light.
- Use the included chains and s-hooks plus the extra s-hooks to hang one light over each double shelf.
- Plug all three lights into one power strip and plug the power strip into the wall.

Where to place your simple seed-starting system
In our new farmhouse, it worked out to place one double shelf unit in our dining room, in front of big windows. Similarly, we placed the second unit in front of a sliding glass door that we rarely use, adjacent to the dining room.
Originally, I thought I’d use only sunlight to grow my seedlings, partly because we have so many windows in our new house. I also wanted to avoid the cost of fancy grow lights.
In the end, I landed on the idea of using shop lights because they’re much less expensive than grow lights and work almost as well (according to my sources). I decided it would be a big bummer if I’d gone to all this trouble only to watch my seedlings fail due to a lack of light and/or heat.
So I bit the bullet and added the lights because it seemed like a cost effective option that would eventually pay for itself over years of seed-starting efforts.
I am not sure if natural light is necessary on top of using artificial lights, since I used a combination of both with excellent results. If you don’t have a space with good access to natural light, I would definitely still give this simple seed-starting system a shot. You might consider adding two shop lights per shelf instead of just one, but I’m all about experimenting to determine the least amount of light necessary for good results.
The next step
After your shelves and lights are assembled and ready to go, it’s time to start your seeds! Here’s what you’ll need and how to get started: How to Start Seeds Indoors.
And that’s it! How simple is that? This DIY seed starting system has been a smashing success for me and I can’t wait to hear how it works for you!
Have you ever started seeds indoors? Do you have any special tips or tricks?
More about seed starting:
- 12 Best Veggies for Your Spring Garden
- How to Start Seeds with the Soil Blocking Method
- 7 Reasons to Start Your Own Seeds Indoors
- How to Start Seeds Indoors
- How to Build a Cold Frame Out of Pallets
- 5 Secrets for Growing Better Carrots
- How to Harden Off Seedlings
")
Sign up NOW for my best tips delivered weekly to your inbox!
You’ll also get instant access to my library of free ebooks and resources.
You might also like...
2 responses to “Simple DIY Seed Starting System: Shelves & Lights”
-
I bought regular grow lights for my florescent fixture, more expensive. Then a good acquaintance who actually teaches continuing education gardening classes at the local college told me to just get one cool florescent bulb and one hot bulb for each fixture. I haven’t checked this out myself so can’t say more than that yet but intend to find out what that meant exactly, I know she is a great source.
-
My regular shop lights (with regular fluorescent bulbs) worked so well, but your friend’s tip is interesting!
-
Leave a Comment