

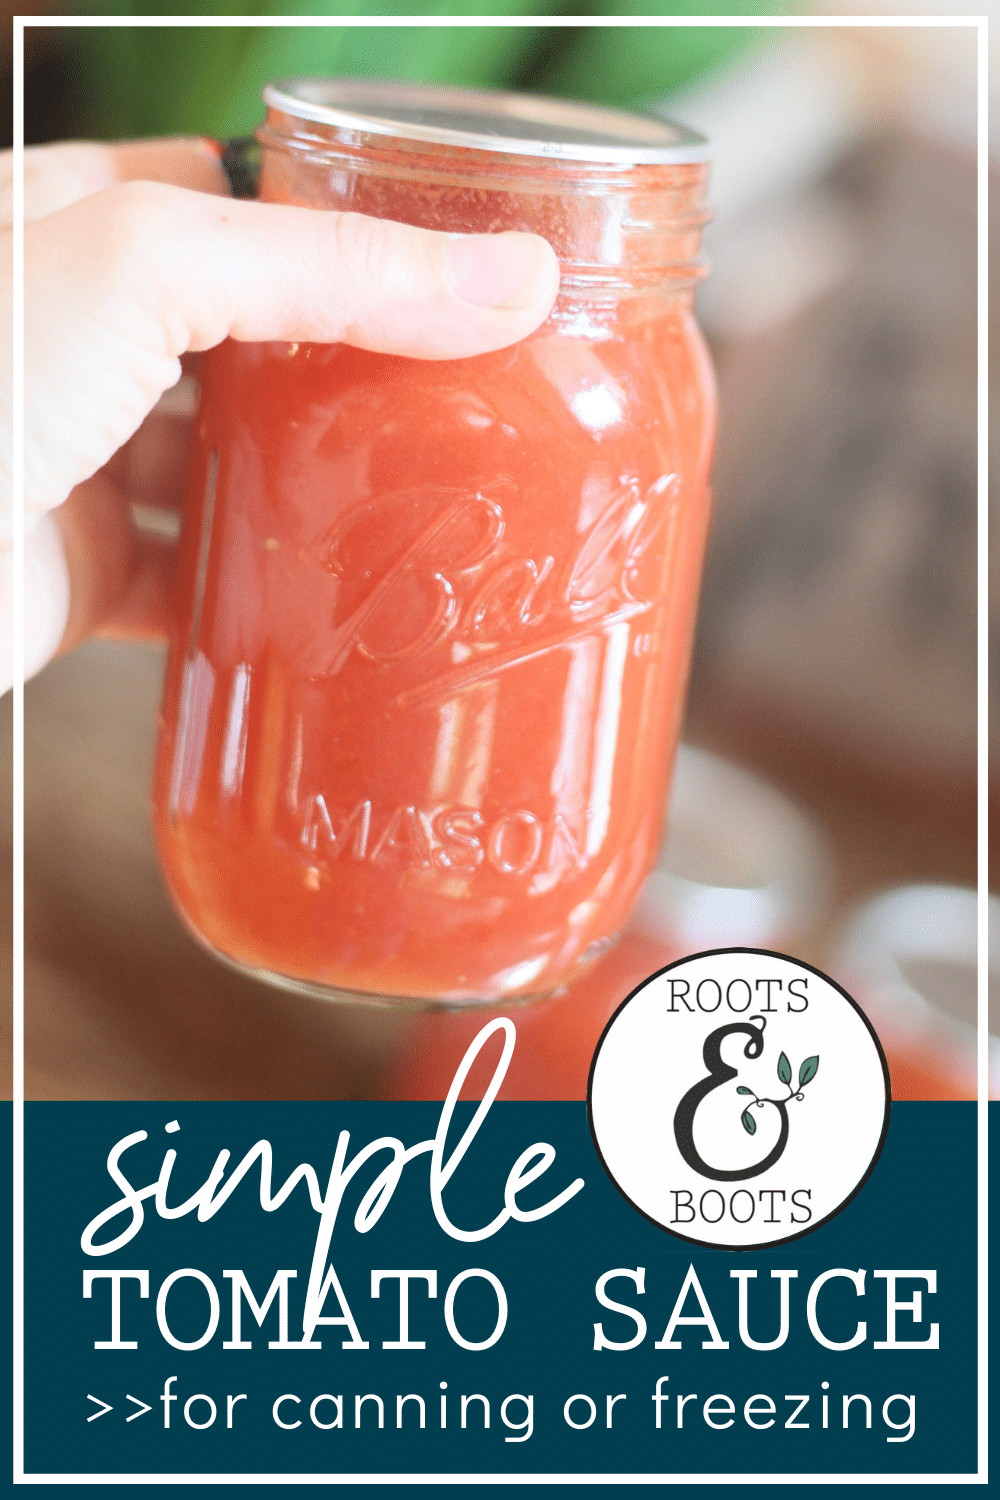
Basic Tomato Sauce for Canning or Freezing

This post may contain affiliate links, which means I make a small commission at no extra cost to you.
See my full disclosure here.
This Basic Tomato Sauce for Canning recipe is definitely a step up from my original recipe for Roasted Tomato Sauce.
The first recipe was a good start: it used the skins and seeds and all, and was very simple. If you have tons of tomatoes to sauce, and are juggling babies or small children or any other major time commitment, I still recommend that recipe.
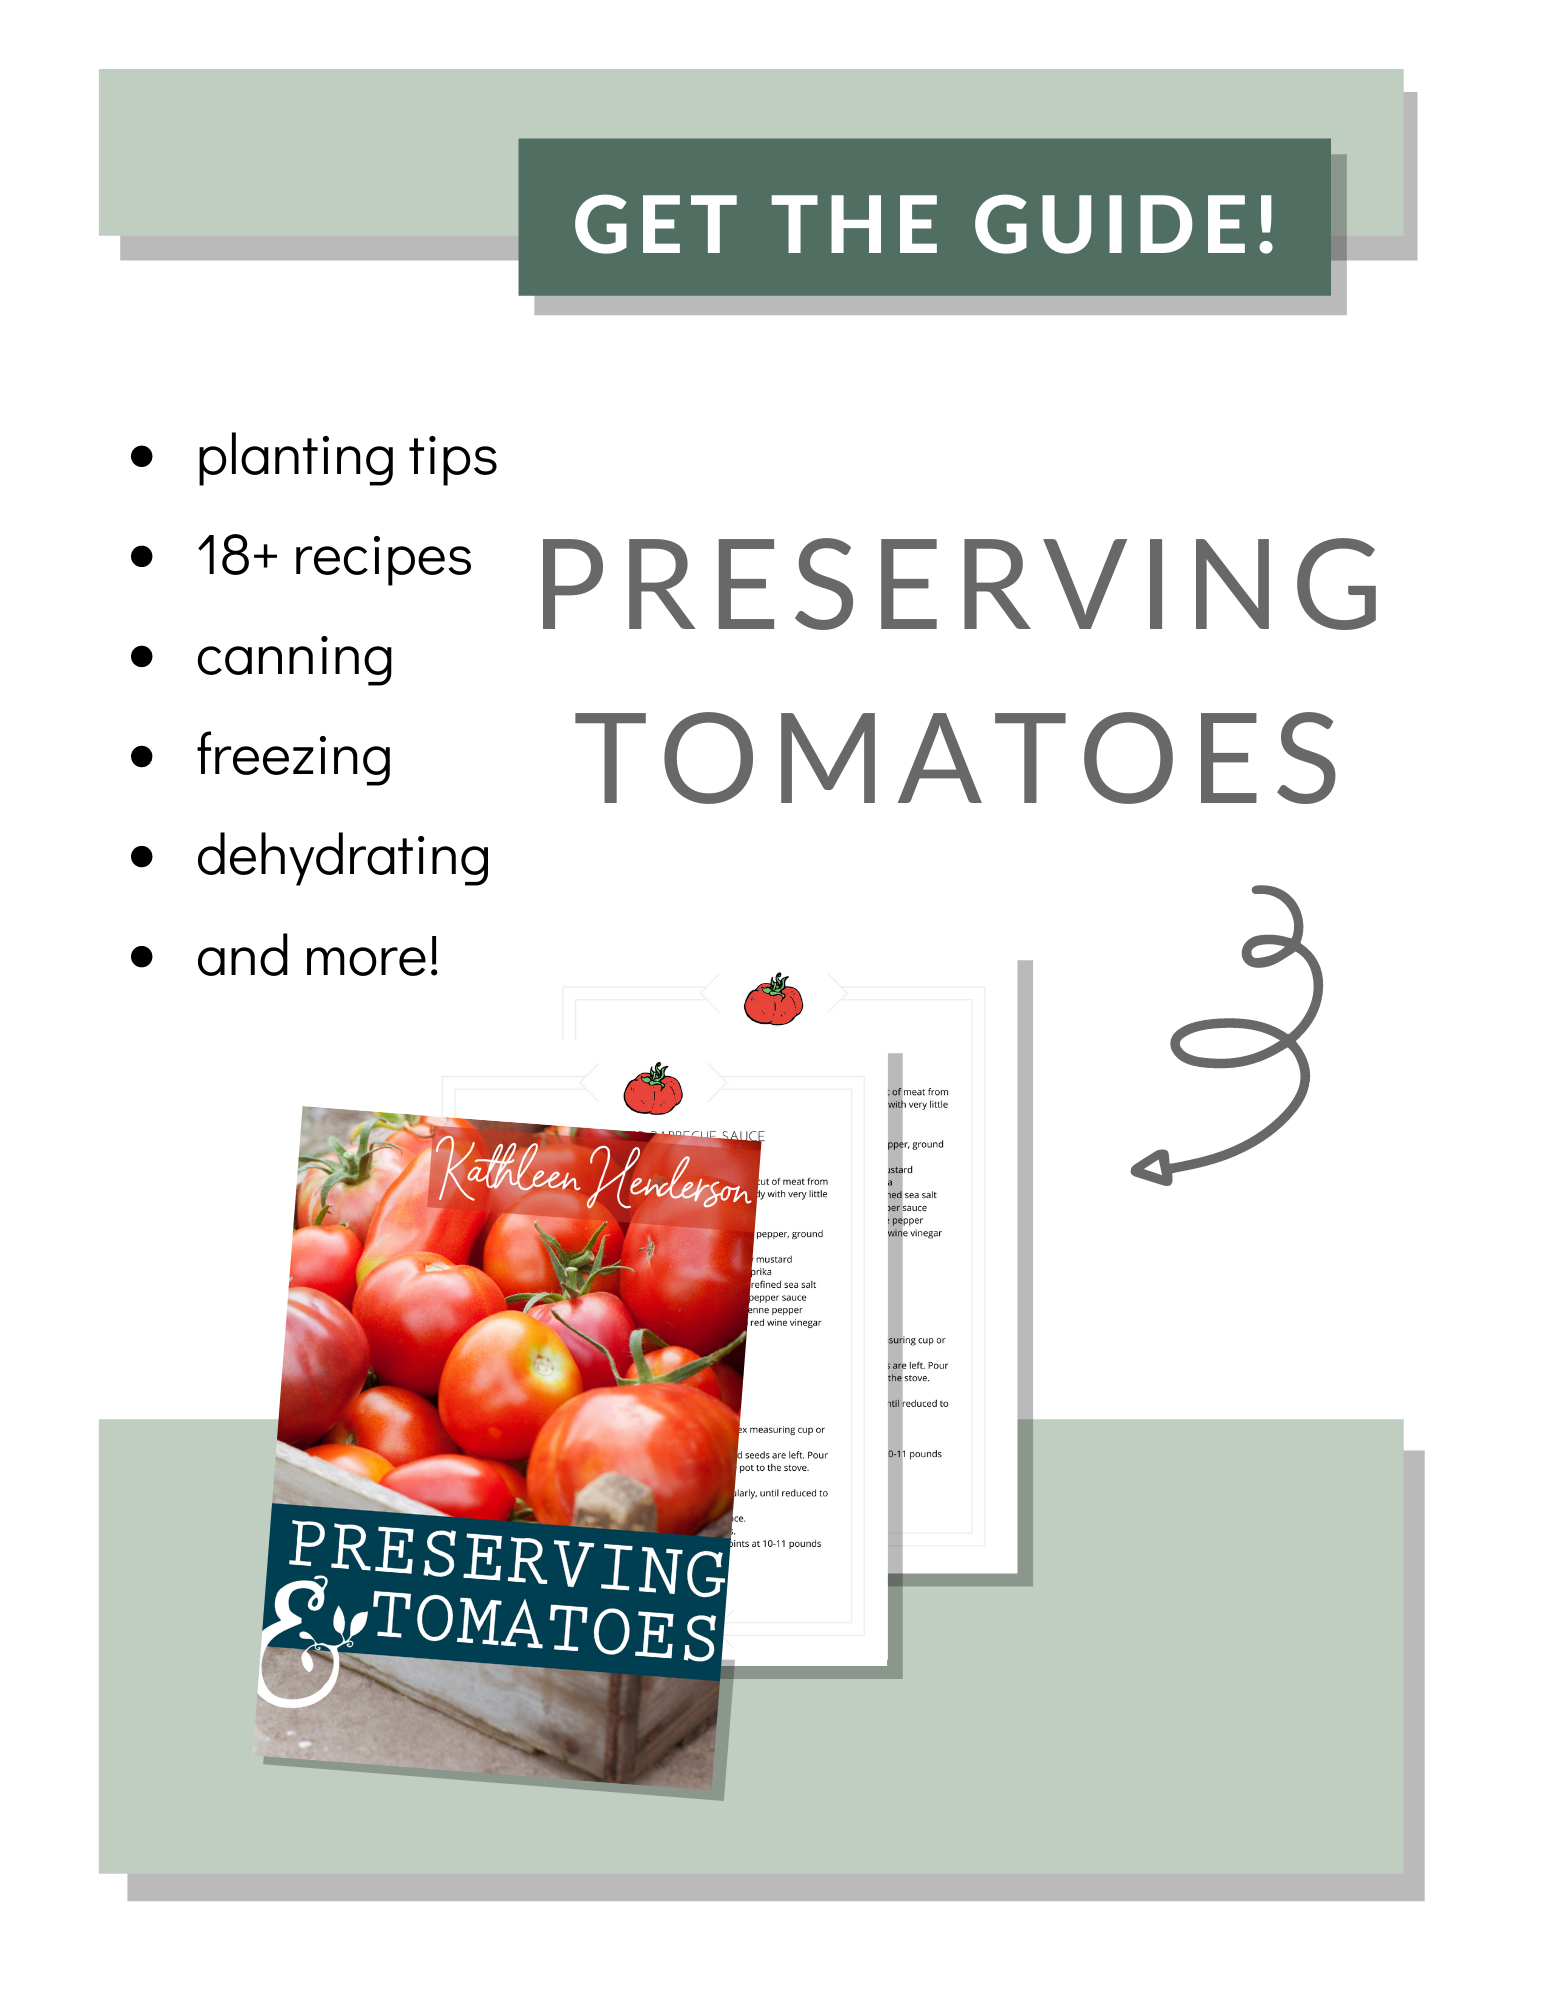
More about tomatoes:
- The Best Way to Plant Tomatoes
- Home Canned Tomato Soup
- Quick & Easy Tomato Basil Soup
- Home Canned Salsa with Lime Juice
- Honey Tomato Jam
- 7 Ways to Use Dehydrated Tomatoes
- How to Make & Use Tomato Powder
- How to Freeze Whole Tomatoes
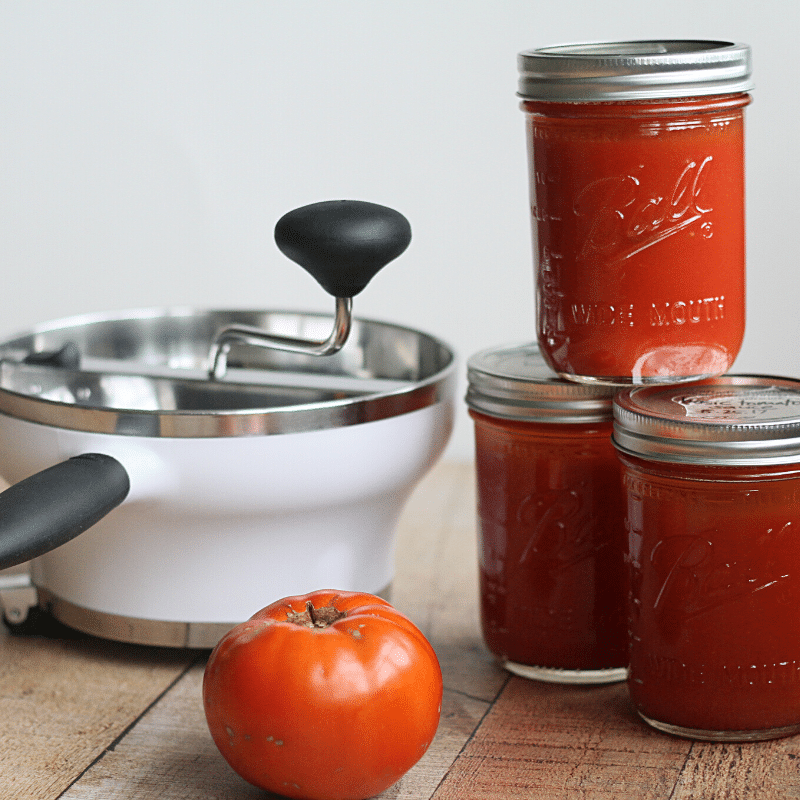
As I’ve gained confidence in my canning skills and now that my youngest is past the point of needing me constantly, I decided it was time to invest in a food mill. From what I’ve read, removing the skins really does make a tastier sauce. This year I was ready to give it a shot!
Y’all know I’m a researcher, so of course I read tons of reviews and recommendations for food mills. Here’s the one I landed on: the Oxo Good Grips Food Mill. I’m happy with it; it definitely beats trying to press hot tomatoes through a fine mesh strainer. Sheesh, that was a messy, wasteful, not-fun experience.
UPDATE: I’ve since upgraded to this larger food mill, which makes quick work of large batches of tomatoes.
All the pieces of my Oxo Food Mill are dishwasher safe. That’s a huge plus! And the legs fold for easy storage. There are three disks: with small, medium, and large holes. For my homegrown tomatoes, I use the disk with the smallest holes.
My Basic Tomato Sauce recipe is adapted from two of my new favorite canning books: Food In Jars and Naturally Sweet Food In Jars, both by Marisa McClellan. I still love the taste of Roasted Tomato Sauce, and I did can a batch or two (sans skins or seeds, thanks to my new food mill). But this recipe for Basic Tomato Sauce is just about as simple as it gets.
Lastly, if you have pounds upon pounds of tomatoes to sauce, and you’re ready to invest in a food mill, this is the recipe for you. You can use it as plain old tomato sauce in any recipe or turn it into Tomato Soup or even pizza sauce. It’s a good starting point for many purposes!
Print
Basic Tomato Sauce for Canning or Freezing
- Yield: 5-6 pints 1x
Ingredients
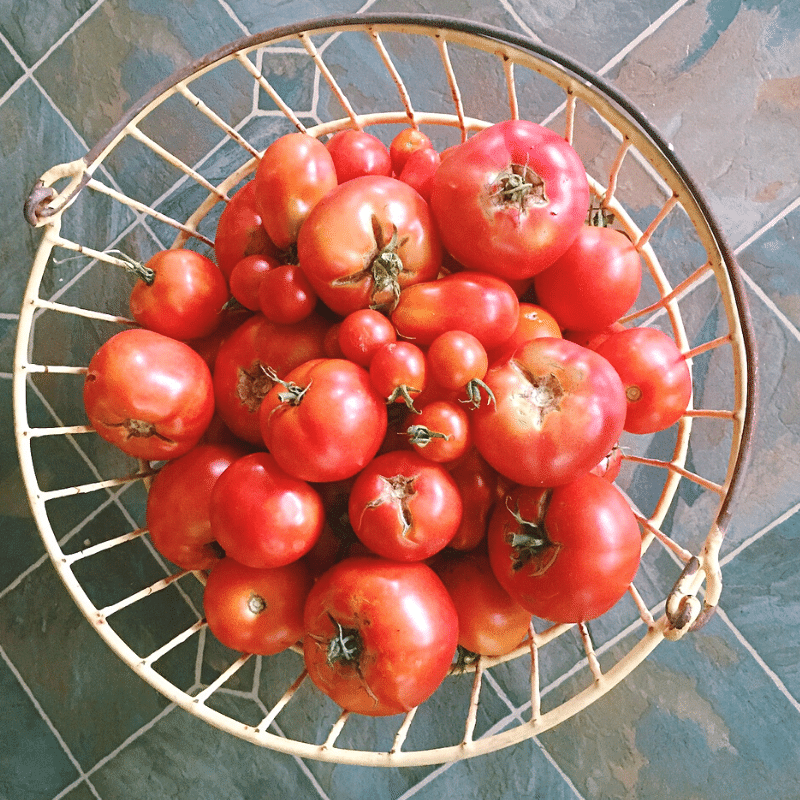
- 9 lbs tomatoes
- 1 teaspoon unrefined sea salt
- bottled lemon juice, 1 tablespoon per pint jar
- basil leaves, optional
Instructions
- Core tomatoes and roughly chop.
- Place tomatoes in a large pot on the stove.
- Bring to a boil, then reduce heat and simmer for about 15 minutes.
- Turn off heat and get your food mill ready. I use this one.
- Position food mill over a large bowl. I like to use my 8-cup Pyrex measuring cup or another large pot.
- Run tomatoes and their liquid through the food mill until only skins and seeds are left.
- Pour milled tomatoes back into the large pot and return the pot to the stove.
- Add 1 teaspoon salt.
- Bring to a boil, then reduce heat. Simmer the sauce for 1-2 hours, stirring often, until reduced by about 1/3.
- When sauce is nearing completion, prepare a hot water bath canner and 5-6 pint sized jars. (I like to boil the jars in the canner, then transfer clean, hot, empty jars to a pan in the oven. preheated to 250 degrees. I keep the jars in the oven and pull them out one at a time as needed.)
- Fill a small pan with water and bring to just below a simmer, over low heat. Add 5-6 canning lids. Keep the heat on low so lids are warmed but not boiled.
- Get all your other tools and ingredients ready: jar lifter, lid wand, wide mouth funnel, ladle, clean towel over your shoulder, clean & damp dish cloth for wiping jar rims, lemon juice, tablespoon, optional fresh basil leaves.
- Make sure the hot water bath is boiling and ready. Secure the rack in the top of the pot (hooked over the sides).
- When sauce is reduced and thickened, remove two jars from the oven. Drop one optional basil leaf in each jar, then fill with sauce and add 1 tablespoon lemon juice. Allow 1/2 inch head space.
- Wipe rim of jar with your clean, damp dish cloth.
- Use lid wand to remove one lid from the pan of warm water. Dry lid and center on jar. Add a ring and secure.
- Use your clean towel or the jar lifter to place each filled jar in the canning rack. As you add more jars to the canning rack, be sure to position them so the rack remains balanced.
- When all the jars are filled and positioned in the canning rack, lower the rack into the boiling water.
- Place the lid on the pot and return water to a boil if necessary.
- Process pint jars for 35 minutes.
- Prepare a landing space for the hot jars of sauce. They should remain in place for 12-24 hours. I like to use a wooden tray with a clean towel laid across the bottom. That way I can carefully transfer the tray off my precious kitchen counter space if necessary, without disturbing the jars as they cool and seal.
- Turn off heat and carefully remove lid from pot.
- Carefully raise canning rack and hook onto the sides of the pot.
- Carefully use the jar lifter to remove jars one at a time.
Notes
- Click here to shop my favorite kitchen tools and real food ingredients.
- Click here to save 15% off my favorite, healthy brand of salt. Use code KEEPITREAL.

22 NOURISHING GLUTEN-FREE SOUP RECIPES
Simplify your dinner prep with these tasty, nourishing soups!
")
Sign up NOW for my best tips delivered weekly to your inbox!
You’ll also get instant access to my library of free ebooks and resources.
You might also like...

2 responses to “Basic Tomato Sauce for Canning or Freezing”
-
It’s actually considered unsafe to leave tomato skins on in home canning, so I’m glad you got the food mill. The skins harbour the most bacteria.
-
I’ve never heard that before, Stacey. Skins are left on for canning salsa and tomato jam. I think it’s more of a flavor and texture issue with the skins. They can cause bitterness in tomato sauce.
-
Leave a Comment