

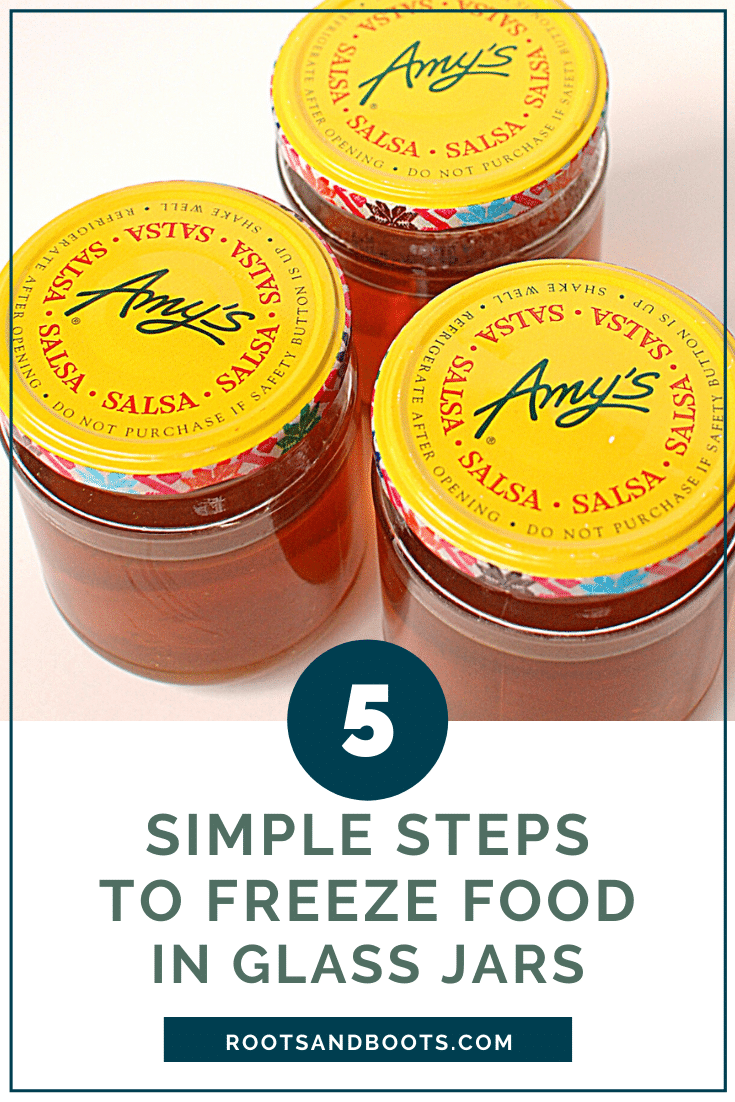
How to Freeze Food in Glass Jars

This post may contain affiliate links, which means I make a small commission at no extra cost to you.
See my full disclosure here.
Learning to freeze food in glass jars is not just a quaint homesteading trick. It’s actually another way to reduce exposure to harmful chemicals in plastic food storage containers and disposable plastic bags.
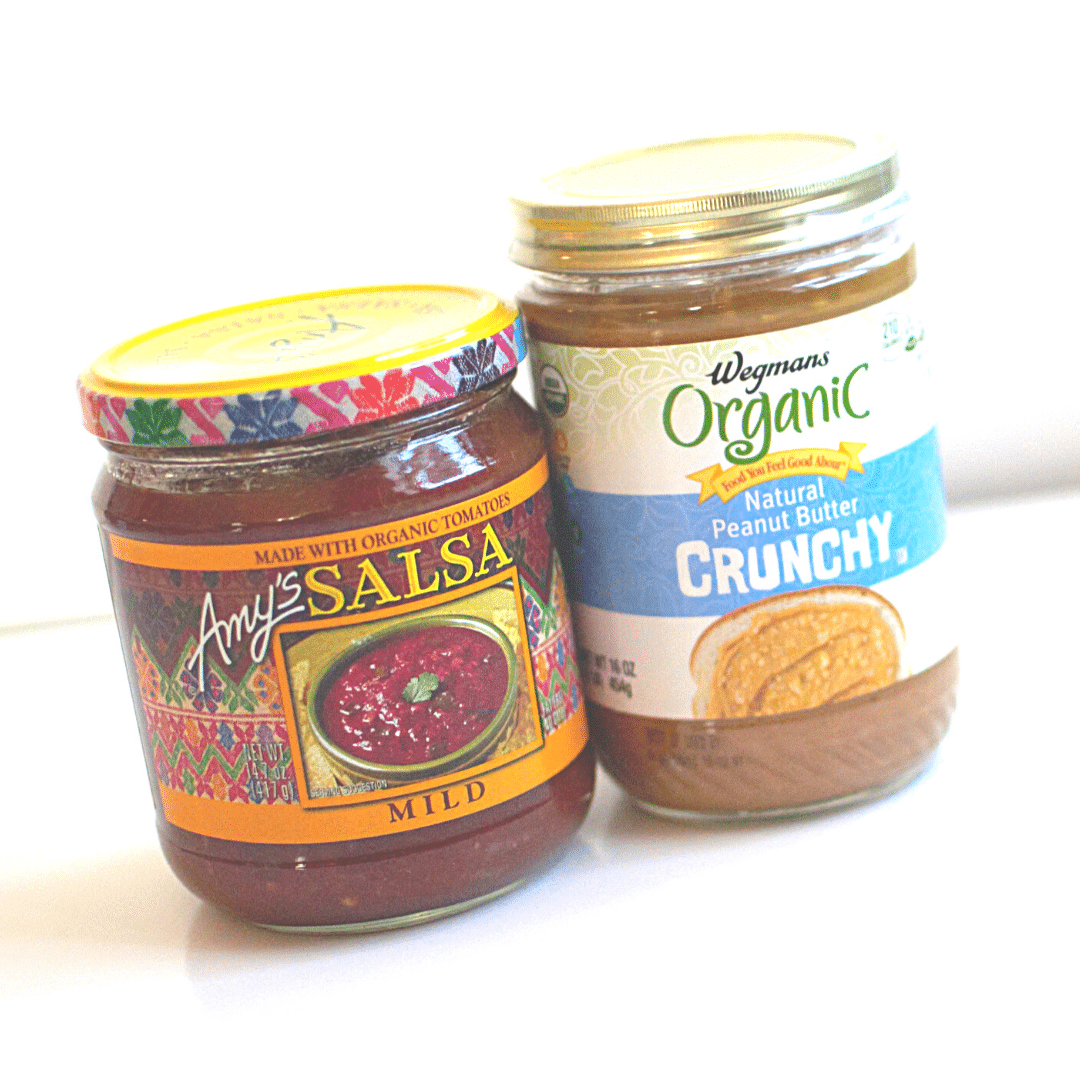
It’s also free, if you recycle glass jars you’ve already got on hand. I have never purchased jars to use in the freezer; we simply repurpose jars from purchased foods like salsa and nut butters. Mason jars work well, too.
Like any healthy lifestyle change, learning to freeze food in glass jars does require a bit of upfront effort. But once you’ve got the system down, it’s not much different from freezing food in plastic containers.
How to Freeze Food in Glass Jars
I freeze broth, beans, tomatoes, soups, and more in glass jars. After years of perfecting my technique, I rarely break a jar. Each of the five steps listed below is critical to prevent your jars from breaking.
And lemme tell you, when a jar of your liquid gold homemade bone broth breaks while freezing or thawing, it’ll break a little piece of your heart, too.

1. Jars
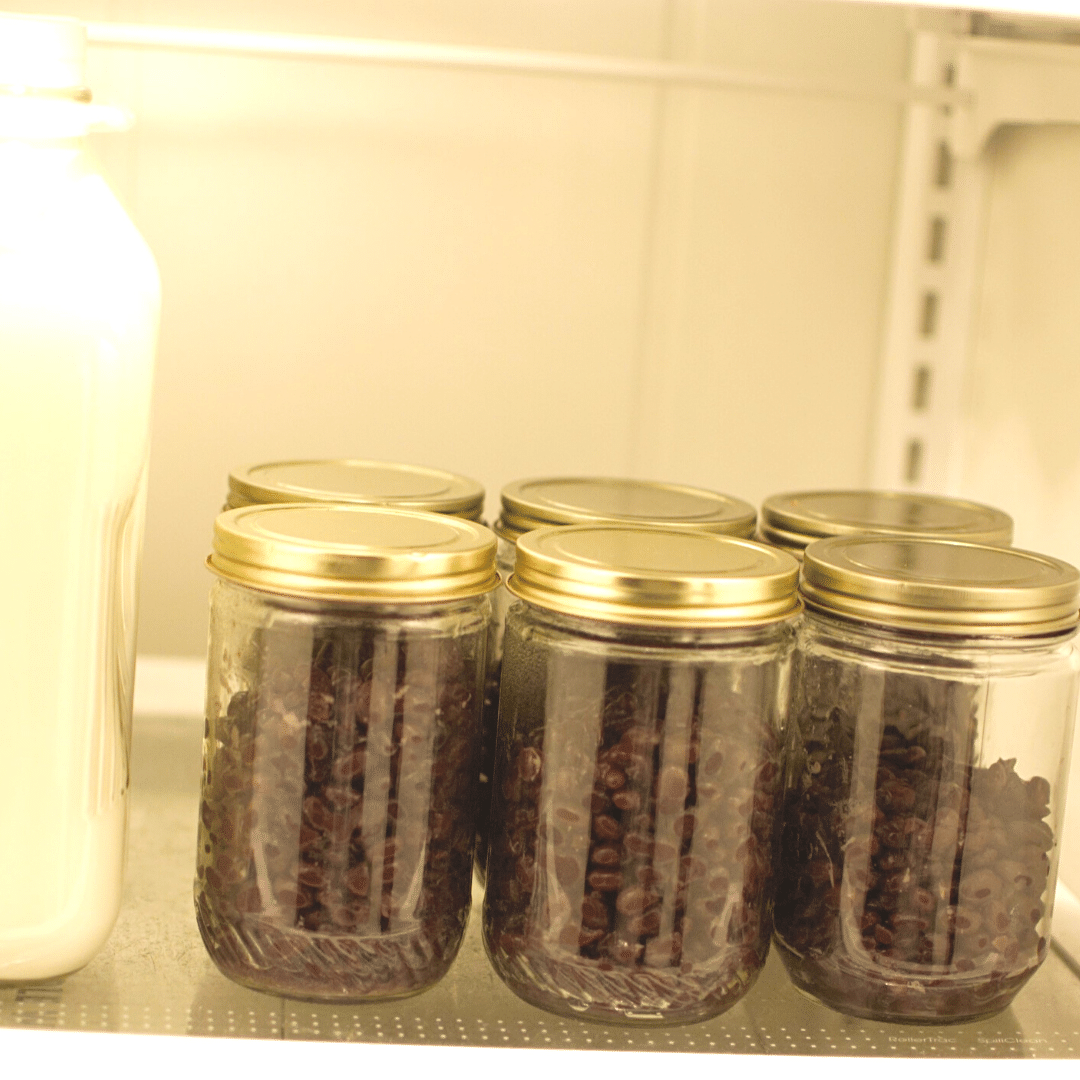
The ideal jar for freezing foods, especially liquids, is thick and sturdy with straight sides and a wide mouth. I also recommend sticking with smaller jars, with about a 2-cup capacity or less.
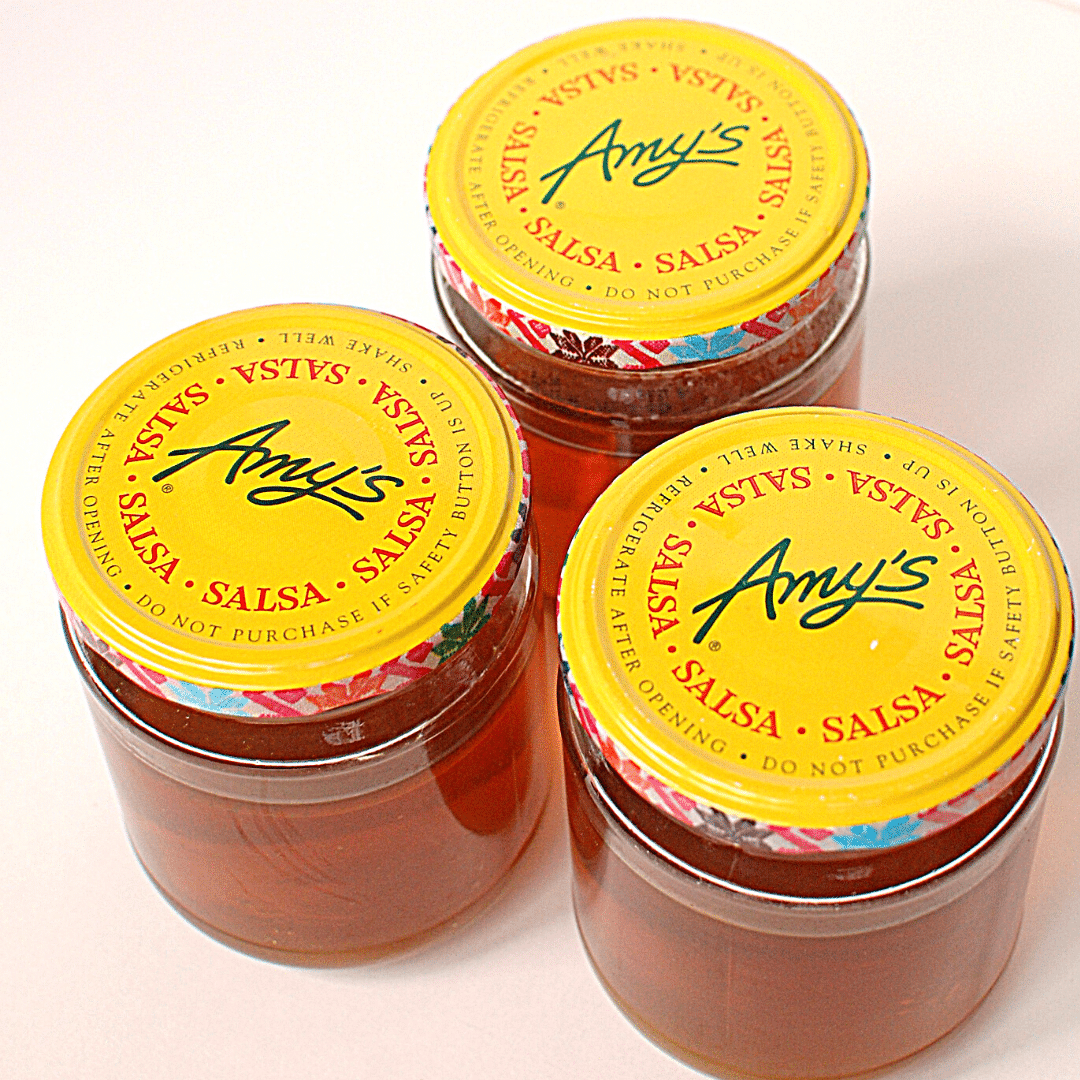
As I mentioned above, I mostly use 15-oz salsa jars, 16-oz peanut butter jars, and pint or half-pint mason jars.
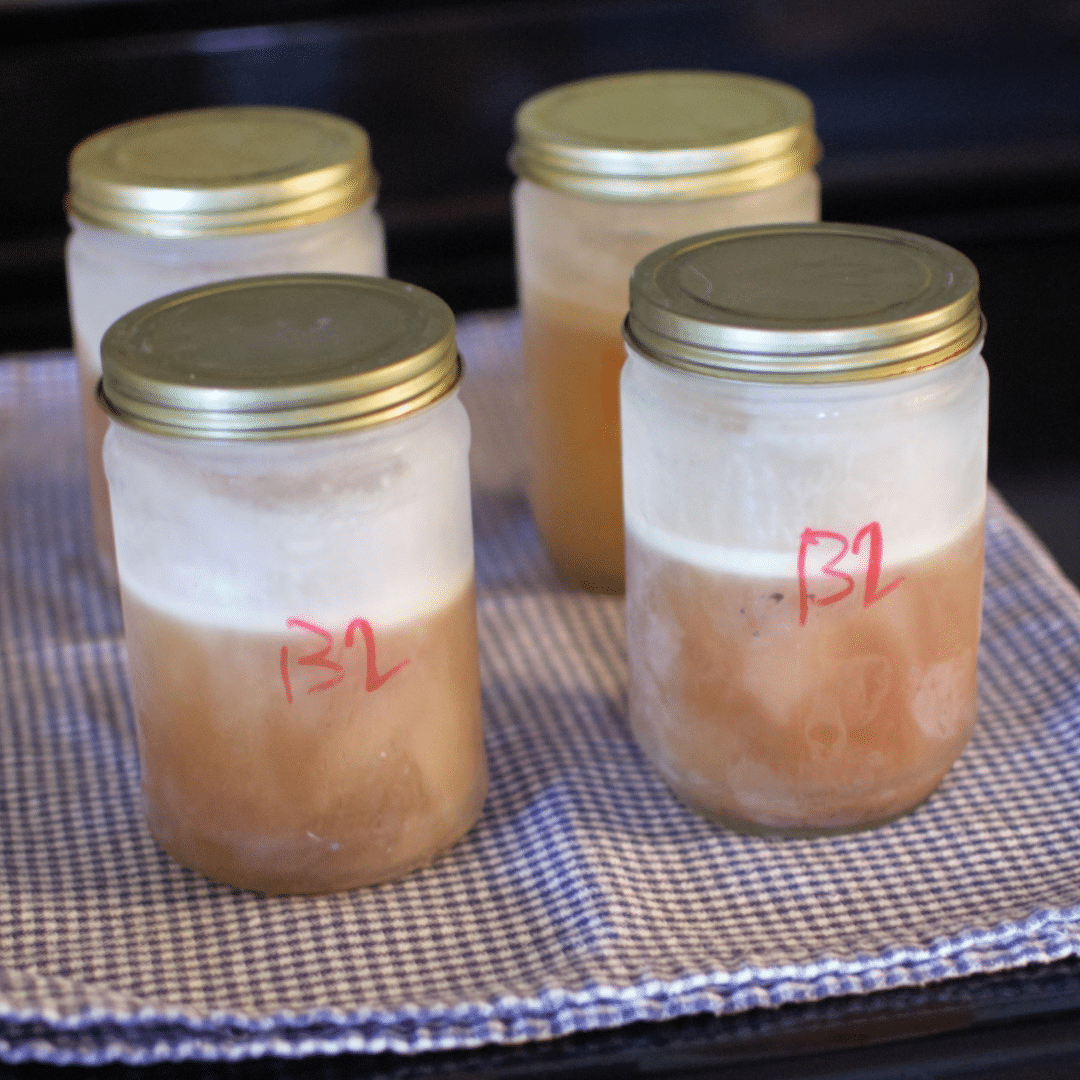
Note: don’t forget to label the jars! This is easiest to do before the jars are filled. I use a Sharpie to write right on the glass.
For homemade broth, I’ve got my own system: C for chicken broth, B for beef broth, and a number to indicate the batch. C1 is first-batch chicken broth. B3 is third-batch beef broth. And so on. Click here to find out more about making multiple batches of broth from the same bones.
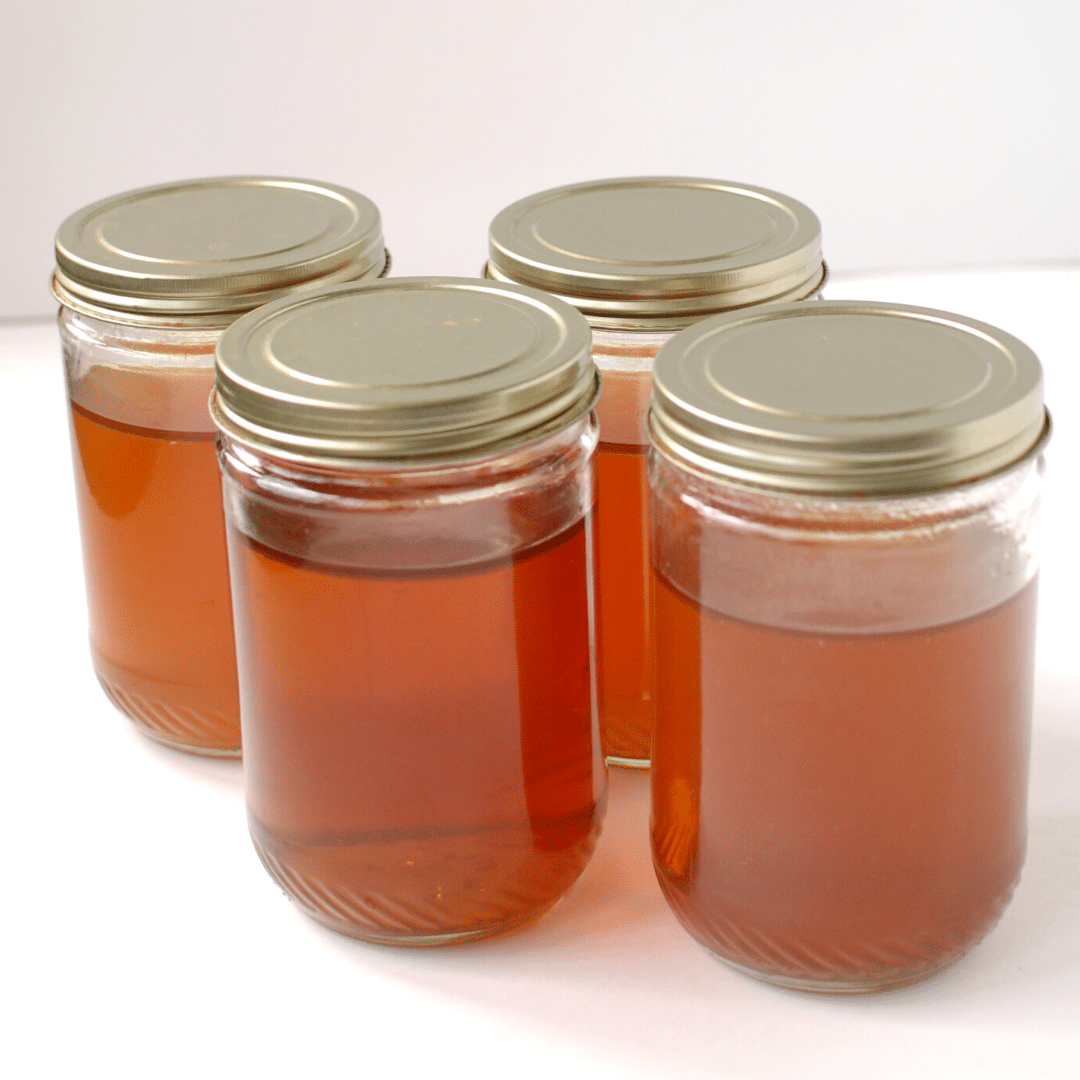
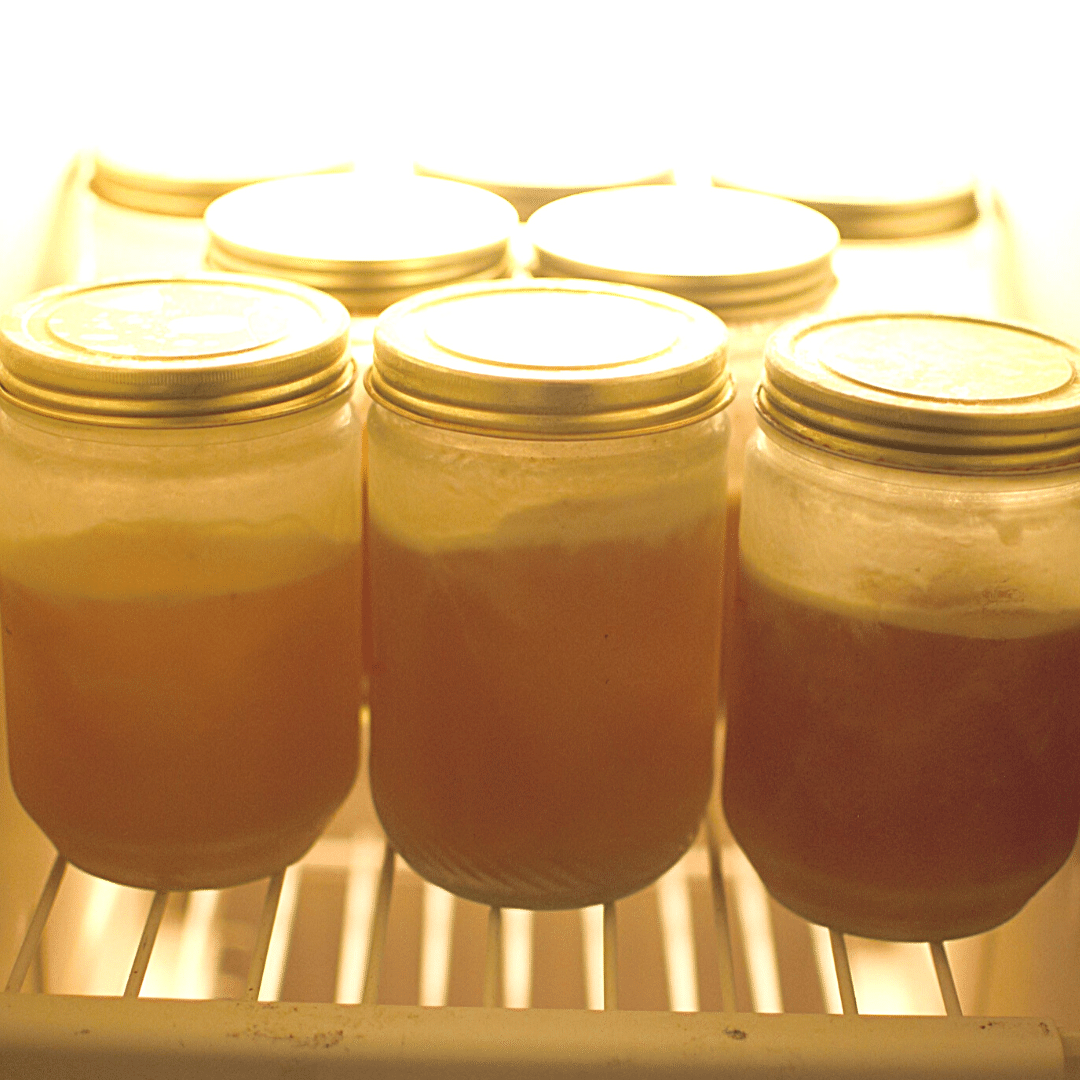
2. Headroom
Leave at least one inch headroom at the top of each jar. If the jar neck narrows at all, you’ll want to leave the neck plus one inch of headroom.
3. Cooling process
Leave the jars on the counter at room temperature to cool a bit. Next, place the jars in the fridge to cool completely. I often leave them in the fridge overnight or even for a day or two. Finally, transfer jars to the freezer.
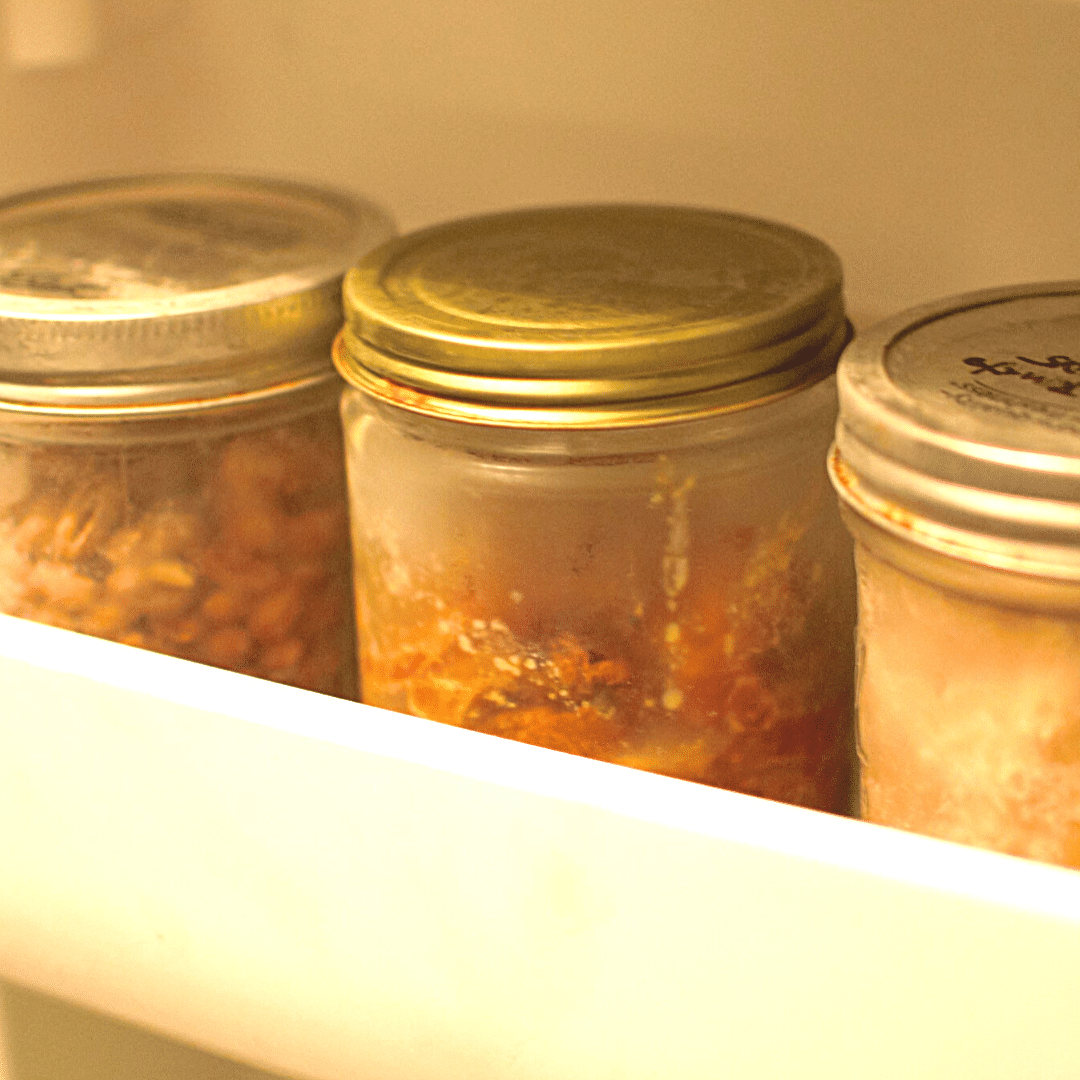
4. Freezer
My experience as well as Katie’s experiments seem to indicate the door of the freezer is the best place to store glass jars. I’ve also had excellent success in the main freezer compartment of our side-by-side unit.
We also have a full-sized upright freezer, which is where the majority of my broken jars of broth seemed to occur (in the interior). I now keep all frozen foods (especially broth) in the extra side-by-side unit in our basement or in the door of the upright freezer.
5. Thawing
This probably breaks a few food safety rules, but I always thaw broth overnight on the kitchen counter (with a dish towel under the jars to absorb condensation). In the morning, I stick the thawed jars in the fridge until I’m ready to use them.
But what about those times when you need broth now but it’s frozen solid down in the freezer because you forgot to thaw it last night?
First of all, the only thing I heat in the microwave is this awesome neck wrap. Avoiding the microwave is a topic for another blog post, but for now, let’s consider alternative ways to thaw broth quickly.
>>Read this post: How to Live Without a Microwave.
The first two ways listed below are safer but require more time. The third way is faster but more risky.
UPDATE: My new favorite way to thaw frozen jars of broth (and more) is in the toaster oven, on the “warm” setting. I also remove the lids. You might be surprised at how quickly a frozen jar of broth will thaw via this method, at least enough to get all the contents out of the jar and into your soup pot.
Emergency thawing method #1: On top of a warm oven
If I need to thaw broth in a hurry, chances are good that my oven is already on. Seems like I’m always crisping nuts or granola, baking crackers or treats, or roasting veggies.
When the oven is on, I just place the jars on a dish towel laid on top of my ceramic stovetop. As soon as I notice liquid in the jars, I pour it off and return the jars to the stovetop.
I repeat this process until the still-frozen cylinder of broth has shrunk to a size that will fit through the mouth of the jar. Then I just dump the frozen cylinder right into the pot and wait for it to melt.
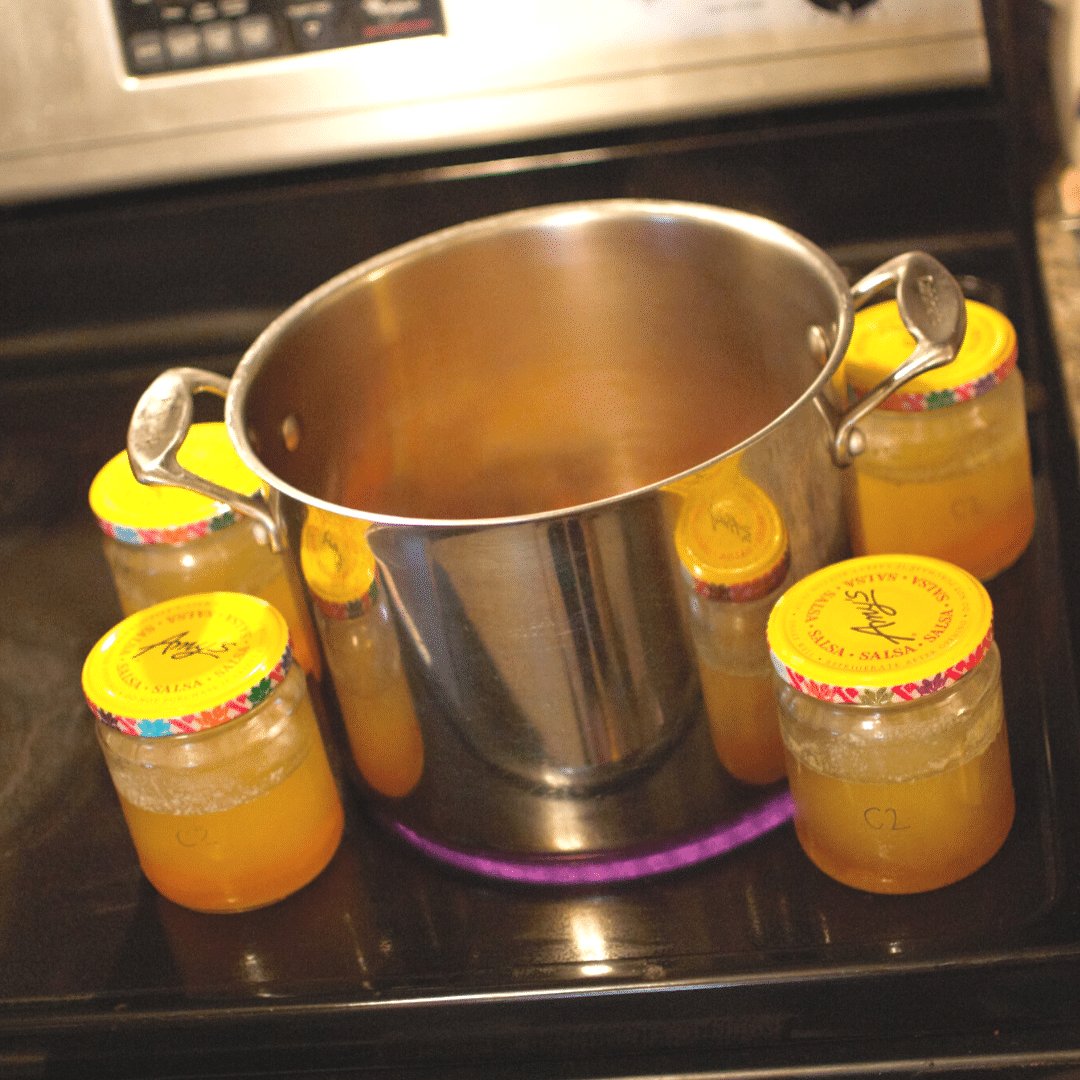
Emergency thawing method #2: Next to a hot pot
Another trick is to arrange the jars of frozen broth around my large, hot cooking pot. This works best with a recipe that requires the veggies to cook first, or saute, etc. And if the oven is on, too, all the better!
Then I follow the same procedure mentioned above: keep pouring out thawed liquid until the frozen part is small enough to slide out of the jar.
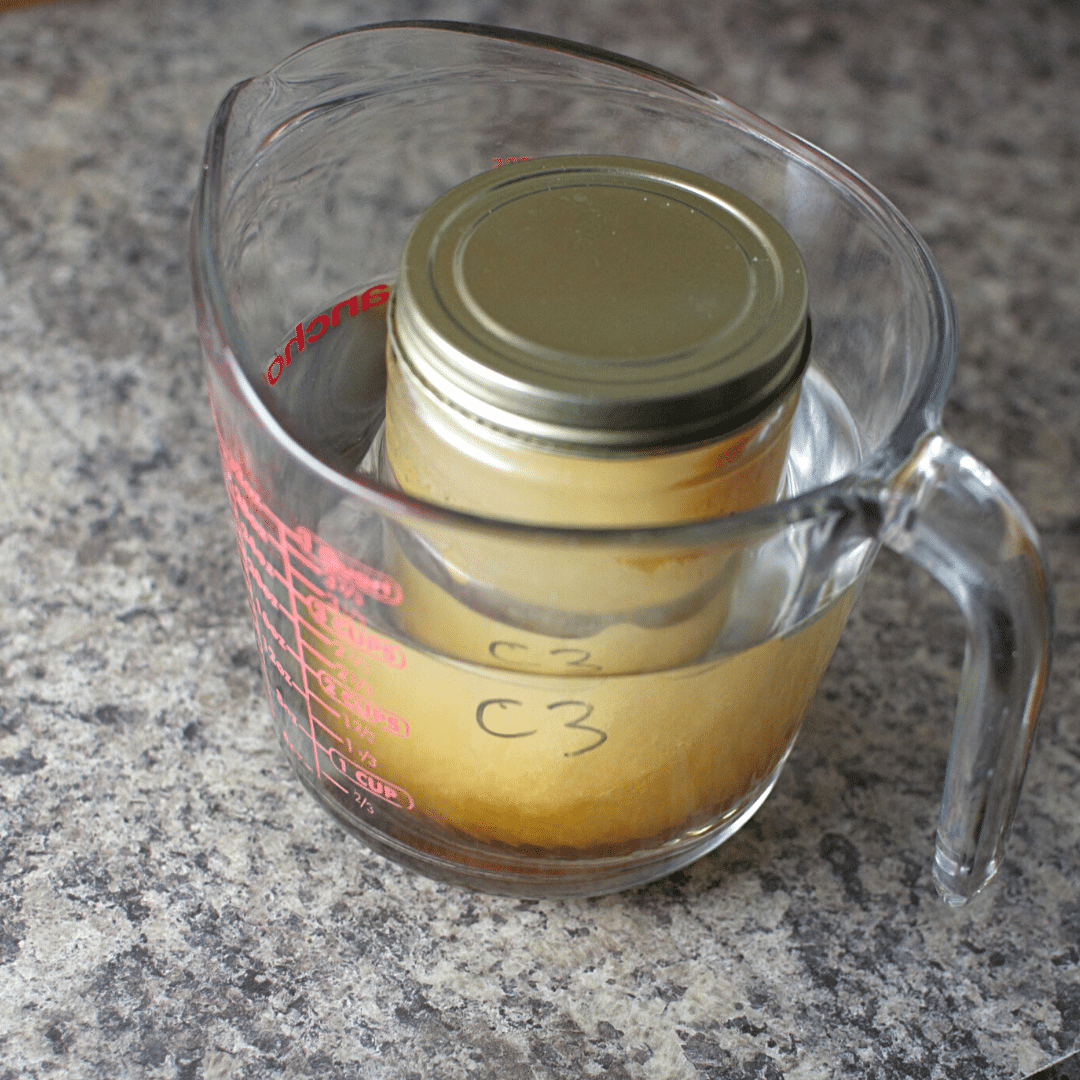
Emergency thawing method #3: Dunk in boiling water
Again, this method is a bit risky, but it’s what I do in frozen broth emergencies.
Pour a small amount of boiling water into a thick, sturdy glass measuring cup. Holding the frozen jar carefully, dunk and remove several times. Then hold the jar down in the hot water for a minute or so.
Just like the previous two methods, continue pouring out the thawed liquid until the frozen broth fits through the jar opening.
There you have it, folks: my best tips to freeze food in glass jars.
Have you tried to freeze food in glass jars? How did it go?

22 NOURISHING GLUTEN-FREE SOUP RECIPES
Simplify your dinner prep with these tasty, nourishing soups!
")
Sign up NOW for my best tips delivered weekly to your inbox!
You’ll also get instant access to my library of free ebooks and resources.
You might also like...

4 responses to “How to Freeze Food in Glass Jars”
-
I have been freezing in glass jars for years, with only an infrequent broken jar. I follow a similar cooling method, but I always make sure that the liquid level in the jar is only about 3/4 full and that the jar is not sitting level for the freezing process. This is the most important step. If the liquid is not level, but at a slight angle, say about 20 to 30 degrees, it does not seem to put as much pressure on the side walls of the jar in the freezing process.
-
Great tip, Barb! I’ve noticed that, too. What’s your trick for keeping lots of jars at an angle while freezing?
-
-
This was really helpful !! I would rather freeze than can. A lot easier and less messy. Don’t get me wrong I like to can too. Betty Ann <
-
It’s great to have both options! 🙂
-
Leave a Comment