

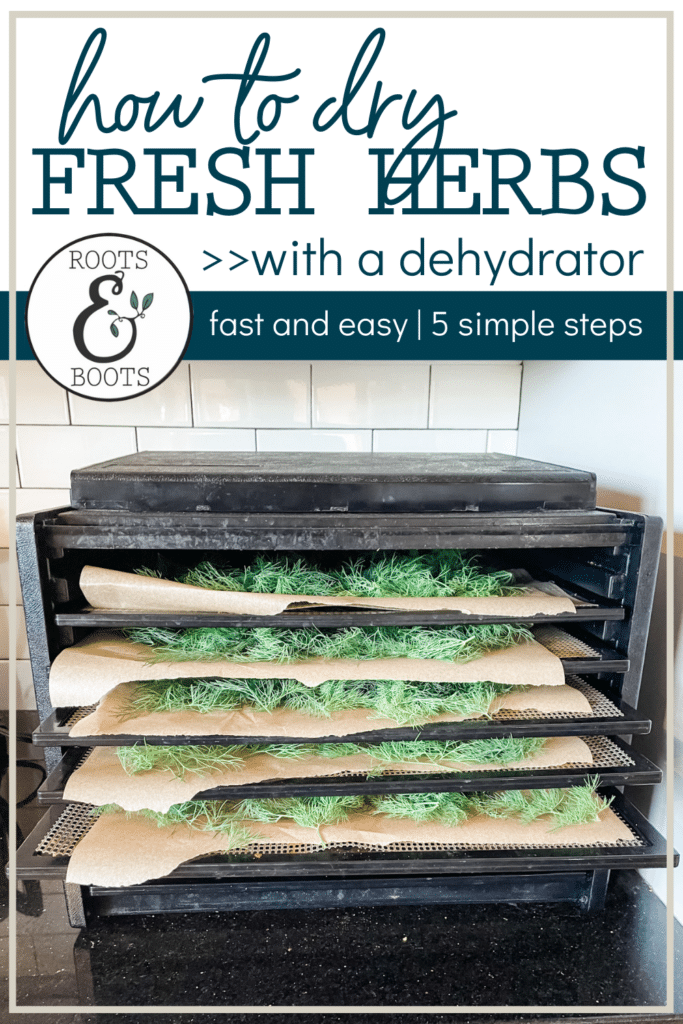
How to Dry Your Own Herbs in a Dehydrator

This post may contain affiliate links, which means I make a small commission at no extra cost to you.
See my full disclosure here.
Learning how to dry your own herbs in a dehydrator will make you feel like a real foodie extraordinaire. The process is SO simple and your future self will be thrilled to use those home dried (and maybe even homegrown) herbs.
Why dry your own herbs in a dehydrator?
First of all, home dried herbs retain better flavor and nutritional value as compared with the lifeless herbs available at the grocery store. They also look beautiful stored in mason jars in your kitchen. And imagine the satisfaction you’ll feel as you add your own home dried herbs to your cooking!
Plus, have I mentioned how easy it is to learn how to dry your own herbs in a dehydrator? Using a dehydrator is quick and simple, and you’ll avoid the dust that can collect on herbs that are hung to dry.
Drying herbs in a dehydrator will help to remove every single bit of moisture, which is the goal. Your herbs must be completely dried and brittle for safe storage. Even a remote trace of moisture left in the leaves can lead to spoilage, mold, or mildew.
My dehydrator has more than paid for itself over years of use in my hard working kitchen. Every summer I dry berries, tomatoes, herbs, onions, and veggies. We also dry nuts and these tasty homemade crackers in the dehydrator. Most weeks my dehydrator seems to run nonstop!
This is the dehydrator I chose after lots of research, and I’ve been pleased as punch with that decision. If you garden or consider yourself a real foods enthusiast, you will LOVE adding a dehydrator to your kitchen.
Have I convinced you yet?
How to dry your own herbs in a dehydrator
Drying your own herbs in a dehydrator is a pretty straightforward process. I’ll walk you through the steps and provide a few pointers I’ve learned along the way.
1. To strip or not
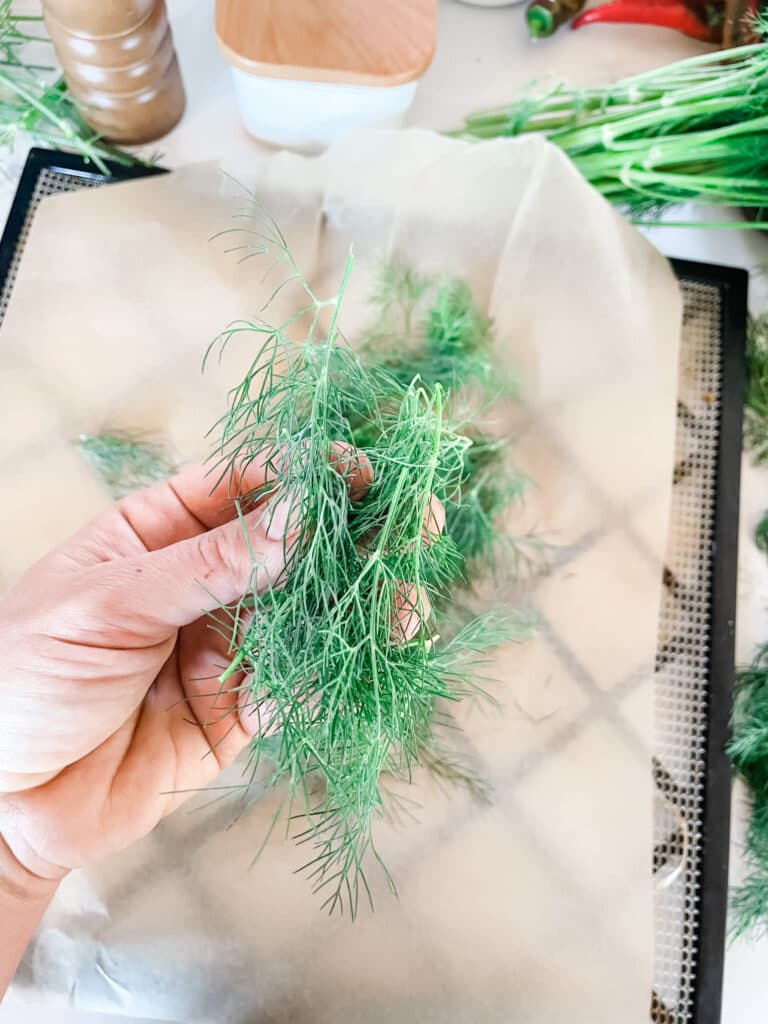
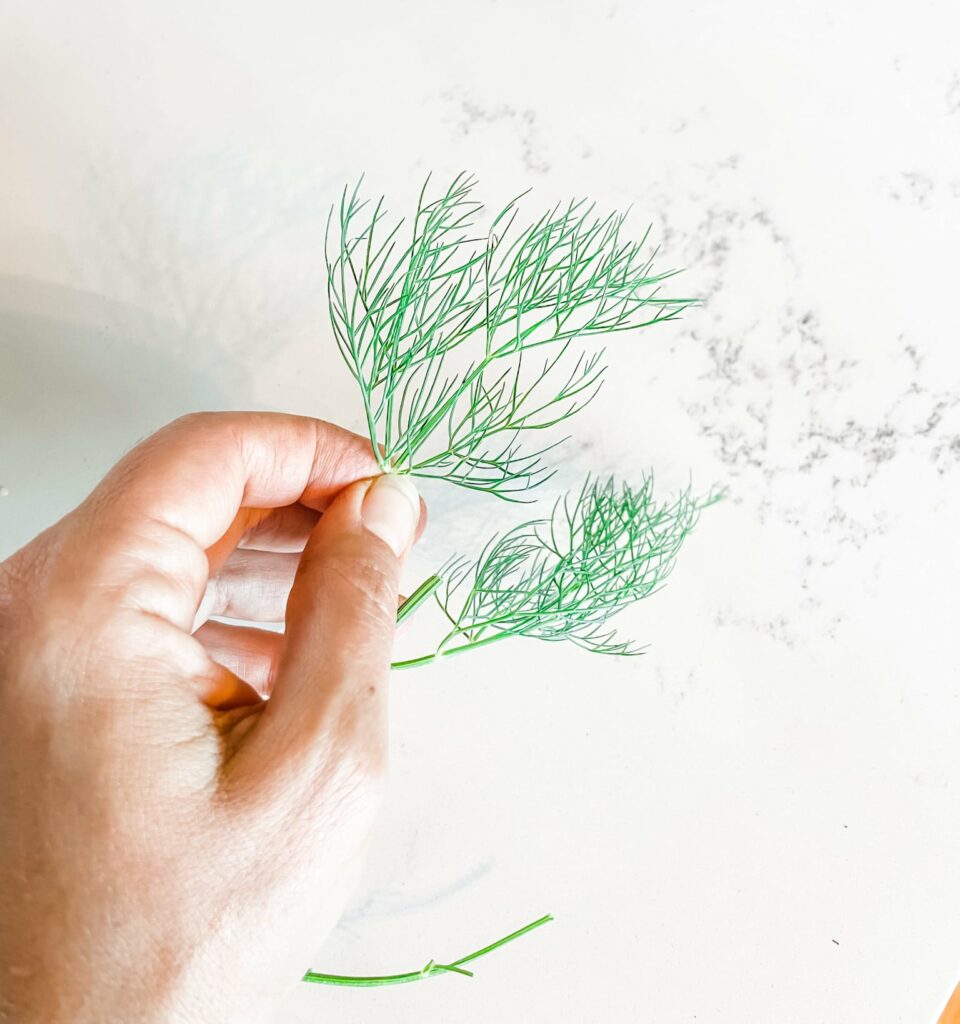
Herbs with larger leaves should be stripped from the stem. Think basil, parsley, sage. Dill also falls in this category.
Smaller herbs can be dried whole, and stripped after drying. Think thyme and rosemary.
2. Line the tray
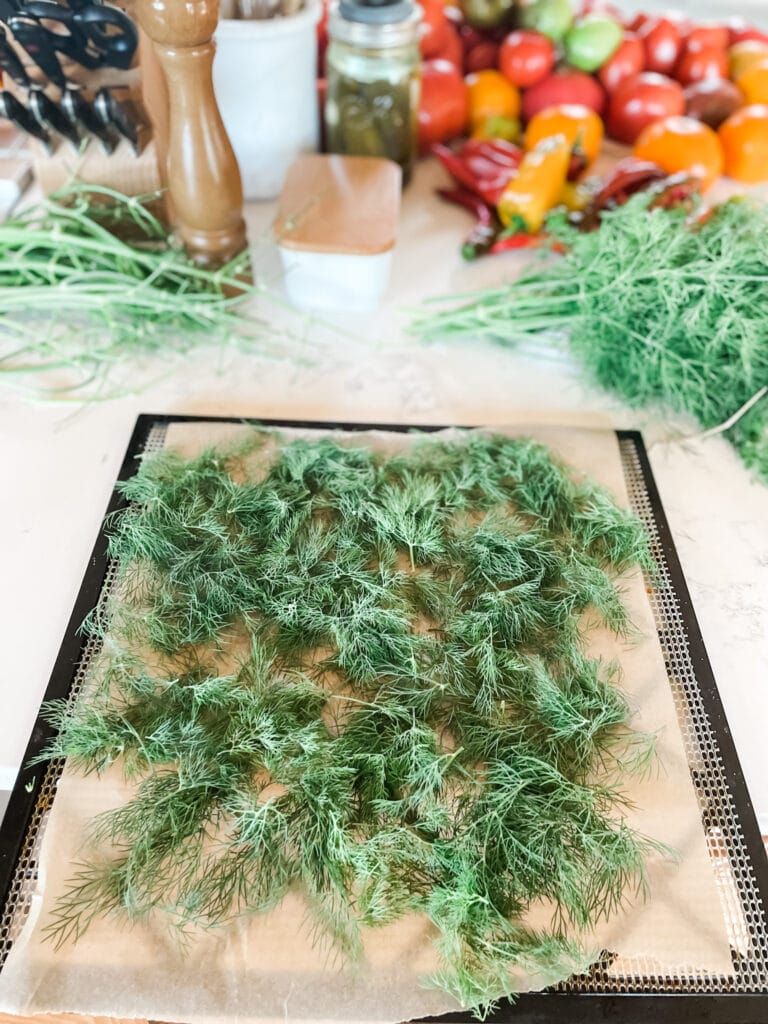
When drying large herbs like basil, it’s not necessary to line the trays. But I do recommend lining the dehydrator trays with parchment paper when drying tiny herbs like thyme and even dill. Otherwise, the tiny dried leaves will fall through the holes of the tray.
3. Temperature and time
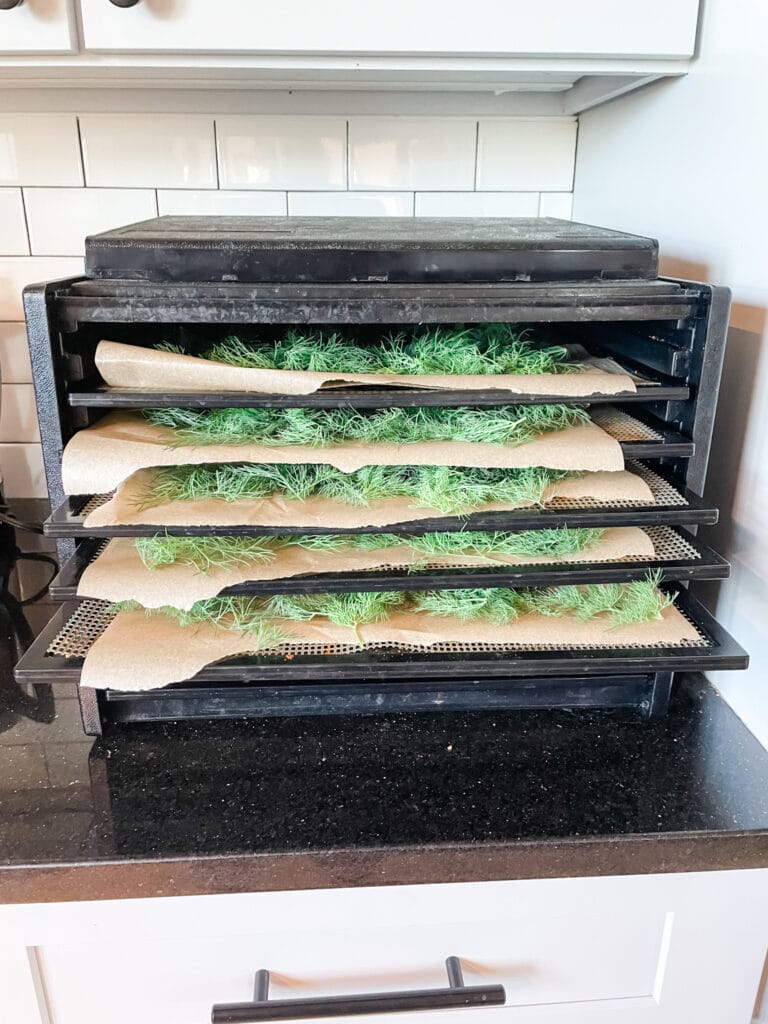
Herbs are fairly delicate and require a low heat setting around 100 degrees Fahrenheit. They usually dry pretty quickly, too, unless there is high humidity in your home. Some herbs will dry in a few hours and some will take longer.
The goal is to remove ALL the moisture: you want very dry, brittle herbs.
4. To crush or leave whole
I recommend storing your dried herbs whole. Yes, they take up more space this way, but they’ll also retain better color and flavor. When it comes time to cook with your herbs, you can crush them as needed with a mortar and pestle or simply crumble with your hands.
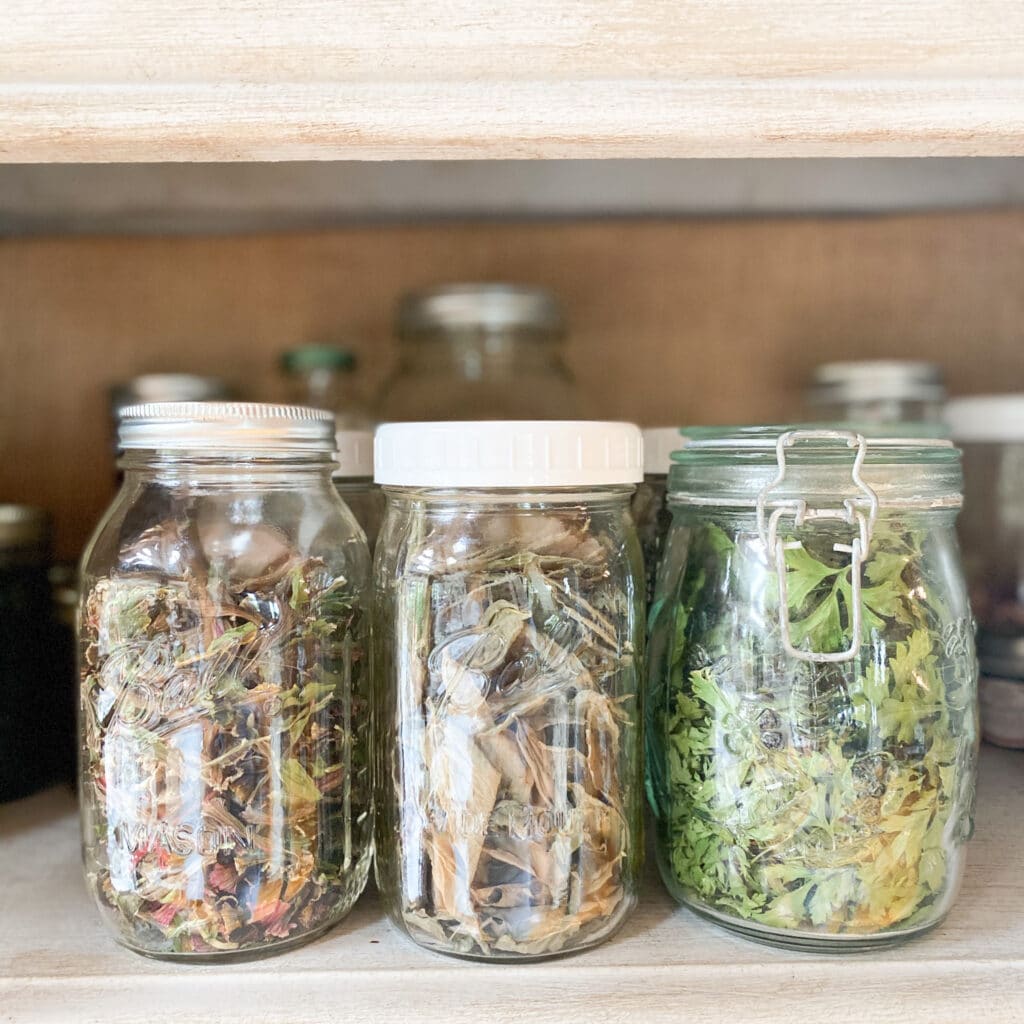
5. How to store
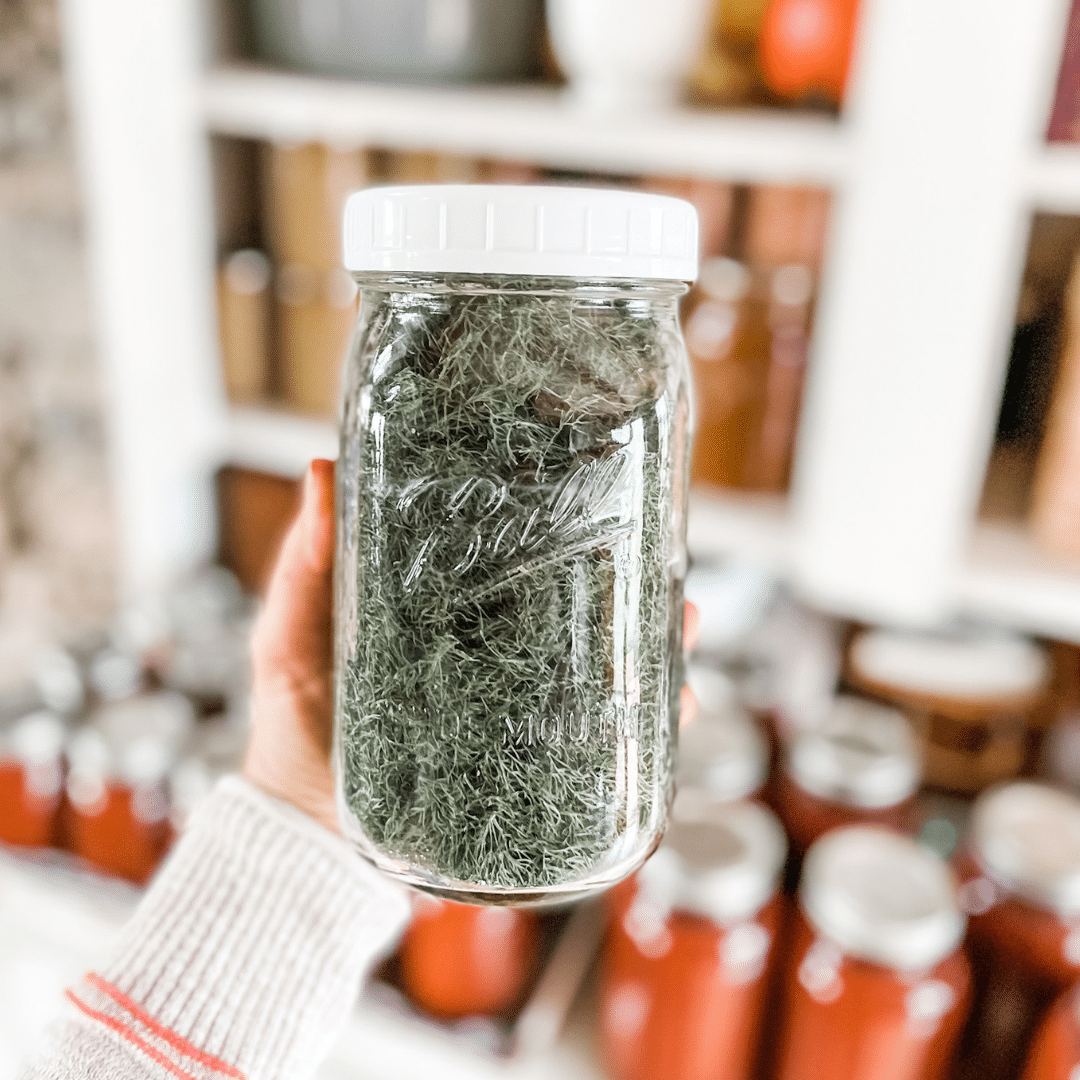
Store your dried herbs in an airtight container like a glass canning jar. Try to keep the jars away from light and heat if at all possible. Be sure to label your jars with the type of herb and the date!
And that’s it! Are you ready? Let’s walk through the steps of drying fresh dill weed.
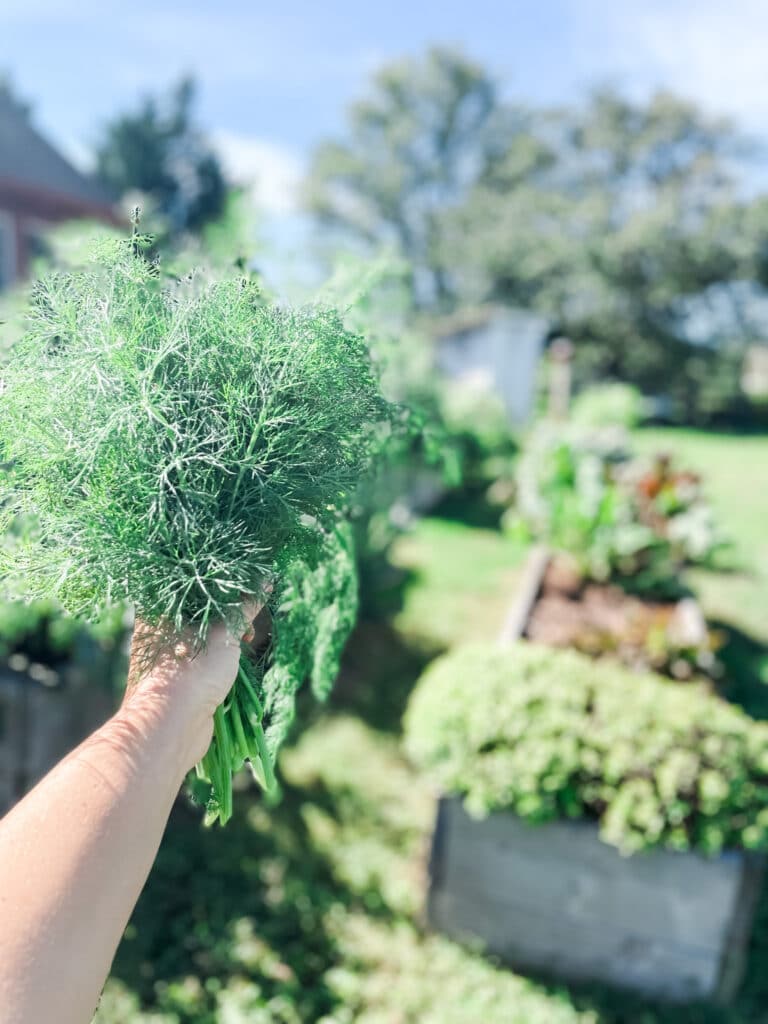
1. Harvest the dill.
2. Pinch the feathery fronds off the stems.
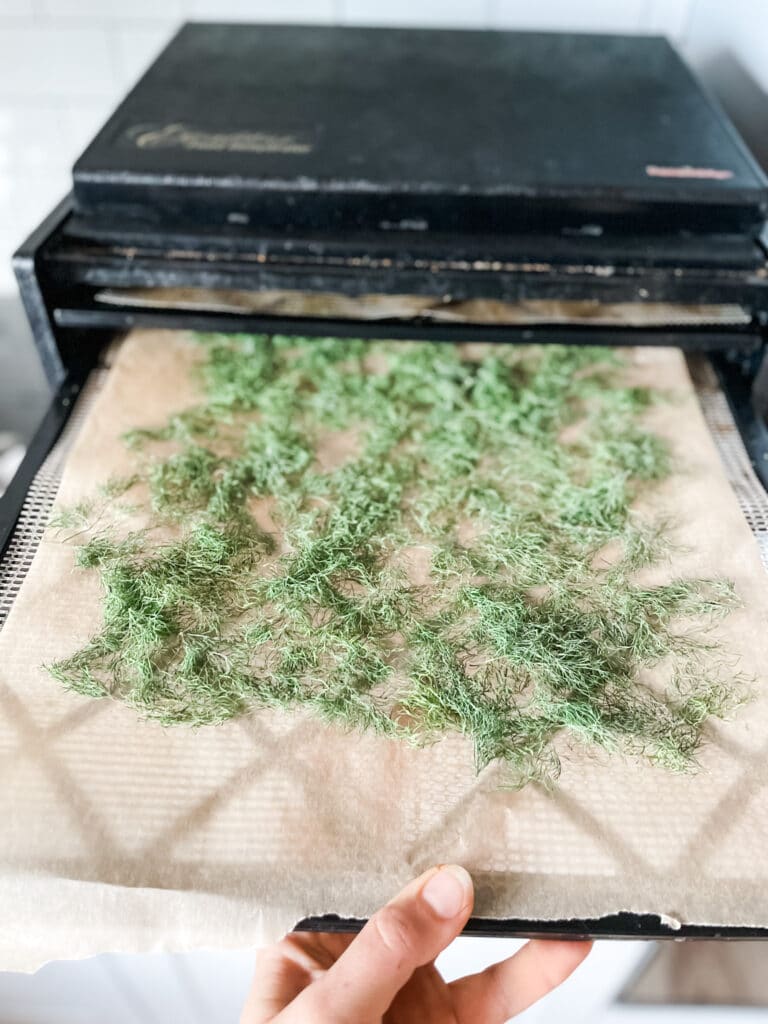
3. Spread the dill weed in a single layer on dehydrator trays.
4. Dry at 105 degrees Fahrenheit. Check after a few hours.
5. When the dill weed is completely dried, allow it to cool before storing in a glass jar.


How to Dry Your Own Herbs in a Dehydrator
- Category: Canning & Preserving
Description
Drying your own herbs is a quick and simple way to preserve them for use all year long. Your future self will be grateful!
Ingredients
Fresh herbs, stripped from stems
Instructions
Strip leaves or fronds from stems, collecting them in a bowl as you work. Note that some herbs are easier to strip after drying: thyme and rosemary are two examples.
Spread the herbs in a single layer on dehydrator trays. For small herbs like thyme, rosemary, or dill, I recommend lining the tray with a sheet of parchment paper. Otherwise the tiny dried herbs will slip through the holes in the tray.
Dry in a dehydrator set to 105 degrees Fahrenheit for a few hours up to overnight, until completely dry and brittle.
Allow to cool completely, then store dried herbs in airtight jars or containers.

22 NOURISHING GLUTEN-FREE SOUP RECIPES
Simplify your dinner prep with these tasty, nourishing soups!
")
Sign up NOW for my best tips delivered weekly to your inbox!
You’ll also get instant access to my library of free ebooks and resources.


Leave a Comment