

Fermented Garlic Scape Pickles

This post may contain affiliate links, which means I make a small commission at no extra cost to you.
See my full disclosure here.
Fermented Garlic Scape Pickles: A Simple, Flavorful Way to Preserve Garlic Scapes
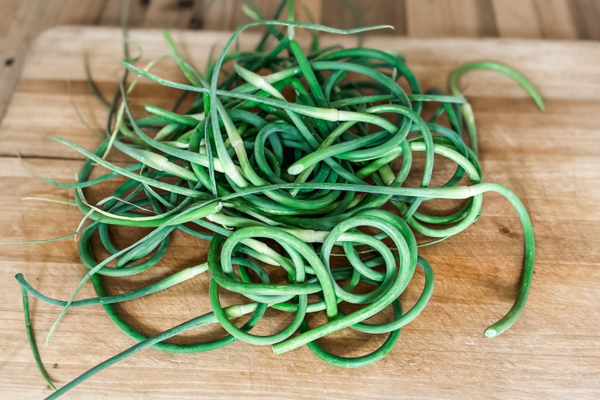
Garlic scapes are one of the best-kept secrets of the garden. These curly green shoots appear in late spring or early summer, offering a mild garlic flavor with a hint of sweetness.
If you grow garlic, harvesting scapes is essential for encouraging larger bulbs. But what do you do with all those scapes?
You can sauté them, blend them into pesto, or even dehydrate them for homemade garlic scape powder—get the instructions here. But one of my new favorite ways to preserve them is Fermented Garlic Scape Pickles.
Fermenting garlic scapes is easy, requires minimal ingredients, and gives you a probiotic-rich, tangy snack that lasts for months.
Why Ferment Garlic Scapes?
Fermentation is one of the oldest methods of food preservation, and it comes with a host of benefits:
- Boosts gut health by introducing beneficial bacteria.
- Enhances flavor with a natural tangy kick.
- Preserves nutrients without heat or chemicals.
- Extends shelf life so you can enjoy garlic scapes long after their short season ends.
Plus, Fermented Garlic Scape Pickles are incredibly versatile. Eat them straight from the jar, chop them into salads, or add them to sandwiches for a garlicky crunch.
How to Make Fermented Garlic Scape Pickles
Ingredients
- About 1 pound garlic scapes
- 2 tablespoons unrefined sea salt
- 4 cups water
Optional Additions:
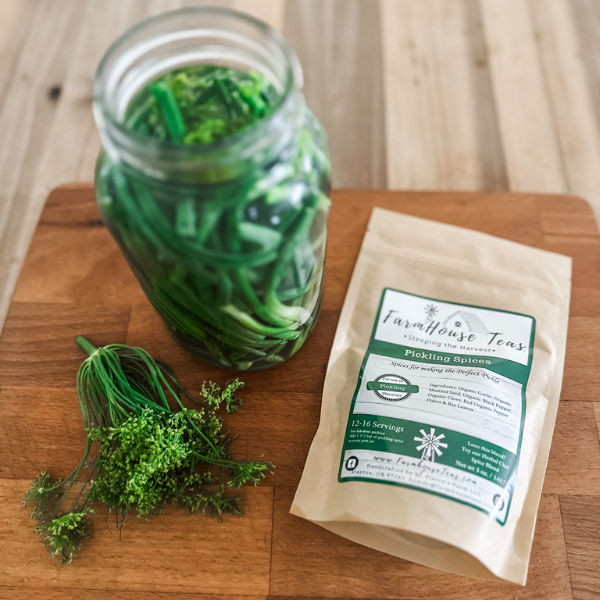
- 1-2 teaspoons pickling spices like coriander, black pepper, mustard seed, and allspice*
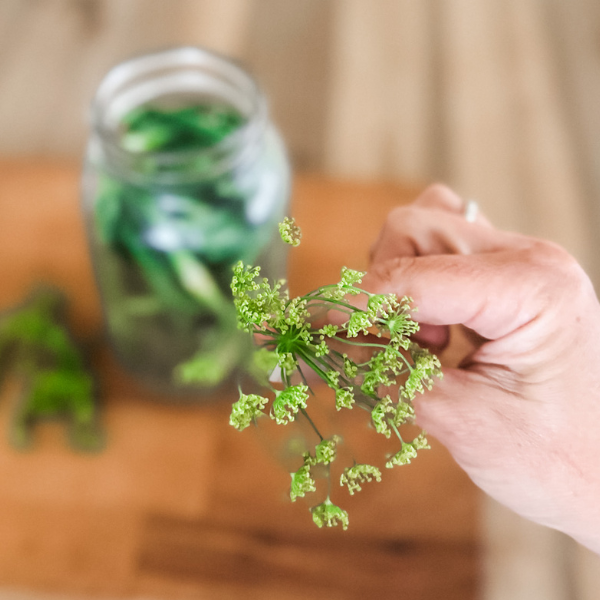
- Several fresh dill fronds or 1-2 dill flowers for a dill pickle flavor
- Red pepper flakes for a bit of heat
*I love this handy ready-made Pickling Spice blend from one of my favorite small businesses (woman-owned!). Be sure to check out my other top picks from this retailer of high-quality herbs, loose leaf teas, kombucha supplies, and more. Use code ROOTS&BOOTS to save on your order!
Equipment
- Glass fermentation weight
- Fermentation lid
- Wide-mouth quart-sized mason jar
- Wide-mouth canning ring (depending on the type of fermentation lid used)
Instructions
Step 1: Prepare Your Scapes
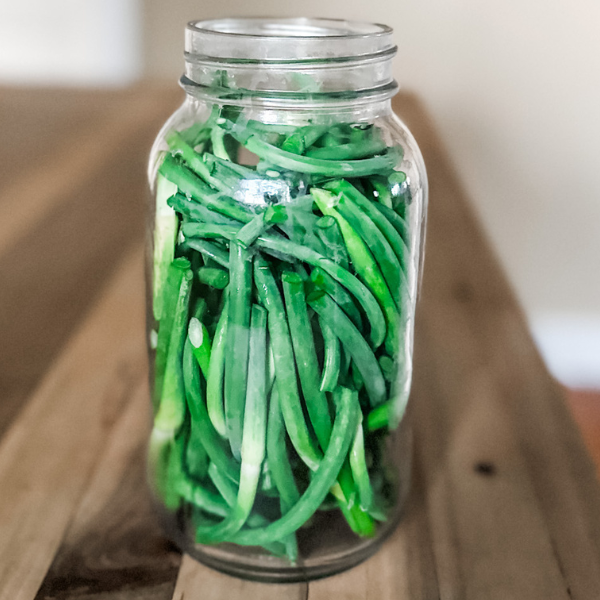
Snip the papery end of the flower with kitchen shears, keeping about 1 ½ inches of the flowering end. If your garlic scapes are more mature, remove the tough stem end, too.
Pack the scapes into a wide-mouth quart jar, ensuring they fit snugly. Add any optional spices or herbs for extra flavor.

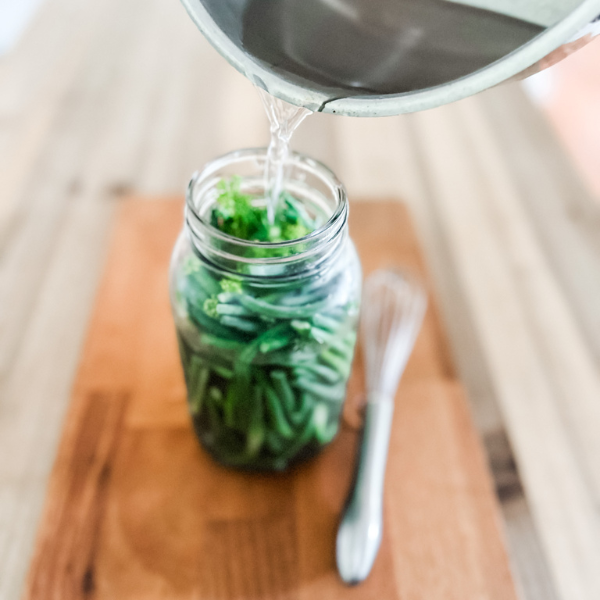
Step 2: Make the Brine
Stir the salt into the water until dissolved, and set aside. Alternatively, add the salt directly to the jar of scapes.
Pour the saltwater brine (or plain water, if you’ve added the salt directly to the jar) over the scapes until they are fully submerged but allowing room for the glass fermentation weight.
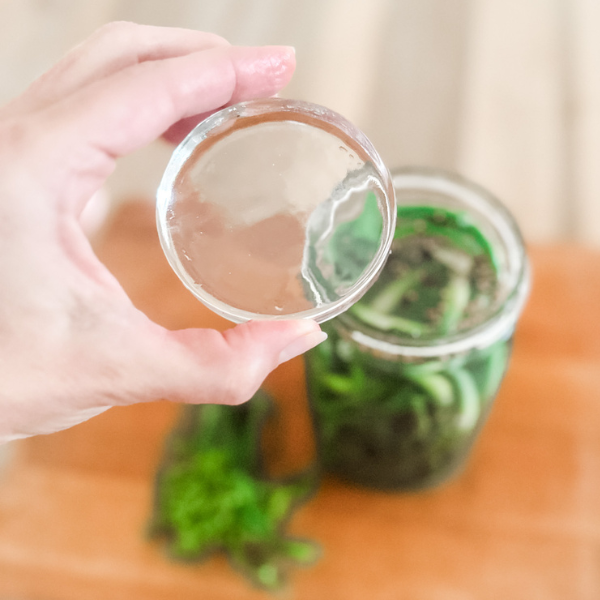
Step 3: Ferment the Scapes
Place a glass fermentation weight on top to keep the scapes submerged.
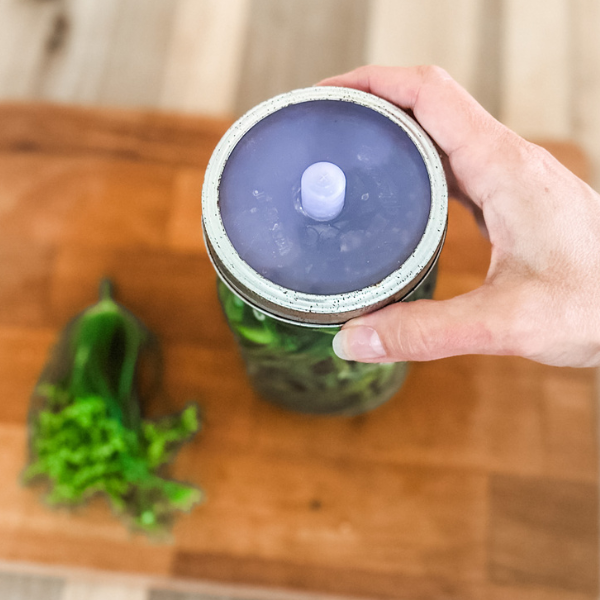
Seal the jar with a fermentation lid and ring.
Step 4: Store and Label
Be sure to label the jar with the contents and the date so you can track fermentation time and enjoy your fermented garlic scape pickles at their peak!
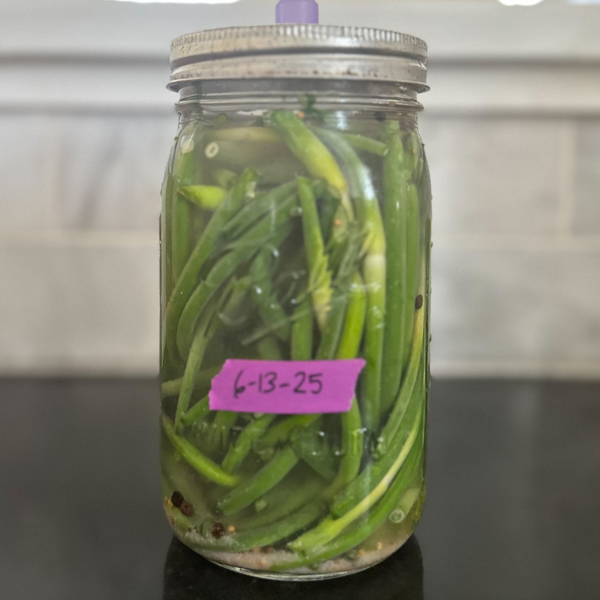
Let ferment at room temperature for 6 weeks, then taste-test for desired sourness. Once ready, transfer the jar to the refrigerator for long-term storage. They’ll keep for up to 1 year.
Keep Your Pickles Crunchy with This Simple Hack
Nobody wants a soggy pickle. The secret to keeping pickles crisp lies in tannins—natural compounds that help maintain firmness during fermentation. And one of the easiest ways to add tannins? Loose leaf black tea!
Just sprinkle a pinch of top-quality loose leaf black tea into your fermenting jar before sealing it. The tannins in the tea prevent the breakdown of pectin, keeping those garlic scape pickles wonderfully crunchy.
Bonus: The subtle, earthy notes of black tea won’t overpower the flavor of the pickles, making it a perfect addition for crispness without altering the taste.
This little trick works beautifully for all kinds of fermented veggies, so if you’ve struggled with mushy pickles, give black tea a try!
More Ways to Use Garlic Scapes
If you love garlic scapes, check out my guide on how to harvest and use them. You can also substitute garlic scapes in recipes that call for garlic cloves. Try them in:
- Charred Broccoli with Garlic
- Oven Roasted Green Beans with Garlic
- Fresh Garlicky Green Beans
- Sesame Garlic Chicken
Final Thoughts
Fermenting garlic scapes is one of the easiest ways to preserve their fresh, garlicky flavor while adding gut-friendly probiotics to your diet. Fermented Garlic Scape Pickles are simple to make, packed with nutrients, and a delicious way to enjoy garlic scapes all year long.
So next time you harvest garlic scapes, set some aside for fermenting—you won’t regret it!
Happy fermenting!
Growing Garlic
You’ll love these tutorial videos all about growing and harvesting garlic:
Print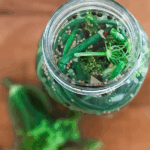
Fermented Garlic Scape Pickles
Description
Preserve garlic scapes with Fermented Garlic Scape Pickles—a tangy, probiotic-rich snack that’s easy to make and packed with flavor!
Ingredients
- About 1 pound garlic scapes
- 2 tablespoons unrefined sea salt*
- 4 cups water
Optional Additions
- 1-2 teaspoons pickling spices like coriander, black pepper, mustard seed, and allspice**
- Several fresh dill fronds or 1-2 dill flowers for a dill pickle flavor
- Red pepper flakes for a bit of heat
- Loose-leaf black tea for crunchy pickles
Supplies
- Glass fermentation weight
- Fermentation lid
- Wide-mouth quart-sized mason jar
- Wide-mouth canning ring (depending on the type of fermentation lid used)
Instructions
Step 1: Prepare Your Scapes
Snip the papery end of the flower with kitchen shears, keeping about 1 ½ inches of the flowering end. If your garlic scapes are more mature, remove the tough stem end, too.
Pack the scapes into a wide-mouth quart jar, ensuring they fit snugly. Add any optional spices or herbs for extra flavor.
Step 2: Make the Brine
Stir the salt into the water until dissolved, and set aside. Alternatively, add the salt directly to the jar of scapes.
Pour the saltwater brine (or plain water, if you’ve added the salt directly to the jar) over the scapes until they are fully submerged but allowing room for the glass fermentation weight.
Step 3: Ferment the Scapes
Place a glass fermentation weight on top to keep the scapes submerged, then seal the jar with a fermentation lid.
Step 4: Store and Label
Be sure to label the jar with the contents and the date so you can track fermentation time and enjoy your fermented garlic scape pickles at their peak!
Let ferment at room temperature for 6 weeks, then taste-test for desired sourness. Once ready, transfer the jar to the refrigerator for long-term storage. They’ll keep for up to 1 year.
Notes
*Use code KEEPITREAL for 15% off your order of my favorite unrefined sea salt, including this tasty organic season salt, and no-junk electrolytes.
**I love this handy ready-made Pickling Spice blend from one of my favorite small businesses (woman-owned!). Be sure to check out my other top picks from this retailer of high-quality herbs, loose leaf teas, kombucha supplies, and more. Use code ROOTS&BOOTS to save on your order!

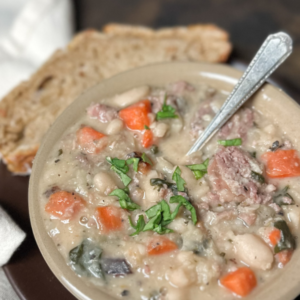
22 NOURISHING GLUTEN-FREE SOUP RECIPES
Simplify your dinner prep with these tasty, nourishing soups!
")
Sign up NOW for my best tips delivered weekly to your inbox!
You’ll also get instant access to my library of free ebooks and resources.


Leave a Comment