Canning Supplies List for Beginners
Plan your best garden with simple, step-by-step instructions!
This post may contain affiliate links, which means I make a small commission at no extra cost to you.
See my full disclosure here.
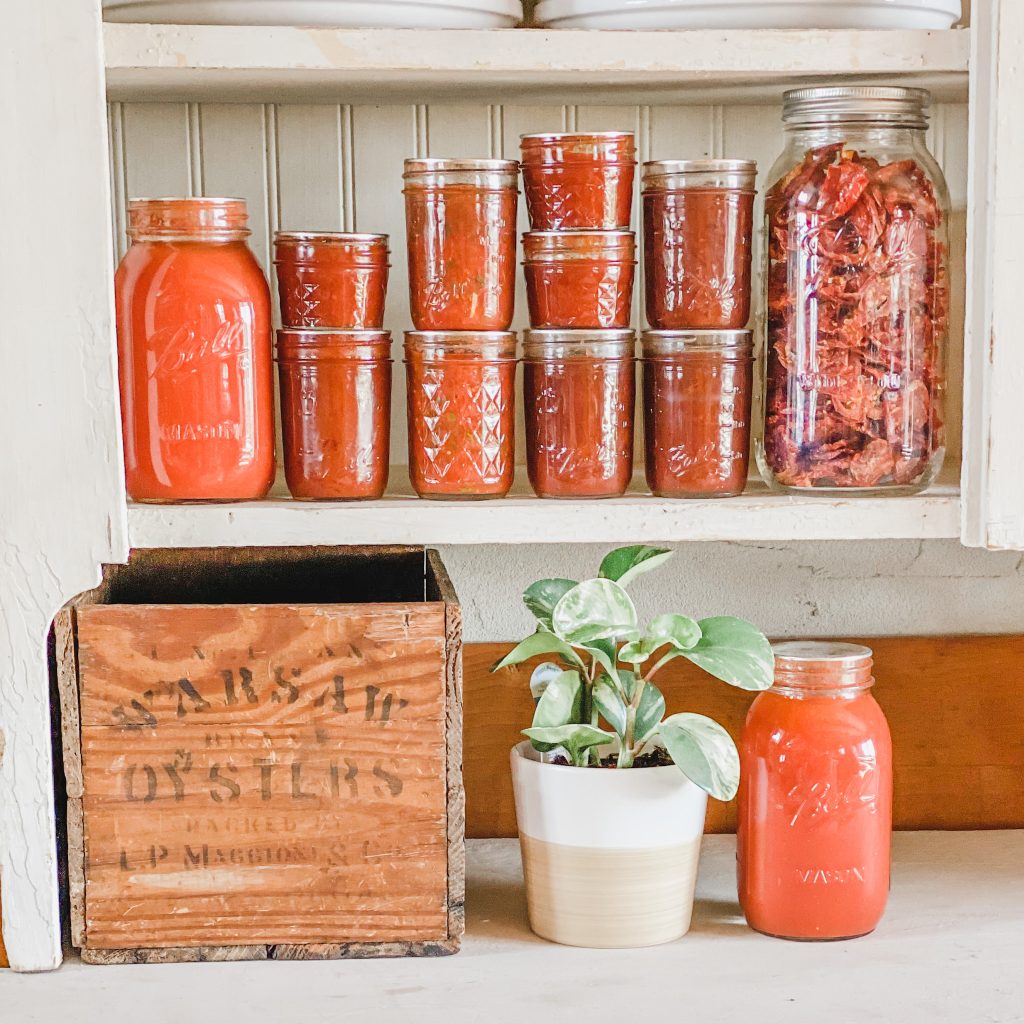
Ready to start preserving your homegrown fruits and veggies? Or maybe you scored a few bags of beautiful produce at the farmer’s market? This canning supplies list for beginners will get you off to a great start.
You’ll also want to check out these simple canning recipes:
- Applesauce
- Blackberry Jam
- Diced Green Chiles
- Green Beans
- Home Canned Peaches without Sugar
- Honey Pickled Radishes
- Honey Sweetened Blueberry Jam
- Hot Pepper Jam
- Salsa with Lime Juice
- Strawberry Jam
- Tomato Jam
- Tomato Sauce
- Tomato Soup
Canning Supplies List for Beginners
- water bath canner
- water bath canner recommended for glass cooktops*
- jar lifter
- lid wand
- bubble popper
- funnel
- ladle
- flat tray
- apron
- kitchen towel
- dishcloth or small rag
- pressure canner
- food mill
- 19-quart stainless pot
- digital food scale
1. Water bath canner
Beginners should definitely start with a basic water bath canner. This is the water bath canner I use. I actually have two of them!
You’ll use a water bath canner for canning tomatoes and most fruits. If you’re looking to preserve things like tomato sauce, salsa, jam, or applesauce, this is the canner you’ll need.
After you master the basic technique, you can add a pressure canner to your canning lineup.
*If you have a glass cooktop, please check with the manufacturer of your stove. Canning on a glass cooktop is somewhat controversial. One factor is the bottom of the canning pot: a smooth bottomed pot should be used on glass cooktops and pots with indentations in the bottom should be avoided. HOWEVER, I successfully canned on a glass stovetop for years, with both an enamelware water bath canner and a pressure canner. Both pots were indented on the bottom. My cooktop was never harmed and my canned foods turned out well. If you have a glass cooktop, I do advise you to do your own research on this topic.
2. Jar lifter
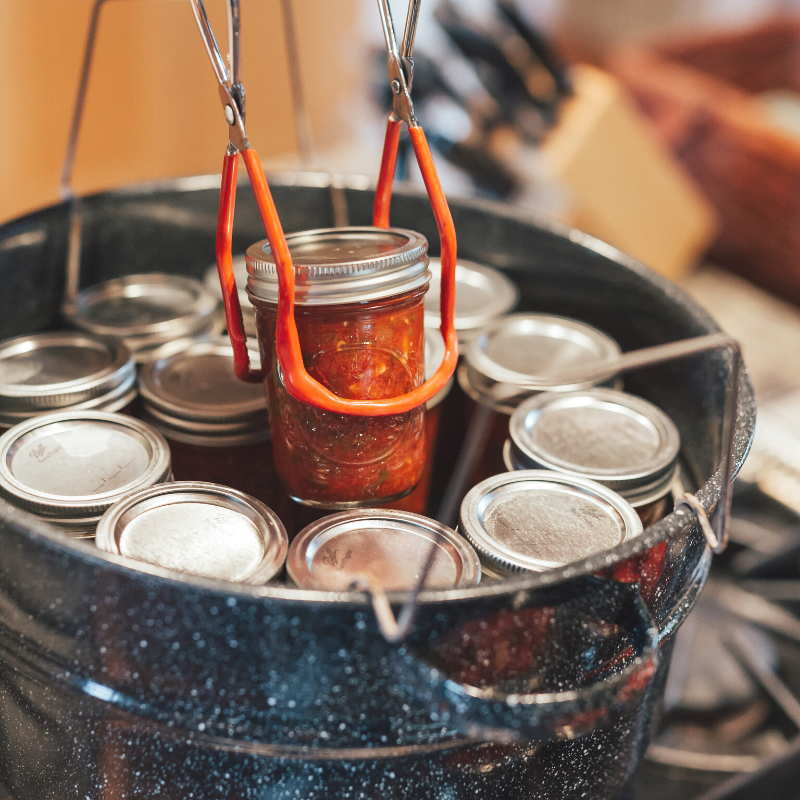
This handy tool allows you to lift hot, wet jars safely. One jar lifter will probably last you for years, if not for a lifetime.
3. Lid wand
This is another simple device that does exactly what it’s designed to do and will also last for years. Use your lid wand to remove hot canning lids and rings from a simmering pot prior to adding them to your canning jars.
4. Bubble popper & measurer
I actually don’t own a bubble popper, because my Vitamix spatula does the job just fine. There might be something in your kitchen that would work, too. However, the measuring device does seem handy, especially for beginners.
I also came across this two-in-one lid wand and bubble popper, which seems like a great idea. And if you’re just starting out, you might like to snag an entire canning kit with all the nifty tools you’ll need.
5. Funnel
Although you can use any wide mouth funnel, I absolutely LOVE my stainless steel model. It’s both affordable and sturdy, and I expect it to outlive me. My funnel is nontoxic, nonstaining, and easy to clean, and I use it for many purposes other than canning.
By the way, even though it’s called a wide mouth funnel, it also fits in regular mouth jars.
6. Ladle
Sadly, my favorite stainless canning ladle broke after almost two decades of use. I’m excited to try this new one, also stainless, and with spouts on both sides. The spouts should be perfect for canning, as well as for ladling soup into mason jars for storage.
7. Flat tray
You may not see a flat tray listed in most canning manuals, but I consider it indispensable in my busy kitchen. Before I remove the hot jars from the canning pot, I prepare a flat tray lined with a clean kitchen towel.
As I lift each jar out of the canner, I place it on the towel-lined tray, lining up the jars as I go. This makes it easy to relocate the entire batch of hot jars without disturbing the cooling process and risking a failed seal.
You could also use a baking sheet or a cutting board, but I appreciate the handles and rim of a sturdy tray.
8. Apron
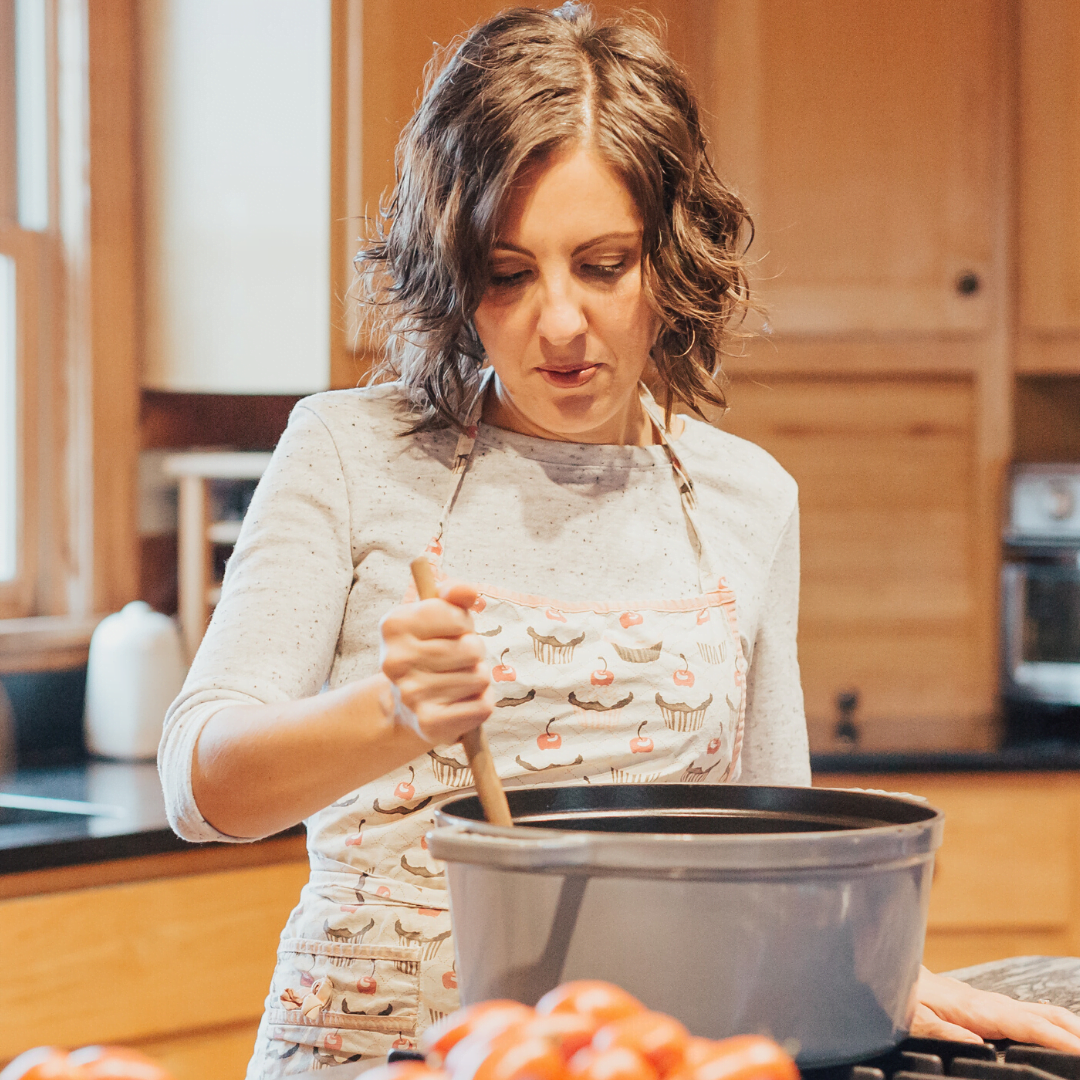
Technically, it is possible to can without an apron. But I wouldn’t want to! Maybe I’m a messy cook, but if I don’t wear an apron in the kitchen, you can bet my clothes will get ruined. Especially when it comes to berries or tomatoes.
9. Kitchen towel
I like to start a canning session with three clean towels. One goes over my shoulder for drying lids and rings, one is spread out next to the stove as a mat for hot jars, and one is used to line my flat tray.
10. Dish cloth or small rag
When it’s time to fill jars and add lids, you will need a small, clean, wet cloth for wiping the rims of the jars. This step is critical for achieving a good seal. If any food, sauce, or salt, etc. remains on the rim of the jar, it will prevent the lid from sealing properly.
11. Pressure canner
In order to can vegetables, you will need a pressure canner. With the exception of tomatoes, vegetables cannot be canned in a water bath canner because they lack the acid necessary for safe long term storage.
Don’t be intimidated by the pressure canner! I suggest starting with green beans and following my detailed instructions. Once you get the hang of it, it really is quite simple.
You might also want to try this recipe for home canned tomato soup. My recipe includes a number of pureed veggies, and is one of my most popular blog posts ever.
When it comes to pressure canners, you can opt for a less expensive model and expect to replace the gasket over time. Or you can invest in a pricier all-metal version, and avoid ever having to replace the gasket. I use this all-metal pressure canner.
12. Food mill
Some recipes, especially when working with tomatoes, will require the use of a food mill.
I started with this one. It’s sturdy, easy to clean, easy to store, and affordable.
As I continued my canning journey and began to can more and more and in greater quantities, I upgraded to this food mill. It is also sturdy, easy to clean, and easy to store. It costs a bit more than the smaller mill I started out with, but it boasts a much greater capacity for working with large amounts of tomatoes.
13. 19-quart stainless pot
Greg and the boys gave me this heavy-bottomed, stainless steel, lidded pot for Mother’s Day a few years ago and I have used the heck out it ever since. It’s perfect for cooking down large batches of tomatoes to make marinara sauce, pizza sauce, and more. I also use it to make beef bone broth. Such a versatile pot!
14. Jam pot
The exact jam pot I use is currently unavailable, but this one looks similar. Cooking jam in a wide pot can help to produce better end results due to maximized water evaporation and minimized cooking time.
15. Food scale
I love this digital food scale, and use it not only for weighing fruits and veggies for canning, but also for measuring out ingredients for sourdough baking. It’s stainless steel, easy to clean (with a removable platform!), easy to store, and has a pull-out screen, tare function, easy conversion button (from grams to ounces to pounds) and an 11-pound capacity.
You will also need:
- mason jars
- rings (also called bands)
- extra flat lids
Obviously, you’ll need jars for all your home canned goodies. If you buy new jars, they’ll come with lids and rings. The rings will last for a while, until they get rusty. But the flat lids must be new every time you can.
Once you’ve canned a jar of anything, that flat lid cannot be used again for canning. Used canning lids can be used for storage in the fridge or for shelf stable foods like dried goods. But you cannot reuse the flat lids for canning purposes.
So be sure to keep a good stash of brand new flat lids, in both regular mouth and wide mouth sizes.
Jar sizes
I typically choose quart sized jars for foods that I know we’ll eat in larger quantities, such as green beans, tomato soup, and some (but not all) of our tomato sauce. I choose pint sized jars for applesauce, tomato sauce, and dill pickles.
Salsa goes into half pint sized jars, as do BBQ sauce and honey pickled radishes. For ketchup, jams, and fruit butters, I like to divide the goods between half pint and 4 oz jars.
Lid sizes
Wide mouth lids are my preference for most quart and pint sized jars, while half pint and 4 oz jars require regular mouth lids.
Canning staples
During canning season, I make sure to keep a good supply of the following canning staples. Of course, some recipes will call for additional ingredients. But these are the main ones to keep on hand.
- bottled lemon juice
- bottled lime juice
- white vinegar
- apple cider vinegar
- honey
- pectin
- salt – I use unrefined sea salt. Save 15% on your order with code KEEPITREAL.
And there you have it. Are you ready to get started? I’d love to hear about your canning adventures…leave me a comment below! What are you planning to can next?
22 NOURISHING GLUTEN-FREE SOUP RECIPES
Simplify your dinner prep with these tasty, nourishing soups!
Sign up NOW for my best tips delivered weekly to your inbox!
You’ll also get instant access to my library of free ebooks and resources.






Leave a Comment