No Sugar Home Canned Applesauce
This post may contain affiliate links, which means I make a small commission at no extra cost to you.
See my full disclosure here.
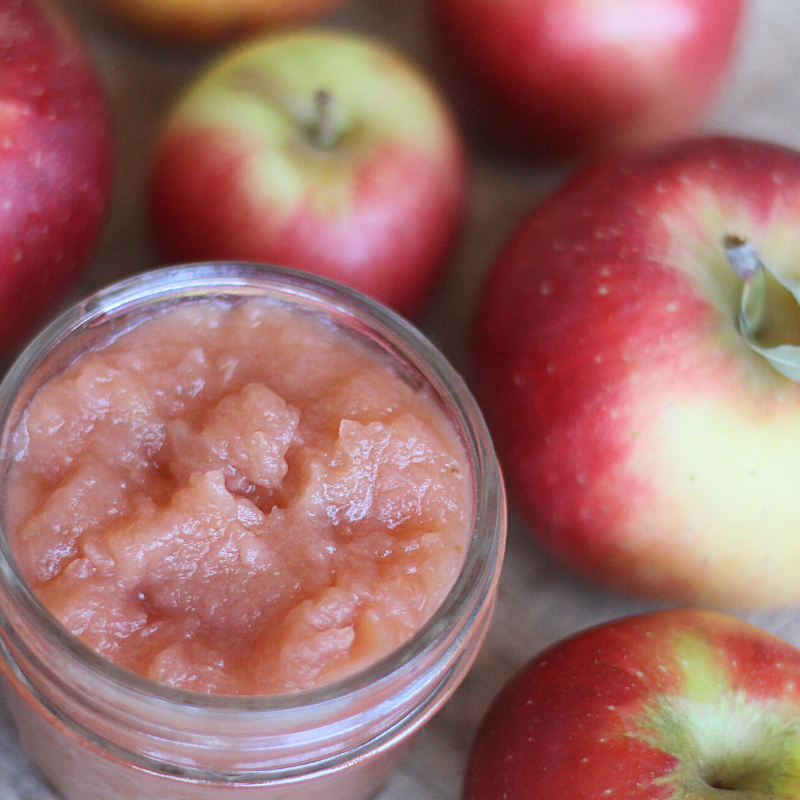
This no sugar home canned applesauce is thick, delicious, and filling. It doesn’t even compare to the thin, runny stuff from the grocery store. What a treat to pop open a jar of this tasty sauce long after fall apple harvests have passed, and savor the sweet goodness of freshly picked apples!
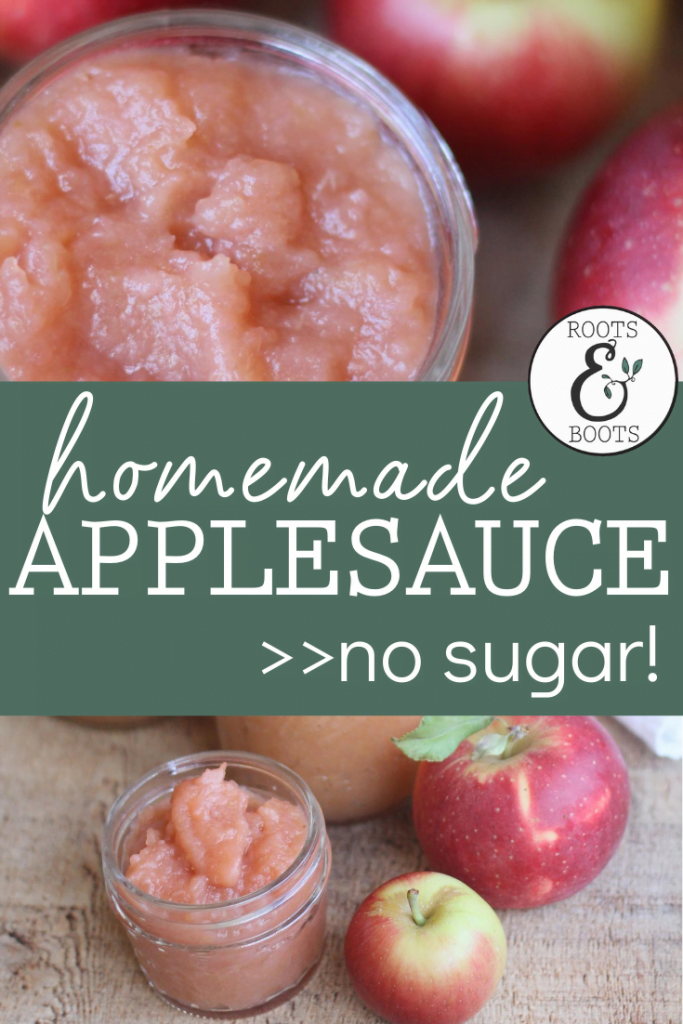 And guess what: the only ingredient is apples! Bonus points if you use locally sourced apples that are as organic as possible.
Note: the canning is optional. I’m thinking you could probably freeze this applesauce if you have the space, or just devour it while it’s still fresh.
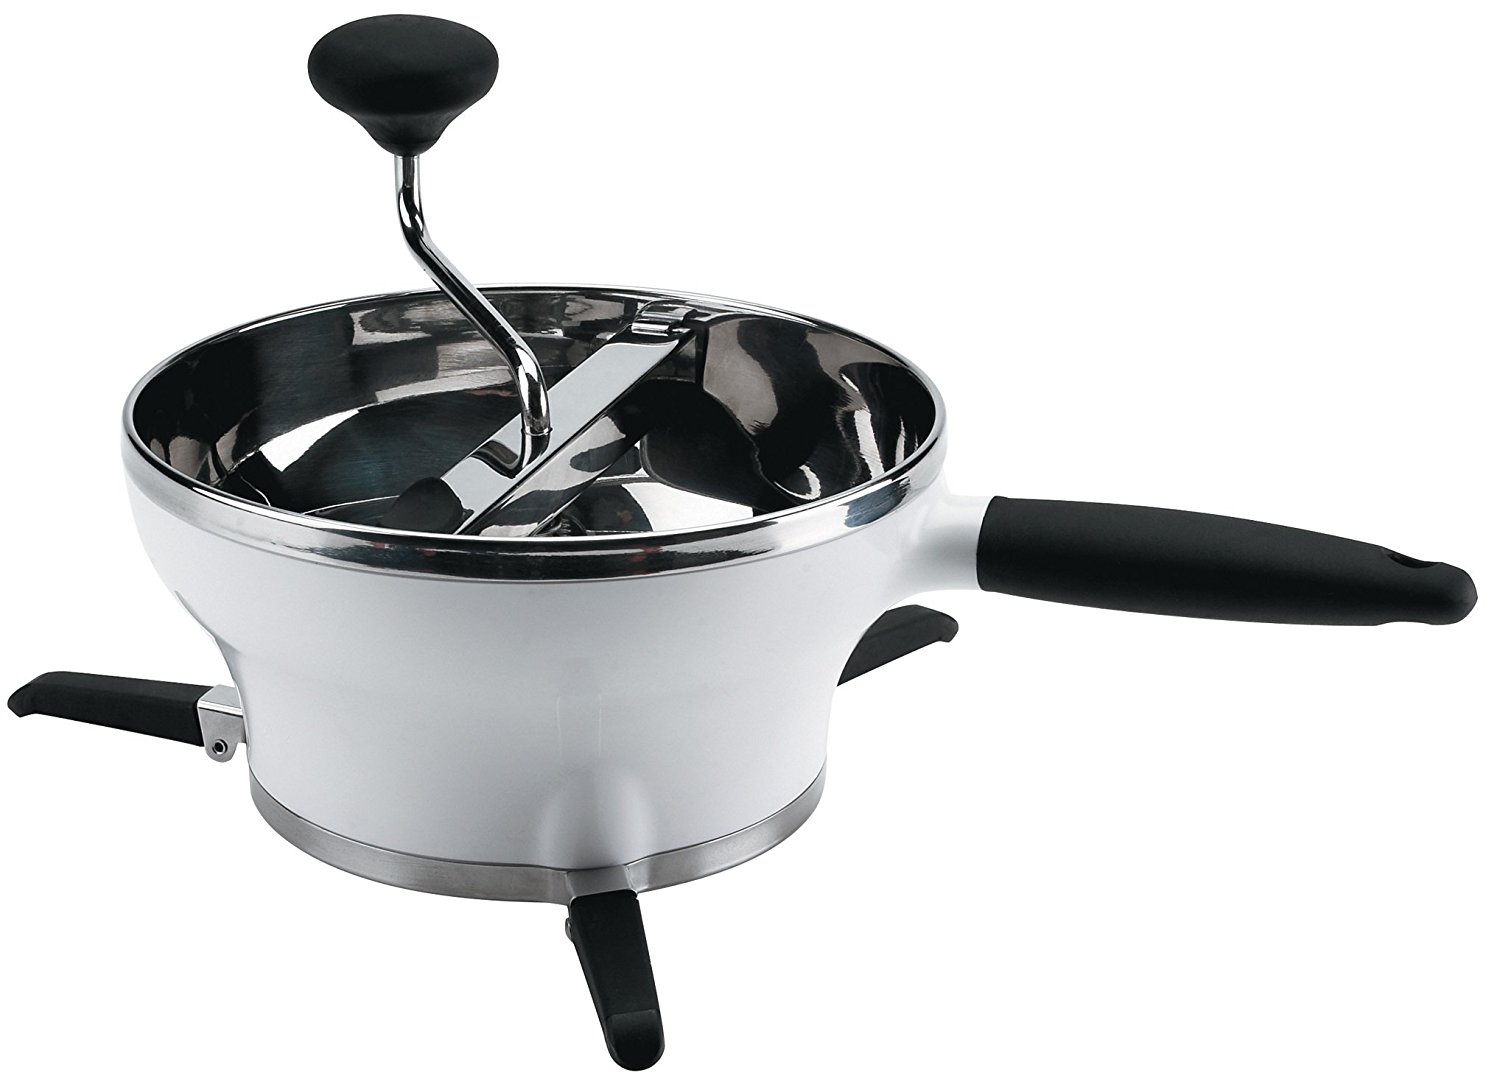
Ain’t no one got time to peel pounds and pounds of apples, so go ahead and invest in a food mill. Note: scroll down for my update that makes this sauce EVEN EASIER.
The return on investment for a food mill is considerable, especially if you add in all the time you’ll save in addition to the money you’ll save by making your own sauce. I used my new food mill to make tomato sauce this year, and it was awesome!
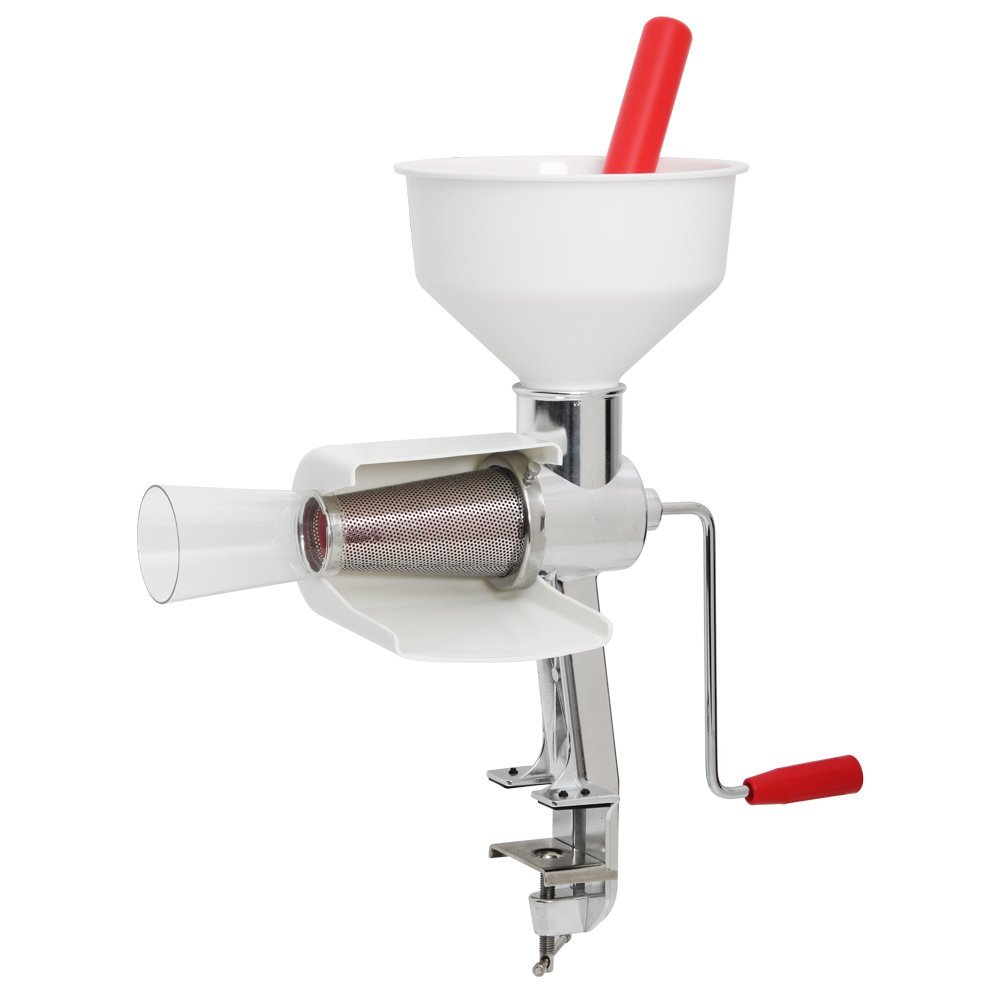
I have this OXO food mill, but am sort of wishing I’d known about this Victorio strainer first. Mine is very sturdy, dishwasher safe, easy to store, affordably priced, and has great reviews. The other one I’m eyeing is pricier (especially when you add the attachments and/or motor), but has equally great reviews with many references to how quickly and effortlessly it processes tomatoes and apples.
Hmmm. My OXO food mill works well, but it does take a while to turn the handle through an entire batch of sauce and my arm gets pretty tired! It beats peeling 16 pounds of apples by hand, though, so I can’t complain. If you have experience with a Victorio food strainer, I’d love to hear your thoughts in the comments below!
If you don’t have a food mill or strainer, it’s totally fine to peel the apples by hand before chopping and cooking.
UPDATE (2018): This year I tried an experiment that makes this whole applesauce process unbelievably easier and even more nutritious: the Vitamix. Why haven’t I tried this before? I considered it last year, and now I can’t remember why on earth I didn’t choose this method in the first place. Core and quarter or chop the apples, cook with a bit of water until softened, then blend in the Vitamix until the skins are well incorporated but before the mixture reaches a liquid state. Then process in a water bath as usual.
UPDATE (2020): I upgraded to this food strainer. It’s amazing for tomato sauce! But I still use the Vitamix method for my applesauce.
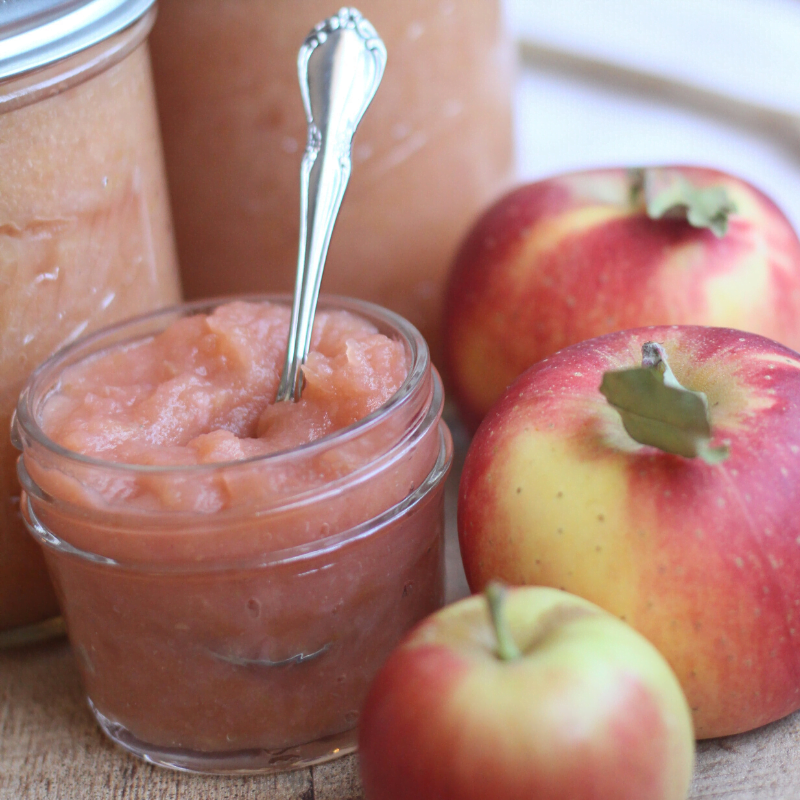
Whether you choose a food mill, a strainer, or peeling by hand, prepare yourself for some amazing applesauce. Choose 2 or 3 apple varieties for a sweeter, more flavorful sauce. For the sauce pictured here we used Crimson Crisp and Criterion, only because those were the sweeter apples available at our local orchard.
You’ll need about 15-16 pounds for a full canner load of 9 pints. If you prefer quart-sized jars, you’ll want about 25 pounds of apples for a full canner load of 7 quarts.
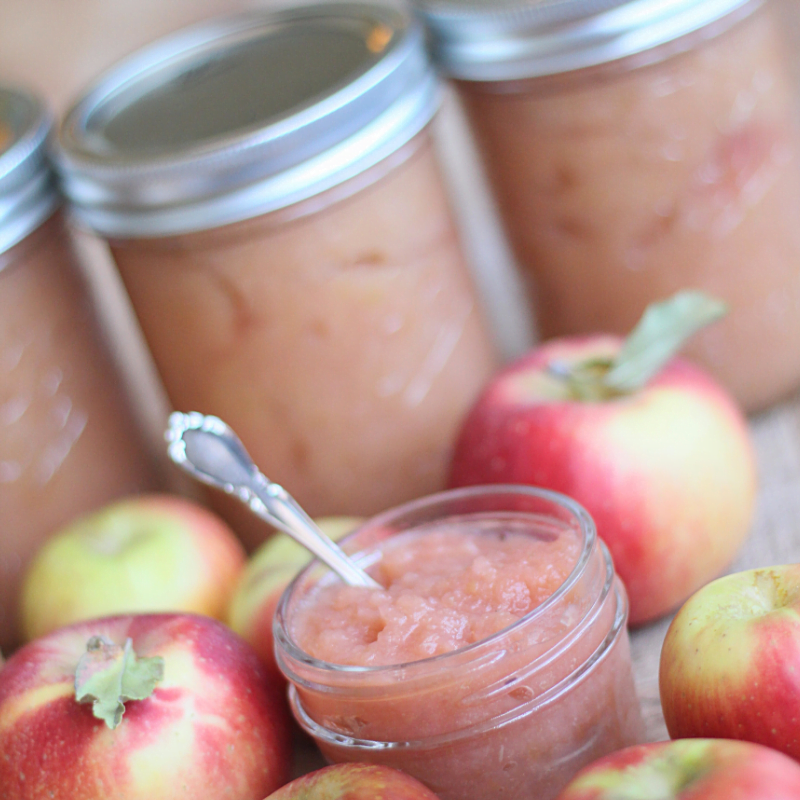
Personally, I prefer pint jars. This no sugar home canned applesauce contains zero preservatives and it’s also very thick and filling. A little goes a long way! I don’t want to waste any of this appley goodness, so I prefer the smaller jar that will allow my family to use it all up while it’s still fresh and delicious.
When my boys hit their teenage years, perhaps I’ll reconsider and switch over to quart jars of applesauce!
Also, you can add cinnamon if you like, but I like it plain.
The recipe below is pretty detailed. When I first started canning, I needed explicit instructions! If you’re an experienced canner, you’ll probably just want to know that the apples should be cored and chopped, then cooked until soft, then run through a food mill (or high speed blender). Return apples to the pot and heat thoroughly. Process in a hot water bath for 20 minutes. The end!
Enjoy…happy fall, my friends!
PS – if you have leftover apples, turn them into apple sandwiches! Bread-free and kid-approved. Your kids will love ’em!
PPS – if you have little kids, check out a few apple picture books to read while eating your yummy applesauce. Especially #13 from this list and #3 from this list.
Print
No Sugar Home Canned Applesauce
- Yield: 9 pints
- Category: Canning & Preserving
Ingredients
- 15-16 pounds apples (for 9 pints, which is the max load for this common 21.5 qt hot water canner)
- For a max canner load of 7 quarts, aim for about 25 pounds of apples
Instructions
- Core and chop apples into chunks. The smaller the chunks, the quicker they’ll soften.
- Add apples to one or two large, heavy bottomed pots. Add about 1 cup water to each pot to prevent scorching.
- Cook over medium heat until apples begin to soften, stirring often.
- While apples cook, prepare canning supplies: boil 9 clean pint jars in a boiling water canner.
- Simmer 9 pint-sized canning lids in a small saucepan of water. Do not allow the water to boil.
- Gather 2 clean towels, 1 clean dish cloth, jar lifter, lid wand, 9 pint-sized canning rings, wide mouth funnel, large stirring spoon, food mill, 2nd large pot.
- Position food mill over large empty pot. An 8-cup glass measuring cup works well, too. (My food mill has 3 disks; I use the middle disk with medium-sized holes.)
- Transfer apples to food mill and process in batches.
- When all apples have been processed and skins removed, return sauce to the stove top and heat thoroughly.
- OR skip the food mill and blend softened apples (skins and all) in a high speed blender like a Vitamix. The sauce will still be hot, so pour it right into your hot jars…
- When applesauce is hot, begin the canning process.
- Very carefully (with oven mitts!) raise the canning rack of jars in the canning pot.
- Use jar lifter to remove several hot, clean jars from the canning pot.
- Place them on a clean towel next to the pot of applesauce.
- Use the funnel to fill each jar, leaving 1/4 inch head space.
- Wipe jar rims with a clean, damp dish cloth.
- Use lid wand to remove one lid at a time from the simmering water.
- Dry lid with clean dish towel and position on jar.
- Add ring and secure to finger tip tightness.
- Use jar lifter to place filled jar back in the canning pot.
- Repeat process until all 9 jars are filled and resting in the raised rack of your canning pot.
- Carefully lower the rack into the pot and cover pot with lid.
- Return to a boil and process for 20 minutes.
- After 20 minutes, remove the lid (carefully–lift the lid so steam escapes out the back and not in your face) and turn off heat.
- When boiling subsides, carefully raise the rack.
- Use the jar lifter to remove jars one at a time and place on a sturdy tray lined with a clean towel.
- Do not touch or disturb jars for 12-24 hours.
- After 12-24 hours, check seals, label jars and move to storage location.
Notes
Click here to shop my favorite kitchen tools and real food ingredients.
22 NOURISHING GLUTEN-FREE SOUP RECIPES
Simplify your dinner prep with these tasty, nourishing soups!
Sign up NOW for my best tips delivered weekly to your inbox!
You’ll also get instant access to my library of free ebooks and resources.
You might also like...
5 responses to “No Sugar Home Canned Applesauce”
-
I’m guessing this would be pressure canned since it is no added sugar?
-
Since apples fall in the high-acid category, it’s perfectly safe to process them (without sugar) in a boiling water bath. So easy!
-
-
My grandmother has the Victorio strainer (which she passed on to us) that we use for applesauce. I have fond memories of my family getting together to make applesauce. We did not have a motor for it, but it is easy to turn and so rewarding to see the sauce coming out. Things get pretty messy, so we kept a bowl on the floor to catch drips and towels under the bowls. We also use two or three kinds of apples, no added sugar and we freeze it. We didn’t make any this year and this post is making me crave it. I may need to make some soon 🙂
-
What a fun family tradition, Sonya. Glad to know you’ve enjoyed your Victorio!
-
-
And if you are going to freeze the sauce anyway, you could just keep the skin on and not strain it out. Personally I like the texture contrast. 🤗



Leave a Comment