

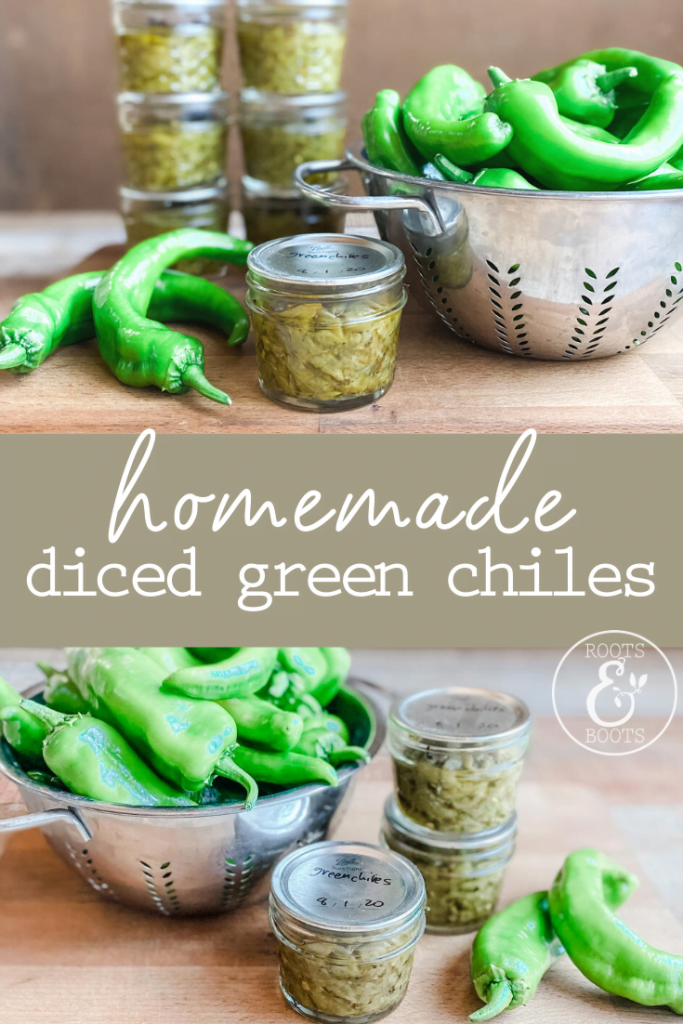
Canning Diced Green Chiles

This post may contain affiliate links, which means I make a small commission at no extra cost to you.
See my full disclosure here.
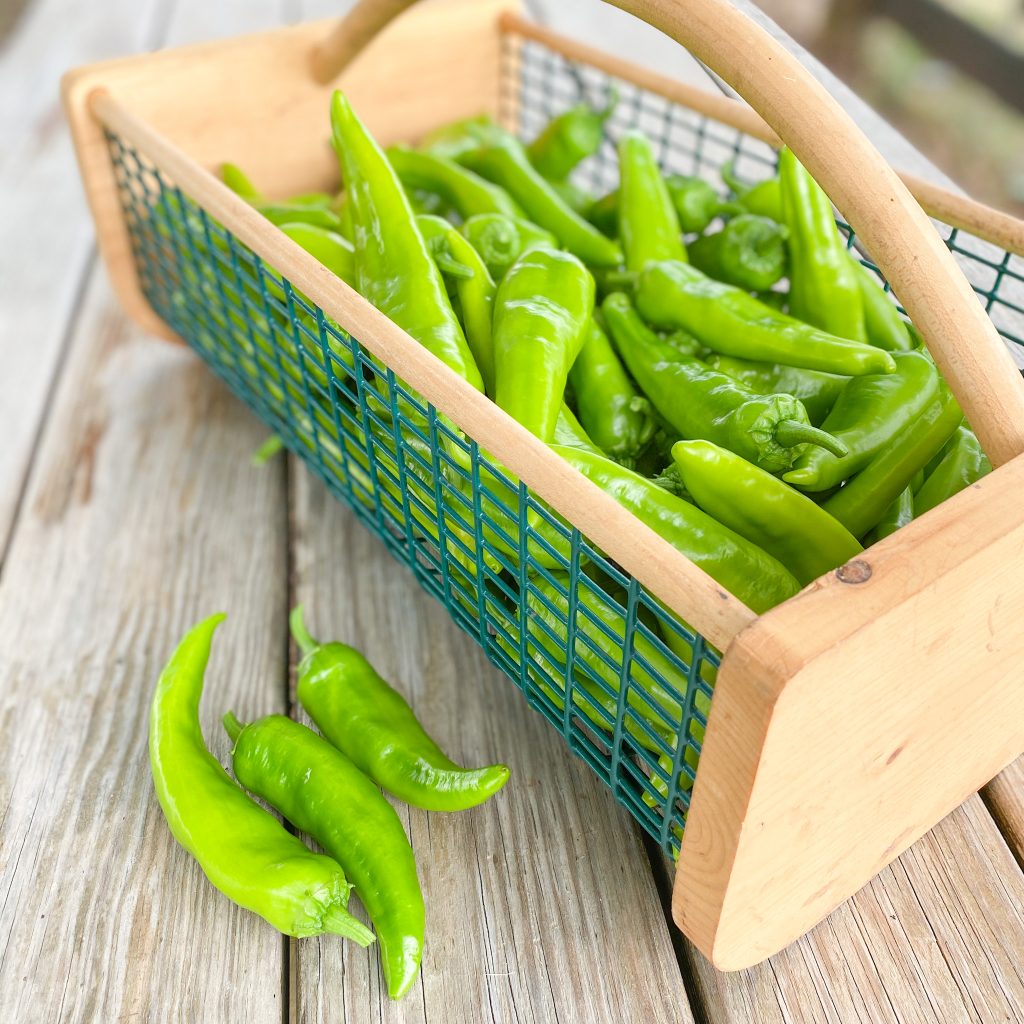
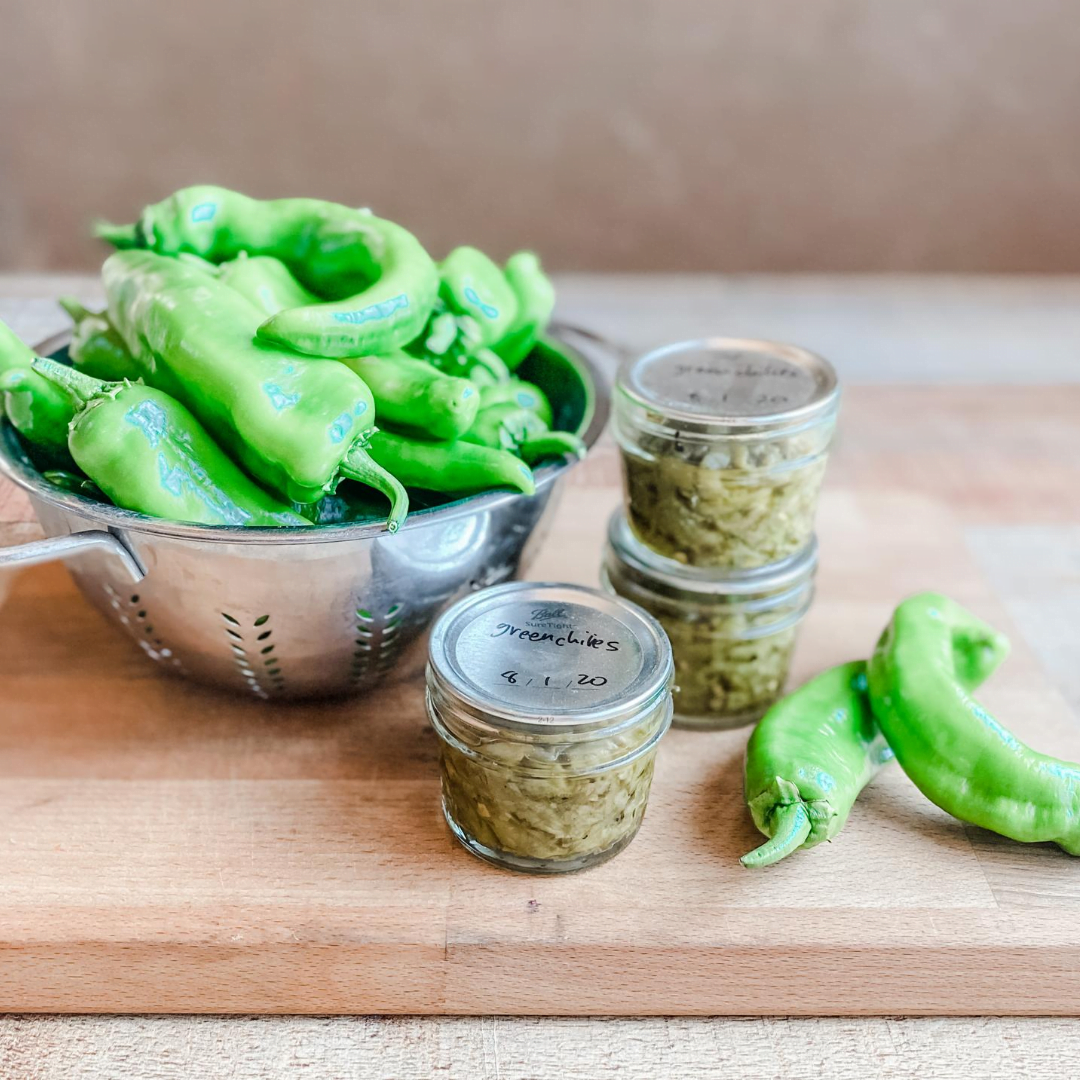
Canning diced green chiles has been on my list for the last few years. Last year, I canned green chiles from the farmer’s market. This year I’m super pumped to be canning diced green chiles from my own garden!
That’s one more thing to cross off my grocery list and add to my list of homegrown bounty, yippee!
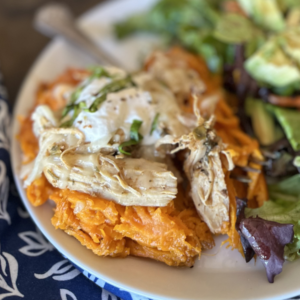
Now, when I serve my family’s favorite Chicken Tortilla Soup, we can say the ingredients are 100% homegrown. Onions, tomatoes, green chiles, and bone broth. All of it from right here on the farm!
You don’t have to grow green chiles in order to can them, though. They’re easy enough to find at the farmer’s market and sometimes even at the grocery store.
If you do want to try growing them yourself, read on for the varieties I recommend.
More summer canning recipes:
- Canning Supplies List for Beginners
- Home Canned Salsa
- Home Canned Tomato Soup
- How to Can Green Beans
- Honey Sweetened Blackberry Jam
- Honey Sweetened Blueberry Jam
The best peppers for canning diced green chiles
If you’ve wondered how to replicate those little cans of diced green chiles from the grocery store, the key is to grow the right peppers. That is, you want to look for Anaheim peppers, or a variety from the Anaheim category of peppers.
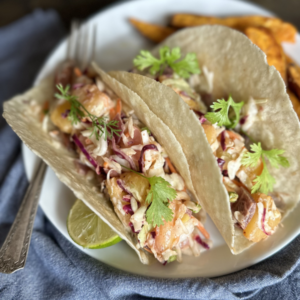
Anaheim peppers are on the mild side of the hot pepper family, making them perfect for Tex Mex dishes like Chicken Tortilla Soup, Chile Verde, and Chilaquiles. They’re also a favorite for stuffing and roasting.
My husband, Greg, is a native Texan. Therefore, our family has learned to love all things Tex Mex. And it’s why diced green chiles were high on my list of things I wanted to learn how to can.
This year, I grew two varieties. One is called “Anaheim” and the other is an Anaheim variety called “Highlander”. Looking to buy Anaheim seeds? Try this source or this one.
From my experience thus far, I’ve found Highlander to be more productive. However, the “Anaheim” peppers seem so much easier to peel, which we’ll get to in a minute. Both pepper varieties have been easy to grow: easy to germinate, plants and fruits are healthy and strong with zero problems.
I’ll keep you posted if I discover any more distinguishing characteristics between the two varieties…
The process for canning diced green chiles
Here’s a quick overview of the process.
By the way, I’ve tweaked this process from my original method. I now prefer to remove the seeds and stem before grilling. In my experience, this modification makes the whole process much easier!
- Remove: Slice off stem and scoop or scrape out seeds.
- Grill: Grill the peppers to blister their skins.
- Cover: Place hot, grilled peppers in a large bowl and cover.
- Peel: When peppers have cooled, remove skins.
- Dice: Dice the remaining chile flesh.
- Can: Add diced chiles to jars and process in a pressure canner.
Freezing whole Anaheim peppers
Want to skip the canning part? Guess what: you can freeze whole roasted green chiles. Later, you can use them whole or diced.
Freezing whole roasted chiles makes this chile relleno casserole a snap to prepare. You can also freeze whole roasted peppers, then thaw and dice right before use.
Simply follow steps one through four: remove stems and seeds, grill, cover, and peel. Then you can store the whole, roasted peppers in freezer bags and remove as needed.

More specifics…
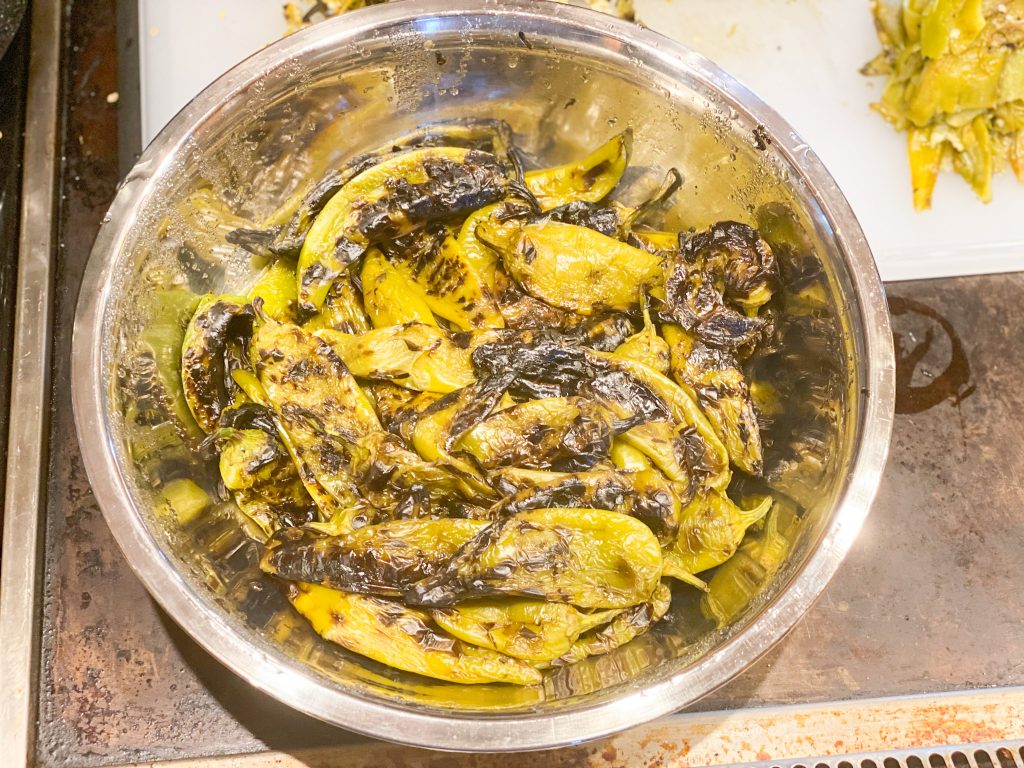
Step one: blister skins by grilling
First, you want to char the peppers all the way around, turning them so that the entire skin begins to blister. This is the first step to removing the skins before canning.
I’ve heard you can also broil the peppers, but I tried that last year and it did not go well. Grilling is the way to go!

Step two: steam the peppers
Next, as they come off the grill, simply add each pepper to a large, covered bowl. After adding all the peppers to the bowl, just leave them covered for a while until they cool. The larger your batch of peppers, the longer this will take. Plan accordingly! You could even can something simple in the meantime.
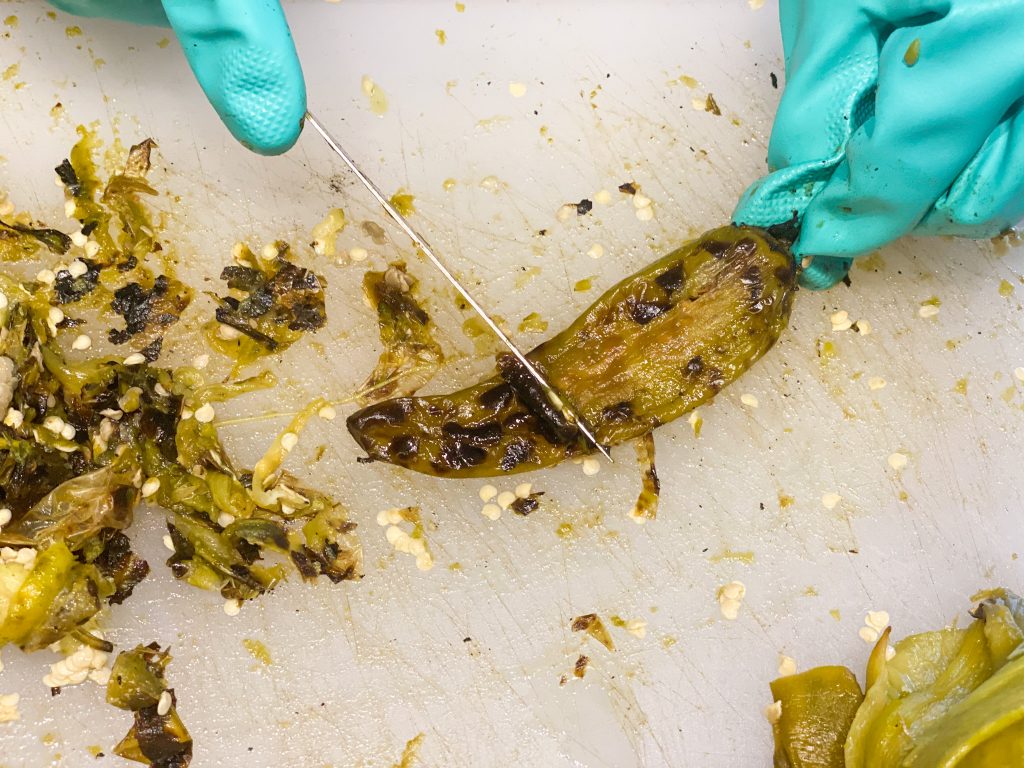
Step three: remove skins
When the peppers have cooled, uncover the bowl and begin the process of removing skins, stems and seeds. PLEASE WEAR GLOVES! I keep a pair of rubber gloves under my kitchen sink just for summer pepper duty.
The grilling and sweating process should allow the skins to come right off. However, sometimes you need to scrape the skins with a sharp knife. This is the part of the process that takes the longest. Do it with a friend, play some fun music, or have a podcast ready.
Step four: dice
After all skins, stems, and seeds have been removed, it’s time to chop! I like to grab a handful of peppers, slice them lengthwise, and then dice.

Step five: pressure can
And finally, it’s time to fill canning jars and process the diced green chiles in a pressure canner.
Canning diced green chiles
A few notes…
- Yes, you must use a pressure canner, and not a water bath canner. I recommend this pressure canner because it’s all metal, with no rubber gasket to replace ever.
- Again, please protect your skin by wearing gloves. Don’t touch your eyes. If you get chili oil on your skin, wipe immediately with rubbing alcohol, milk, and/or olive oil.
- I prefer canning diced green chiles in 4 oz jars, because that size gives me the most options later on. However, feel free to use the size that works best for your purposes.
- For every pound of peppers, you can expect about one pint of canned chiles.
- For a little extra heat, try adding one diced jalapeño per half-pint jar. No need to remove jalapeño skin, although you may want to experiment with the seeds. More seeds = more heat. Less seeds = less heat.
- Start with clean jars, but note that when pressure canning, there is no need to sterilize the jars first. If you like, you can boil the jars on the rack in your pressure canner for 10 minutes or so prior to filling them with chiles.
- You’ll need to boil a separate pot of water for topping off your jars of chiles.

Canning Diced Green Chiles
- Yield: 12 half pints 1x
- Category: Canning & Preserving
Ingredients
- 6 pounds Anaheim peppers
Instructions
- Boil a large pot of clean water.
- Add water to your pressure canner, per directions for your particular model (usually 2-3 inches). Heat on medium to medium-high.
- Prepare lids and rings by simmering in a small pot of water over low heat.
- Fill canning jars loosely with diced green chiles.
- Top off each jar with hot water from the separate pot, allowing a 1-inch headspace.
- Remove air bubbles.
- Wipe jar rims.
- Add lids and rings, and place jars in the pressure canner.
- Process half-pints or 4-oz jars for 35 minutes at 10 pounds of pressure.
Still new to pressure canning? Here are more detailed instructions:
- When all the filled jars are placed in the canner and the water level is properly adjusted, close the pressure canner and secure the lid.
- Leave the vent open, turn the heat to medium-high, and bring the water to a boil.
- Allow steam to escape from the vent for 10 minutes, and then add the weight. Make sure the “10” is at the bottom.
- Watch the pressure gauge. When it reaches 10 pounds, adjust the heat to maintain 10 pounds of pressure for 35 minutes.
- After 35 minutes, turn off the heat and allow the canner to cool for about an hour.
- When the pressure gauge has returned to zero, remove the vent and allow all the steam to escape.
- Next, remove the lid very carefully, tilting the lid away from you so that it protects your face from any additional steam.
- Give the jars a few minutes to adjust to the pressure change.
- Finally, remove each jar with a jar lifter and place on a kitchen towel. I like to line a flat bottomed tray with a kitchen towel, so that I can move the entire batch of jars without disturbing them as they cool.
- After 12-24 hours, test the lids by pushing down in the center. If the lid pops up and down, it did not seal properly and should be stored in the fridge and consumed within a week.
- Remove the rings from all the sealed jars, wipe down the jars, and label each one before storing in a cool, dark place for about 12 months.
Have you ever grown Anaheim peppers? Does your family eat diced green chiles? Do you think canning your own diced green chiles is worth it?

22 NOURISHING GLUTEN-FREE SOUP RECIPES
Simplify your dinner prep with these tasty, nourishing soups!
")
Sign up NOW for my best tips delivered weekly to your inbox!
You’ll also get instant access to my library of free ebooks and resources.
You might also like...

7 responses to “Canning Diced Green Chiles”
-
Do I need to roast the peppers before I can them like this?
-
Yes, you need to roast or grill them somehow in order to loosen the skins.
-
-
What size jars did you use?
-
I use 4-oz. (quarter pint) jars.
-
So the 4oz jars is 35 mins in the pressure canner? Recipe says 1/2 pints so want to be sure!
-
-
-
In the text you say 1 lb yields about 1 pint, but in the instruction section it says 6 lbs with a yield of 6 half pints. Which one is accurate?
-
Whoops, thanks for catching that! The ratio is about 1 pound per pint, or 1 pound per two half-pints (or four 4-oz jars). I have corrected the recipe yield to reflect this.
-
Leave a Comment