

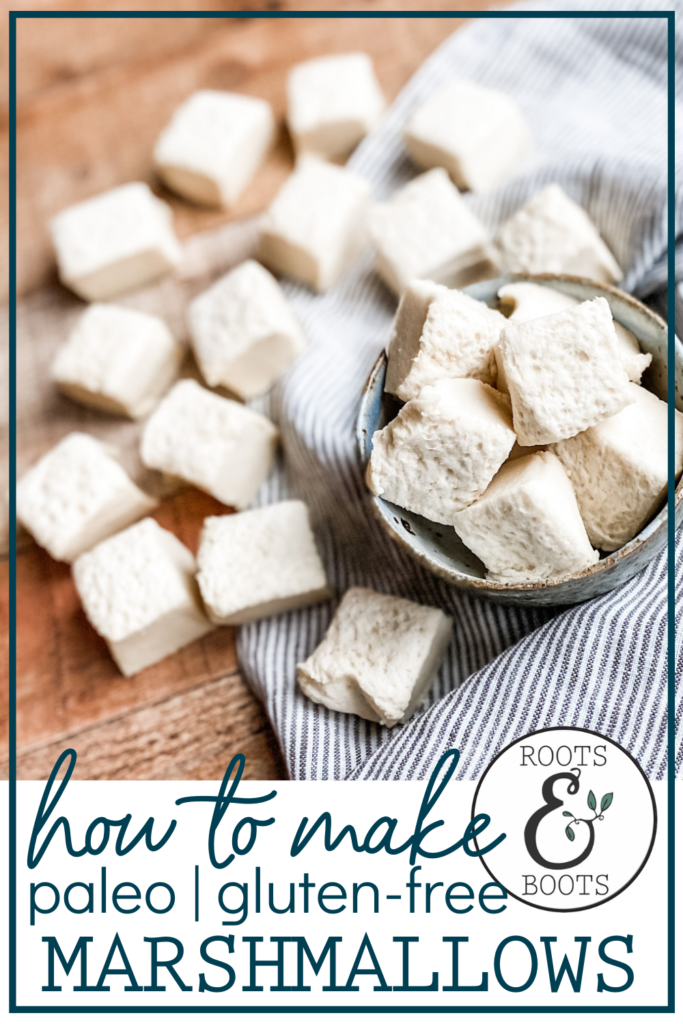
Homemade Paleo Marshmallows

This post may contain affiliate links, which means I make a small commission at no extra cost to you.
See my full disclosure here.
Homemade paleo marshmallows are a real treat.
We love to roast them over fall campfires (with these homemade “graham” crackers) and add them to hot cocoa in the winter. They’re also a fun option for Valentine’s Day, Easter, or really any time of the year!
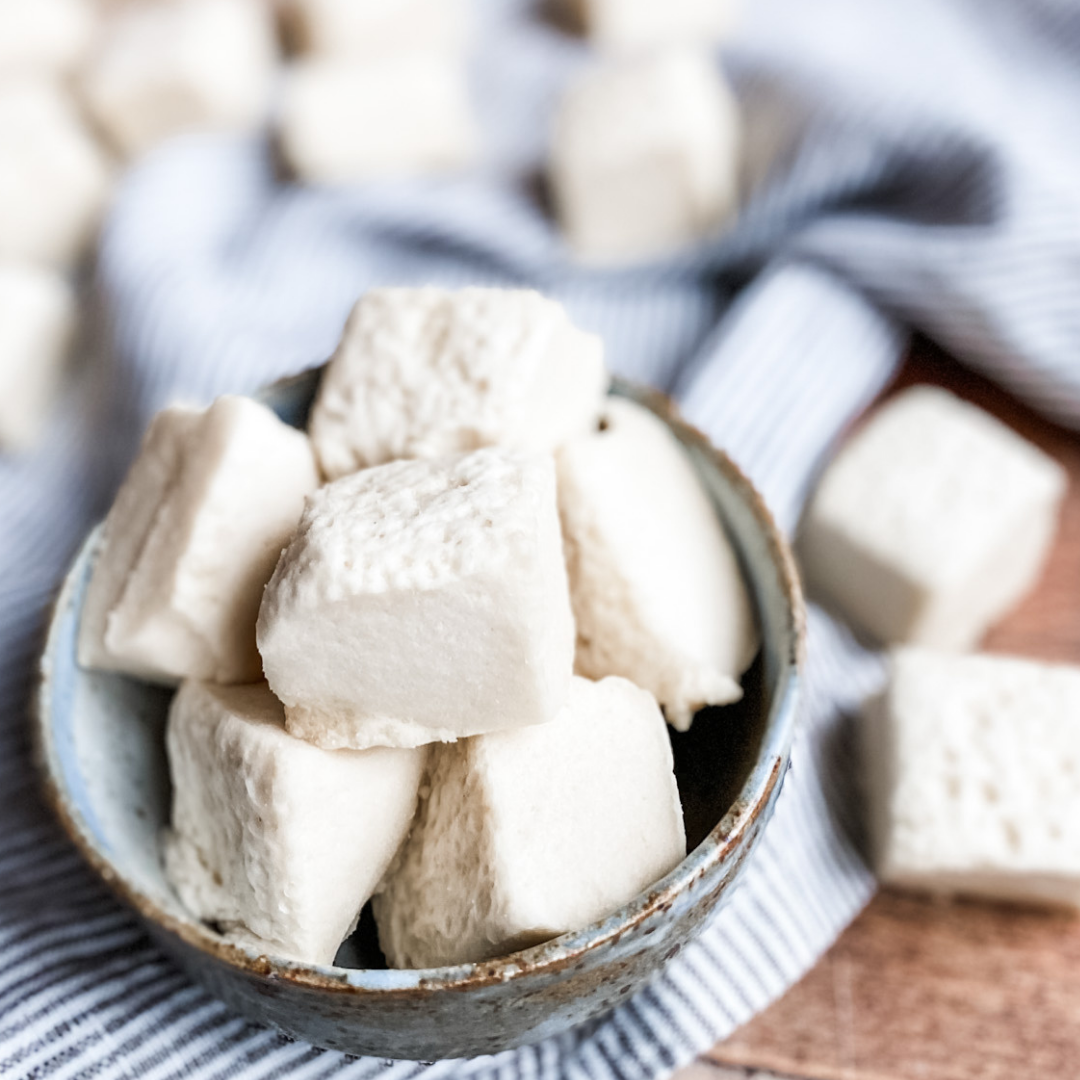
Homemade paleo marshmallows
While it obviously requires more effort to make them yourself, I much prefer these homemade marshmallows over store-bought varieties. The taste is amazing, and the ingredient list is short and recognizable.
And homemade marshmallows make a great gift! We love to pair homemade paleo marshmallows with homemade paleo hot cocoa mix for a sweet treat.
Even better: freeze dry your homemade marshmallows for long-term, shelf-stable storage!
Whether you serve these marshmallows to your own family, give them as a gift, or both, I hope this recipe will inspire you to try whipping up a batch in your own kitchen.
Tools you will need
Making your own marshmallows is a fairly straightforward procedure, and most of the tools are pretty basic. For instance, you probably own a large cooking pot, egg beaters or a stand mixer, and an 8×8 dish.
One less common but necessary-for-marshmallows tool is a candy thermometer. However, the good news is that candy thermometers are affordable and they take up very little storage space.
You’ll definitely need one for marshmallow-making, so go ahead and add this candy thermometer to your Amazon cart.
By the way, did you know you can shop my favorite kitchen tools right from my website?
If you own a stand mixer, it will be perfect for this recipe. I, however, do not. So don’t worry if you don’t have a stand mixer, either. I always make these marshmallows with a regular old hand mixer, and it works just fine.
Here’s a quick list of everything you’ll need:
- large cooking pot
- stand or hand mixer
- glass measuring cup
- silicone scraping spatula
- measuring spoons
- parchment paper
- 8×8 dish

Homemade marshmallow ingredients
In my recipe below, I’m listing the exact ingredients I use to make homemade paleo marshmallows.
However, keep in mind that you do have a few options. I recommend starting with my recipe as written, and then advancing to other potential options. Of course, you’re welcome to make your marshmallows the same way every time! Whatever sounds best to you.
By the way, you can find more detailed information as well as all my favorite brands for healthy pantry staples in my Unprocessed Pantry ebook.
Sweetener
I’ve always used raw, local honey, but maple syrup is another option. Either of these natural sweeteners make homemade marshmallows much healthier than their store-bought counterparts.
Powdered gelatin
Gelatin is the key ingredient that gives homemade marshmallows the proper texture and shape. It’s also a superfood! My favorite brands are this one and this one.
Vanilla extract
Homemade is my favorite option. See my instructions here. However, this brand is a decent choice and is widely available at most grocery stores.
Marshmallow flavors
I’ve never tried any flavors other than straight up plain, delicious marshmallows. But I’ve heard that you can dust with cinnamon or cacao powder instead of arrowroot. You can also experiment with adding flavors to the marshmallows, such as peppermint, lemon, mint, etc.
And how amazing would it be to dip these homemade paleo marshmallows in dark chocolate? You could even go a step further and add chopped nuts, coconut flakes, etc. to chocolate dipped marshmallows. Lots of fun options to experiment with!
And get this: you could even use this marshmallow mixture to make your own Peeps for Easter! See my suggestions below. Isn’t it great to have a healthy alternative to store bought candy with sketchy ingredients?

Roasting homemade marshmallows
One thing to be aware of is that homemade marshmallows can be tricky to roast over a flame. They have a tendency to melt instead of turning toasty brown.
Two tips to improve your roasting experience:
- Use a torch to roast them instead of an open flame.
- Let the marshmallows dry out before roasting. You might even consider dehydrating them a bit.
If you do choose to roast over an open flame, just be prepared for a super short roasting time. You’ll want to have your graham crackers ready to rescue the gooey marshmallows as soon as they get warmed up.
And another option is simply to eat them without roasting! The graham cracker + dark chocolate + homemade marshmallow is still a delicious combo, roasted or not.
Homemade Peeps
Did you grow up getting Peeps in your Easter basket? I’ve actually never cared for them, but I know many of you loved Peeps and miss them now that you’ve switched over to real foods.
So here’s an idea: use these homemade marshmallows with a bunny shaped cookie cutter to make your own, healthy-ish peeps! You could even try a few drops of nontoxic food coloring to add a pastel hue, and dark chocolate applied with a toothpick to make the eyes and nose.
Valentine marshmallows
Looking for a special, healthy-ish treat for Valentine’s Day? Try these homemade marshmallows!
Instead of an 8 x 8 dish, try pouring the mixture into silicone heart molds. (Grease the molds first.)
When fully set, dip the heart-shaped marshmallows in dark chocolate. Yum!
Once you taste homemade marshmallows, you can never go back! I hope your family loves this recipe as much as mine does.
How to freeze dry marshmallows
If you’d like to make your marshmallows last far beyond their usual shelf life, be sure to check out my post on How to Freeze Dry Homemade Marshmallows.
Freeze drying is the perfect way to preserve this family favorite—turning soft, fluffy marshmallows into shelf-stable treats that store beautifully in glass jars. They’re crispy, long-lasting, and melt perfectly into hot cocoa, especially when paired with my Homemade Hot Cocoa Mix.
It’s a simple process that transforms your marshmallows into gift-ready delights you can enjoy all winter long.
Print
Homemade Paleo Marshmallows
- Prep Time: 20 minutes
- Total Time: 20 minutes
- Yield: 12 servings 1x
- Category: Desserts
Description
Skip the sketchy ingredients and try homemade paleo marshmallows for roasting, gifting, topping hot cocoa, celebrating Valentine’s Day, Easter, or any day at all!
Ingredients
- 1 cup filtered water, divided
- 2 1/2 tablespoons powdered gelatin
- 1 1/4 cup raw, local honey
- 1 teaspoon vanilla extract
- Pinch of salt*
- Arrowroot powder or tapioca starch
*Get 15% off your order of my favorite unrefined sea salt with this code: KEEPITREAL.
Instructions
- Line an 8×8 dish with parchment paper. Leave long “handles” which will help to lift out the finished marshmallows. Dust the parchment paper with arrowroot powder.
- Add 1/2 cup water plus 2 1/2 tablespoons powdered gelatin to a large bowl (or to the bowl of your mixer). Allow the gelatin to hydrate for 5 minutes or so.
- Meanwhile, add 1/2 cup water, 1 1/4 cup honey, and a pinch of unrefined sea salt to a large pot over medium-high heat. Insert the candy thermometer and bring mixture to a boil. Watch to make sure it doesn’t foam up too much! Boil the honey mixture for about 12 minutes, until it reaches the soft ball stage of 240-242.
- (It’s helpful to have an extra set of hands for this stage.) Turn on your mixer, and carefully pour the honey mixture into the bowl of gelatin. Be sure to avoid pouring the hot mixture directly onto the beaters.
- If possible, scrape out the pot into the bowl and continue beating, increasing the speed to high. Beat the mixture until it triples in volume. It should be light and fluffy, light in color, and hold its shape a bit when lifted with the beaters. When it’s almost ready, add the vanilla.
- Use the silicone spatula to scrape marshmallow mixture into the prepared 8×8 dish, working quickly. Manipulate the parchment with your hands to eliminate crevices and to allow the mixture to flow into the corners. Shake the dish a bit, to ensure an even layer of marshmallow.
- Chill in the fridge for several hours until set. If you try to cut them too soon, the insides will still be wet and sticky. The marshmallows are fully set when you can peel them away from the parchment with little to no sticking.
- Sprinkle arrowroot powder on top and pat to achieve full coverage. Cut the marshmallows to desired size, then toss or pat with arrowroot powder to coat every side. This keeps them from sticking to each other.
- Store in the fridge for a week or so. Can also be stored in the freezer.
- Optional: freeze dry homemade marshmallows for long-term, shelf-stable storage or gift-giving.
Notes
Please see original recipe post for additional tips and ingredient options.

22 NOURISHING GLUTEN-FREE SOUP RECIPES
Simplify your dinner prep with these tasty, nourishing soups!
")
Sign up NOW for my best tips delivered weekly to your inbox!
You’ll also get instant access to my library of free ebooks and resources.
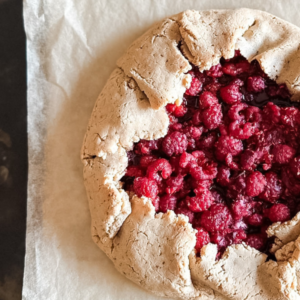
You might also like...

2 responses to “Homemade Paleo Marshmallows”
-
Are these very sweet? Can the amount of honey be reduced without having an effect on the recipe? Just curious, from a girl who may have licked a little too much honey from her bee-keeper Dad’s honey extractor! 🐝 I do however love the idea of using honey!
-
I’ve made these without heating the honey to that temp. It works just fine with melted honey or even cold maple syrup (though I did heat the gelatin/water until dissolved before mixing with the cold maple). Is there a reason you heat your honey so hot? I tried it once and it was a pain to keep it from bubbling out of my pan and it made me so sad to heat my raw honey and kill all the beneficial goodness in raw honey.
Leave a Comment