

Easy Homemade Apple Chips

This post may contain affiliate links, which means I make a small commission at no extra cost to you.
See my full disclosure here.
These easy homemade apple chips are so….easy. And delicious. And did I mention how easy they are to make? Only one ingredient: apples!
In fact, this isn’t so much a recipe as a set of instructions and suggestions.
Basically, you’ll need three things:
- apples
- mandoline slicer (or big sharp knife)
- dehydrator (or oven)
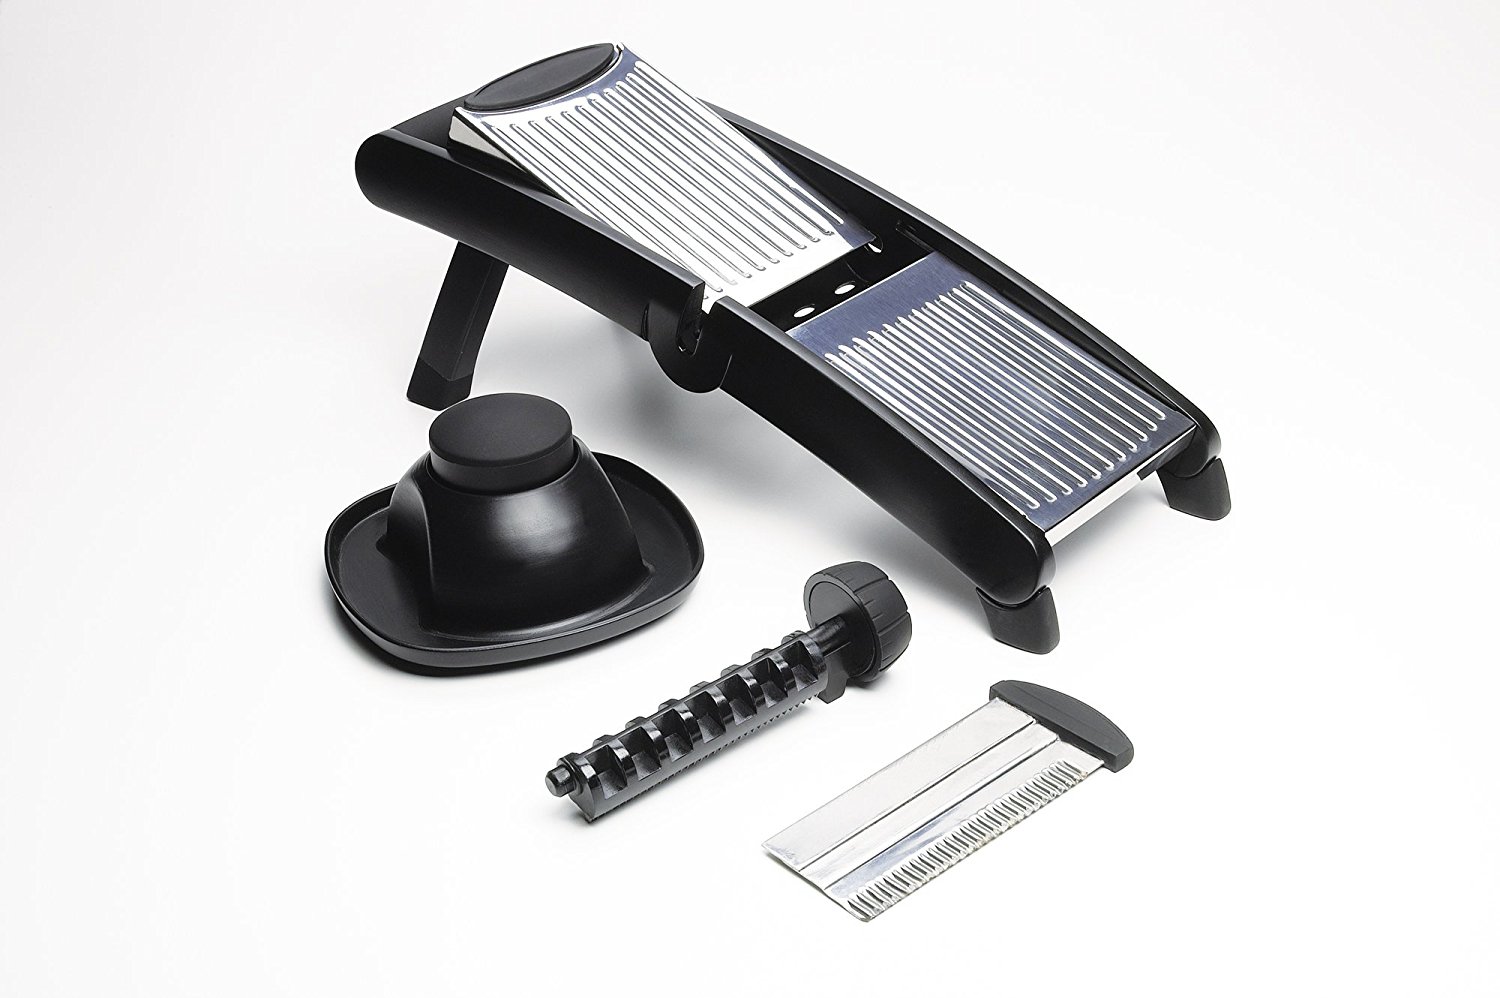
First let’s talk about mandoline slicers.
For a long time I held out again the mandoline slicer , lumping it in the category of “unnecessary space hog kitchen gadgets”. The three factors that won me over in the end were: 1) our large garden, 2) a planned dehydrator purchase, and 3) uniform slicing.
1. Large Garden
The mandoline really has been a help in handling all our garden produce. I especially love it for slicing radishes to pickle (which taste *amazing* with tuna salad, by the way) and tomatoes for dehydrating. I’m so excited to experiment with thickening tomato sauce and making tomato paste from my dehydrated tomato slices!
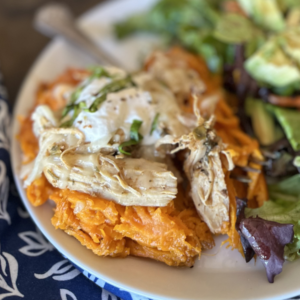
It’s also handy for slicing sweet potatoes from our garden and turning them into chips. I did this with beets, too, (and turnips!) but apparently I’m the only beet fan at my house. You win some, you lose some.

2. Dehydrator
More about the dehydrator in a minute, but I must say the mandoline slicer makes using the dehydrator so much easier. Slicing apples by hand to fill an entire dehydrator would take more time than I care to devote to this task. With the mandoline slicer, it’s a breeze.
So now that I have a dehydrator, I’m glad to have a mandoline too.
3. Uniform Slicing
This is the obvious reason for using a mandoline slicer . Whether baking in the oven or drying in a dehydrator, you want all the slices of food to be the same thickness in order to finish baking or drying at the same time. What we’re aiming for is uniform crispness. Otherwise you end up burning the thinner slices and under-cooking the thicker slices.
With a mandoline slicer, this challenge is removed. All the slices are even! Hooray! It’s really quite remarkable.
PS–If you decide to own a mandoline slicer , I HIGHLY recommend purchasing at least one of these cut-resistant gloves too. Trust me on this one: the food guard that comes with your slicer is for the birds (I rarely use mine) and the sharp blade of your mandoline knows no difference between apple, sweet potato, or finger flesh. Just get the glove.
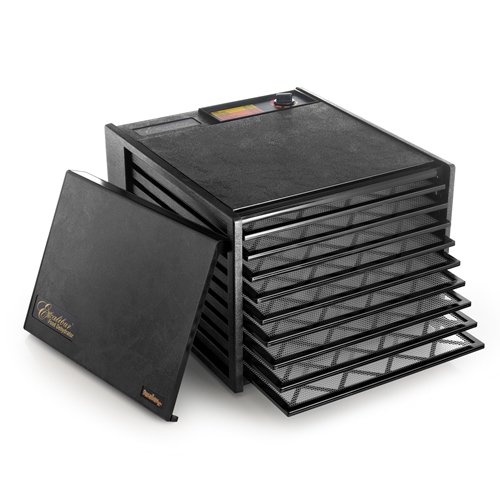
Next, let’s talk about dehydrators.
I LOVE LOVE LOVE my dehydrator! It’s been on my list for a few years, but I didn’t think we could fit one into our small kitchen. With plans for an expanded garden this year, I finally decided a dehydrator could live on top of our refrigerator. It’s not ideal, but a dehydrator on top of the fridge is better than no dehydrator at all.
Seriously. The dehydrator made a huge difference for me in dealing with all our garden produce this year. This was the first year I didn’t feel utterly overwhelmed by All. The. Tomatoes. And peppers, too.
In addition to easy homemade apple chips, we’ve made so many easy, awesome foods in our dehydrator! I’m hooked. One of these days I’ll provide a post all about dehydrators, but for now, here’s a list of our favorite foods to make in the dehydrator
- banana chips
- strawberry chips
- plantain chips
- apple chips
- Paleo onion & nut crackers
- crispy nuts & seeds
- greens from the garden
- sliced tomatoes
- tomato powder
- root veggies for use in soups, chili, & taco meat
- herbs from the garden
- green onions
- sweet potato crispies
Don’t have a dehydrator? Not to worry, you can also bake apple chips in the oven. See my notes below.
Easy Homemade Apple Chips
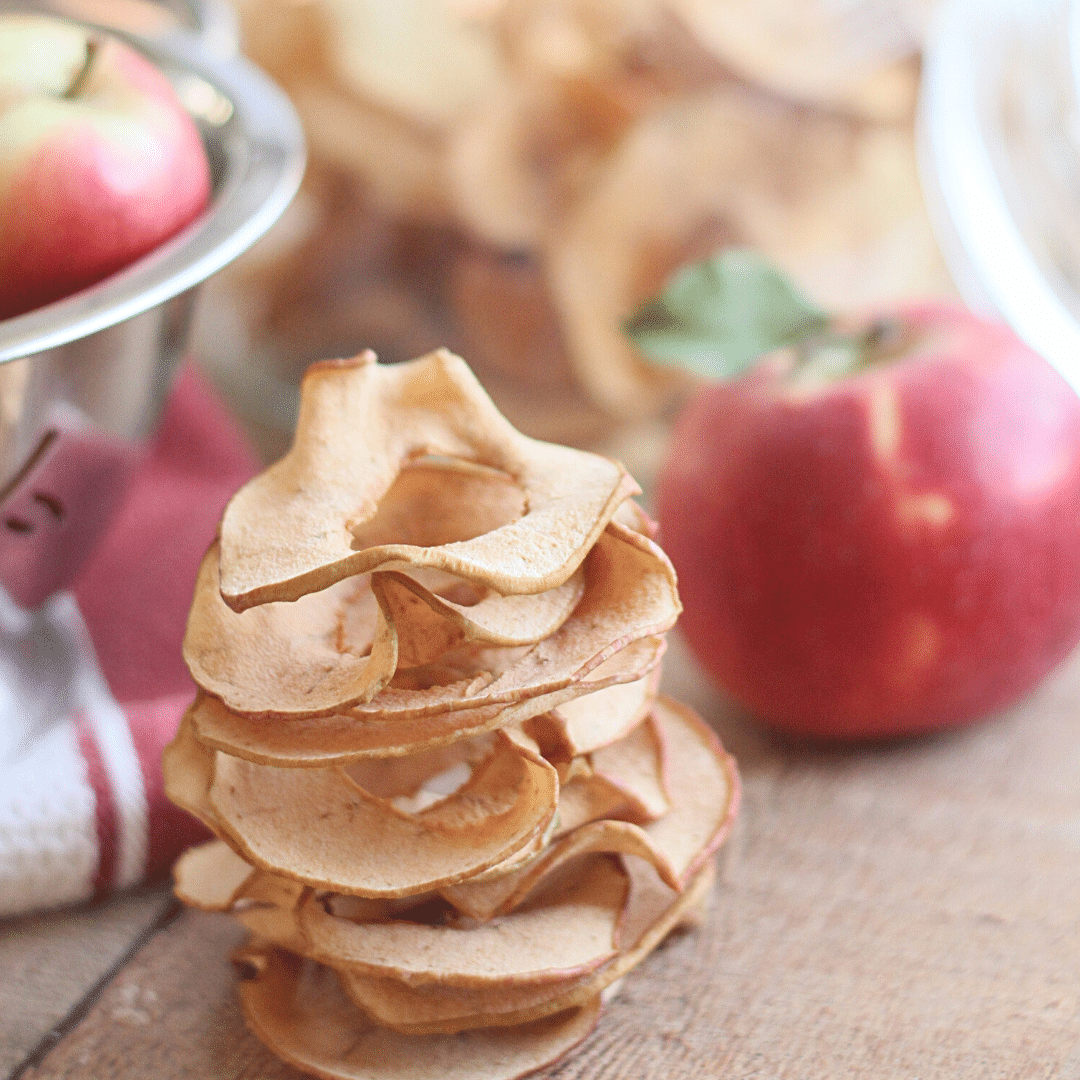
And now, here’s the simple method for making delicious apple chips…these easy homemade apple chips are tastier than the store-bought kind, and less expensive, too.
- (Optional) Core apples. I have this simple apple corer and use it often. Works great for these apple sandwiches!
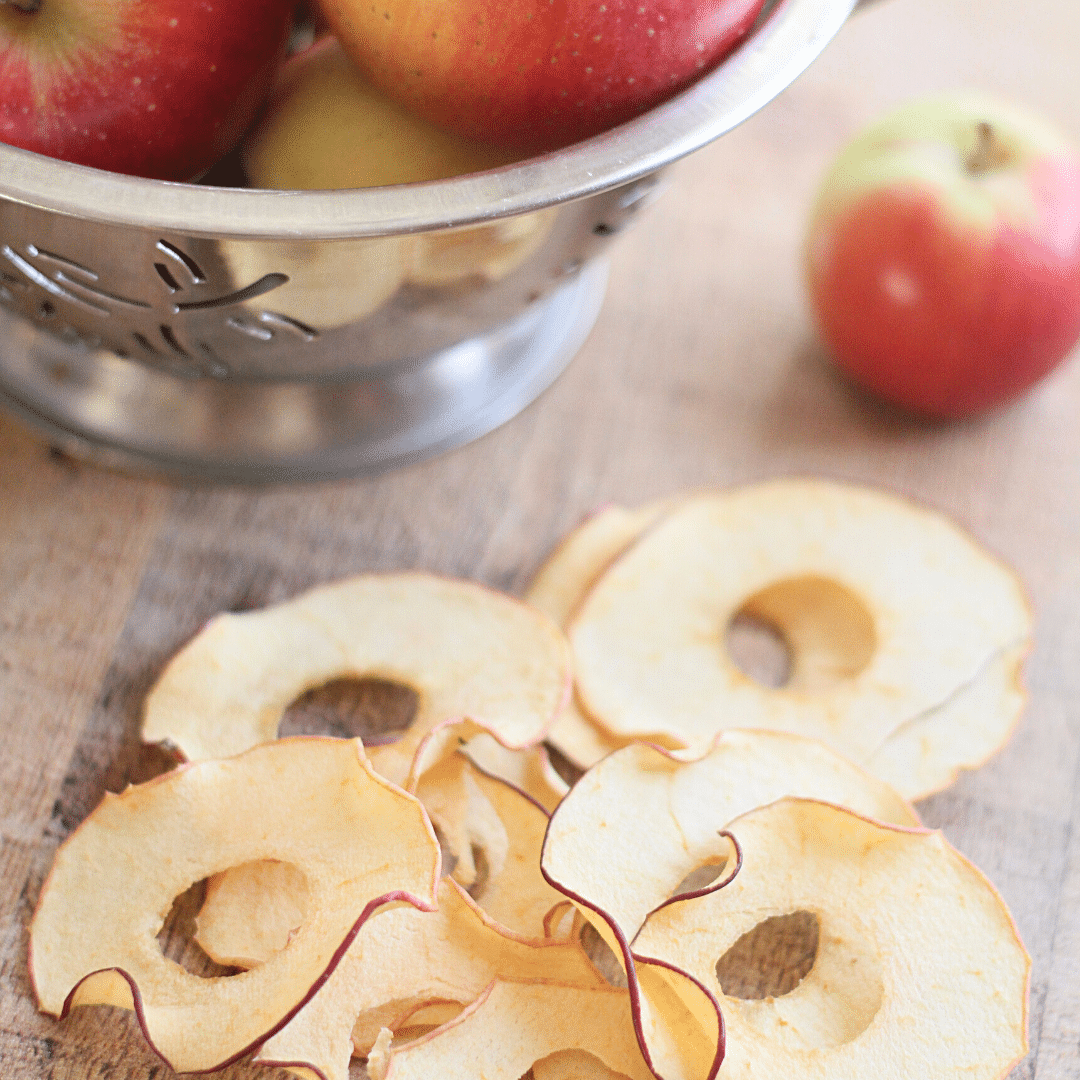
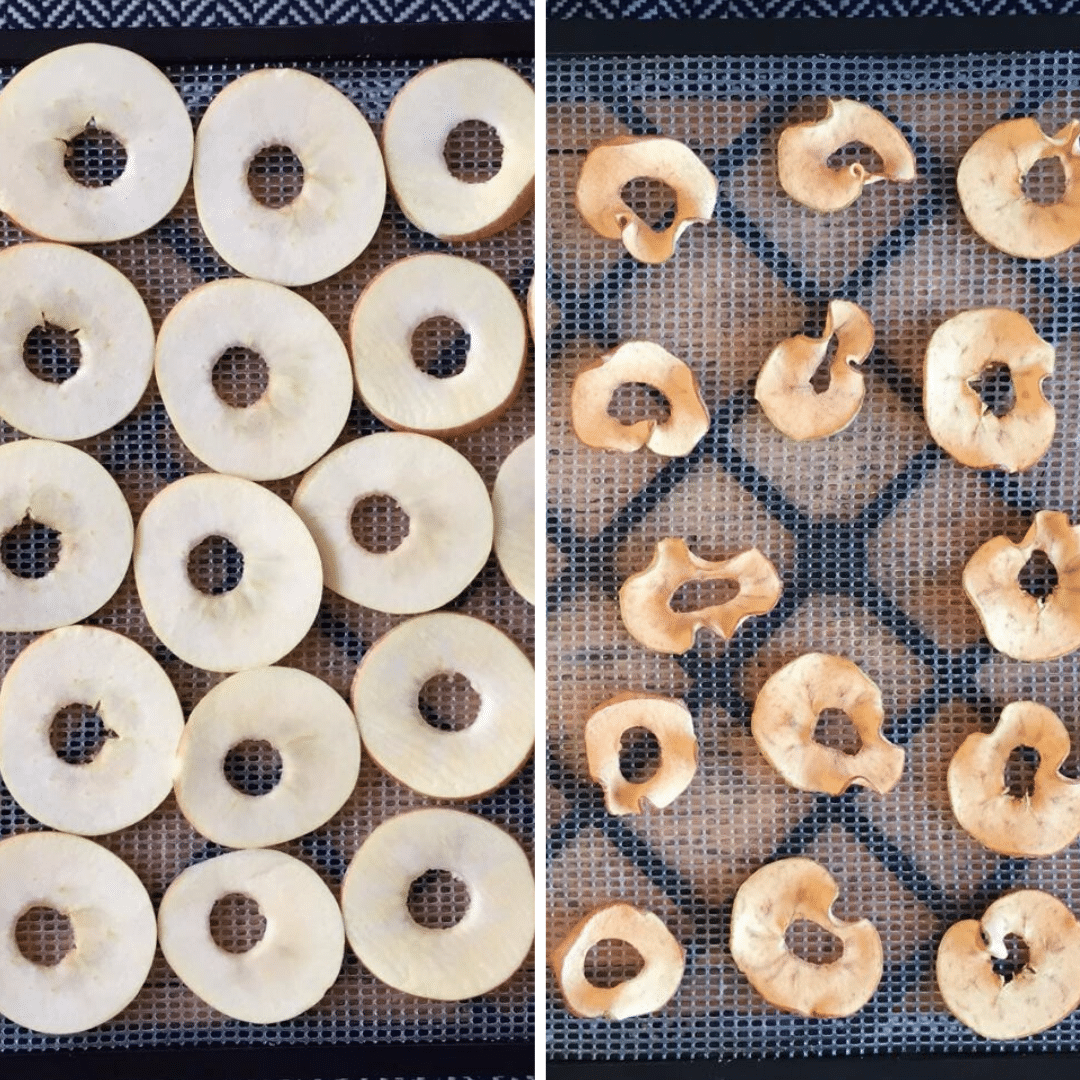
- Slice apples evenly. I set my mandoline slicer two notches below 1/8″. Wear a cut resistant glove! Or you can attempt slicing with a knife.
- Arrange apple slices in single layer on dehydrator sheets. This is a great task for kids!
- Dry at 135 to 150 degrees for however long it takes to get crispy. This can take anywhere from 2 to 24 hours. Note: I haven’t tried this myself, but Pioneer Woman says you can bake apple chips in the oven. Set your oven to 200 or lower, and bake for 1.5-2 hrs.
- Stored at room temperature in air tight containers, these chips should last for months. But don’t count on it! I can’t make these chips fast enough to keep up with the demand at my house. My boys LOVE these chips.
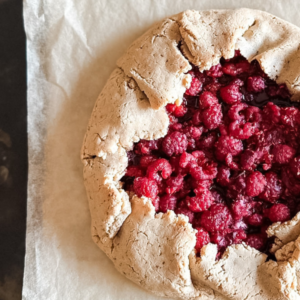
More Apple Recipes

22 NOURISHING GLUTEN-FREE SOUP RECIPES
Simplify your dinner prep with these tasty, nourishing soups!
")
Sign up NOW for my best tips delivered weekly to your inbox!
You’ll also get instant access to my library of free ebooks and resources.

Leave a Comment