

How to Plant a Sunflower House

This post may contain affiliate links, which means I make a small commission at no extra cost to you.
See my full disclosure here.
Remember our Plans for a Sunflower House? Well, we finally got it planted. And just in the nick of time!
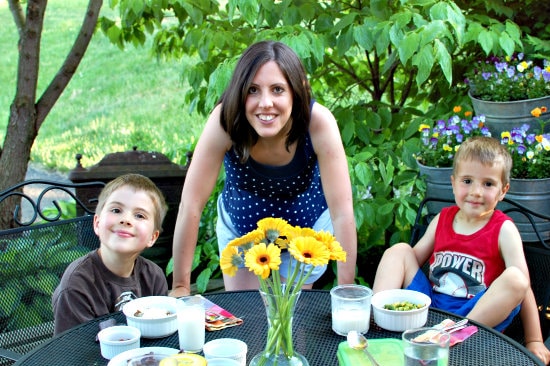
Sunday nights are Family Night at our house. Sunday night, May 25th, we’d planned to celebrate a special Family Night in honor of our final weekend as a family of four. We’d been looking forward to planting our Sunflower House and decided to make it that night’s special Family Night activity.
Baby Brother was due to arrive via C-section on Tuesday morning, May 27th, but he came early. I went into labor just hours after completing the Sunflower House on Sunday night. Whew!
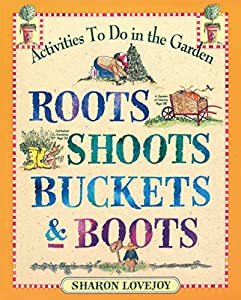
We followed the instructions from this fun book: Roots, Shoots, Buckets & Boots: Gardening Together with Children
Note: Instead of waiting to start your seeds outdoors, you could start them inside. This is a fun way to get the spring vibes going when it’s still cold outside!
It also gives your sunflowers a head start and they’ll grow bigger, faster. Start the seeds indoors, and then transplant them right where you want them.
How to Plant a Sunflower House
What We Used: Materials
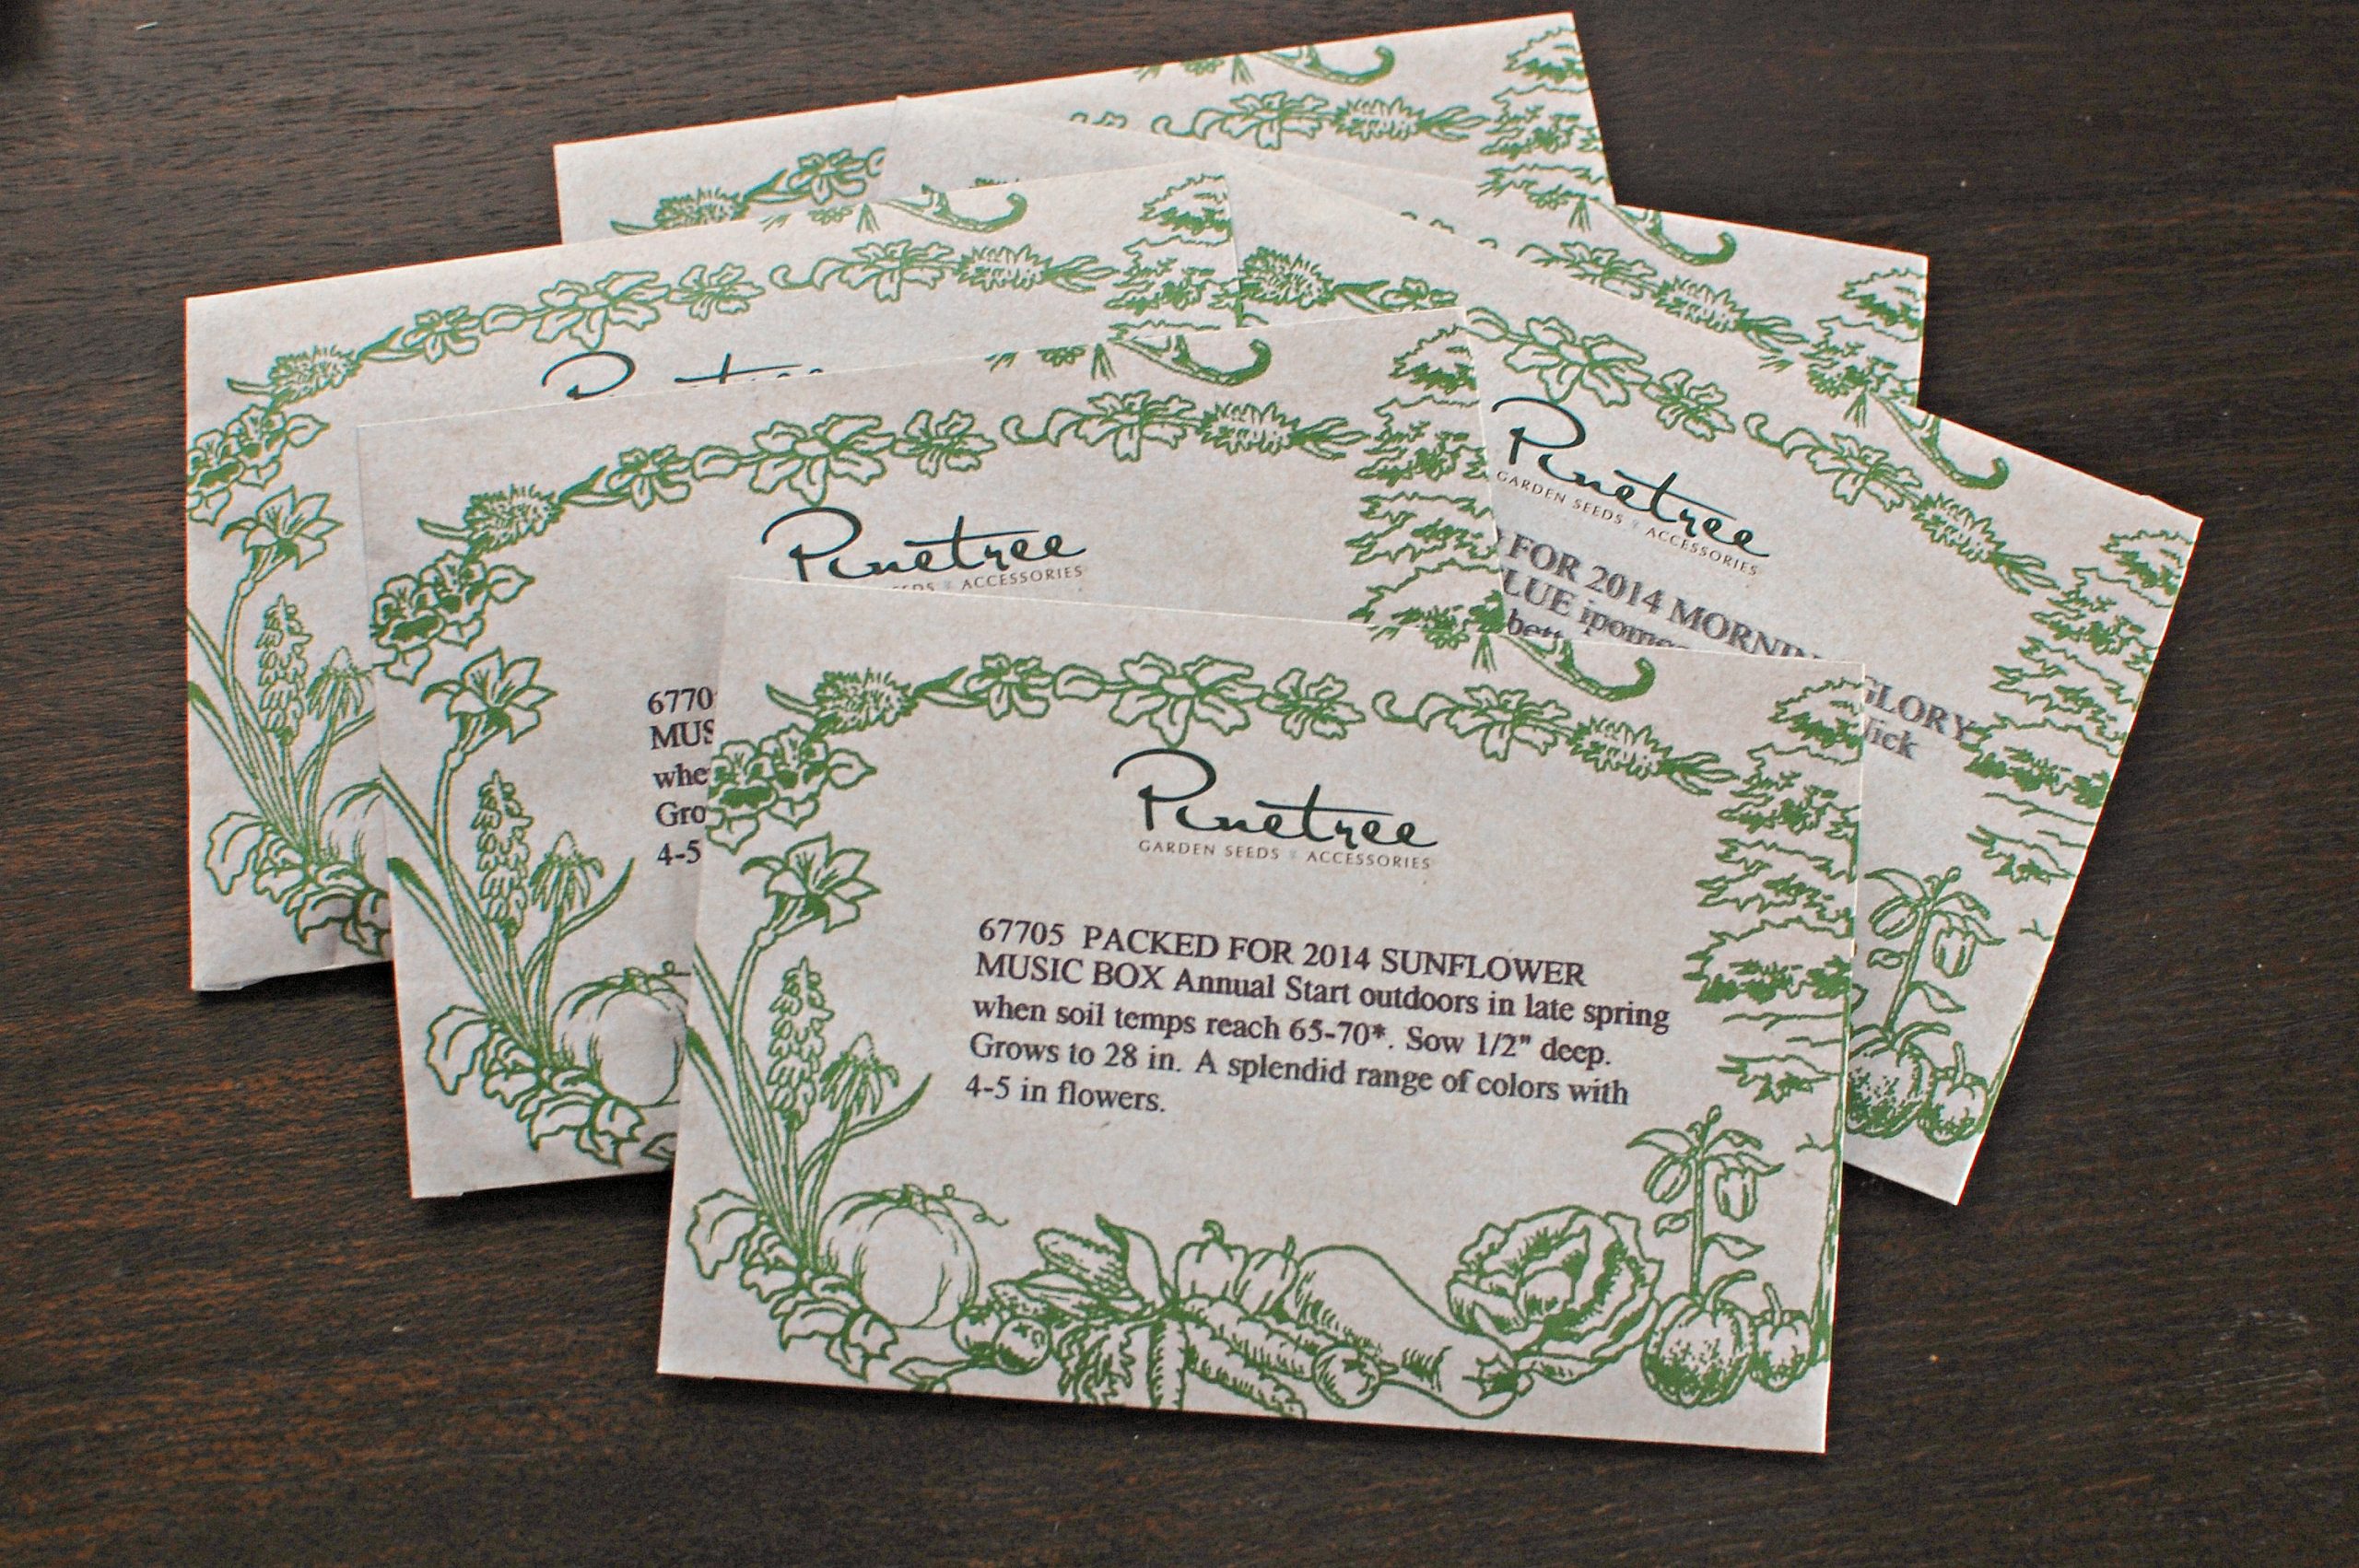
- Sunflower seeds: Tall–Black Russian, Medium–Velvet Queen and Short–Music Box
- Heavenly Blue morning glory seeds
- Compost
- Mulch
- Rice flour
- Paper cups
- Stakes
- Twine

What We Used: Tools
- Shovels
- Rakes
- Trowels
- Buckets
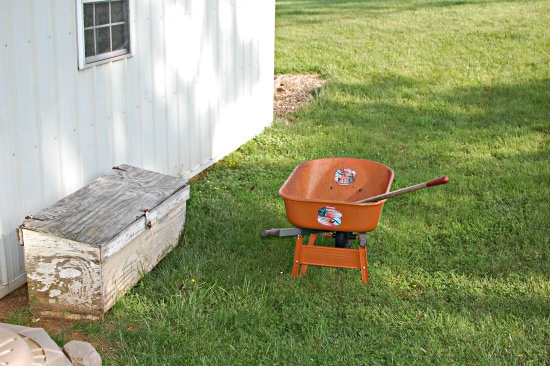
- Wheel barrow
- Measuring tape
- Small cups (for flour & seeds)
- Watering cans
What We Did
- (First, we ordered our seeds.)
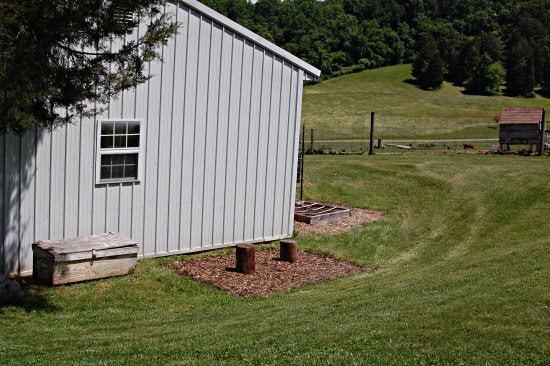
- Then we picked a spot that gets 6 or more hours of sun each day.
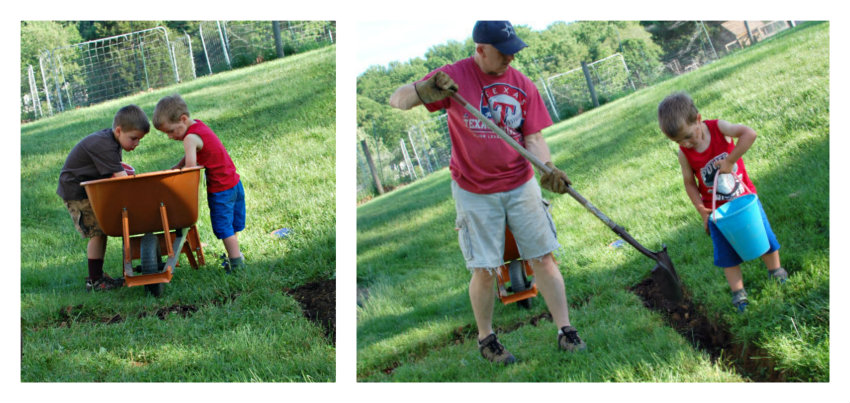
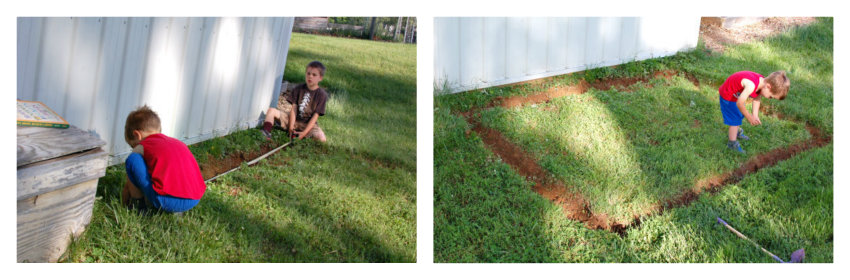
- Next, we dug a 6 x 9 narrow trench. (Notice how I use the term “we” loosely.) 🙂
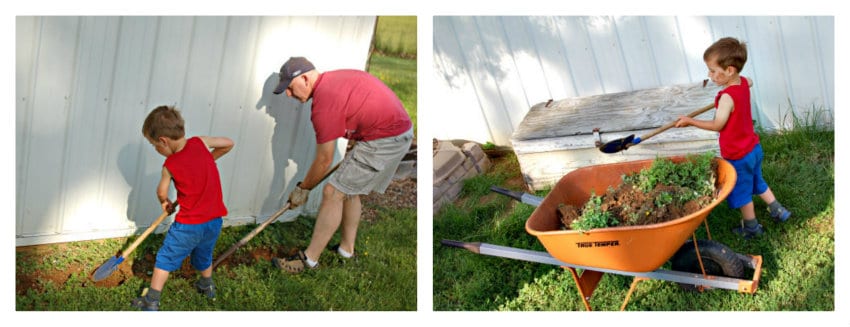
- The boys filled the trench with compost and soil. (And worms.) 🙂
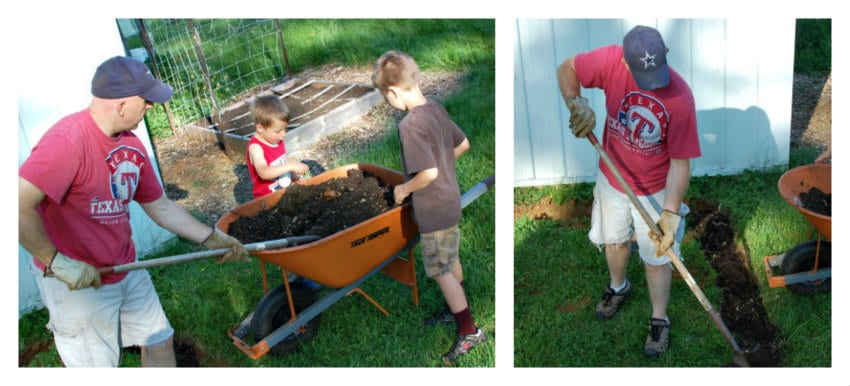
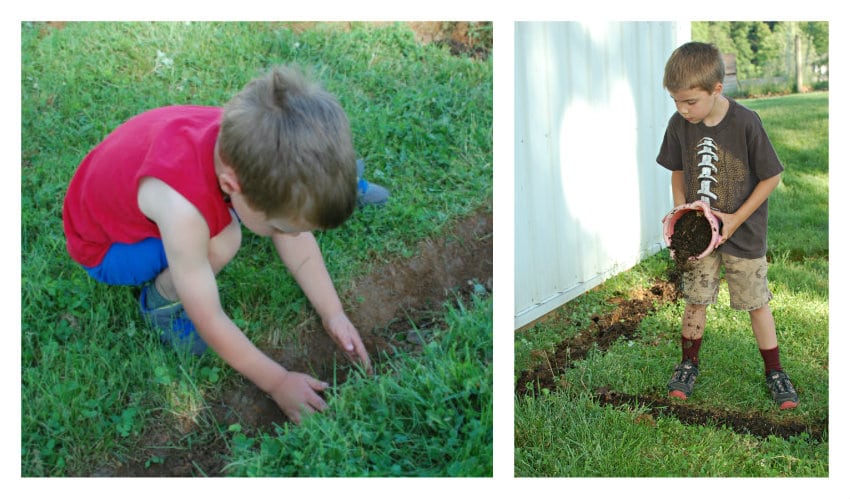
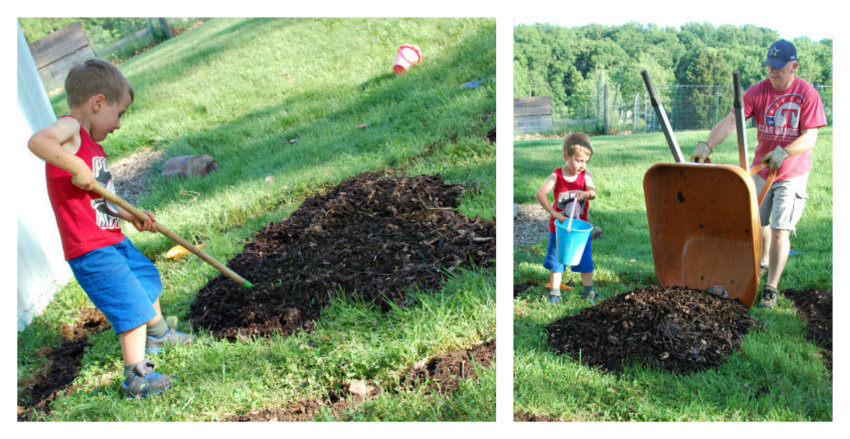
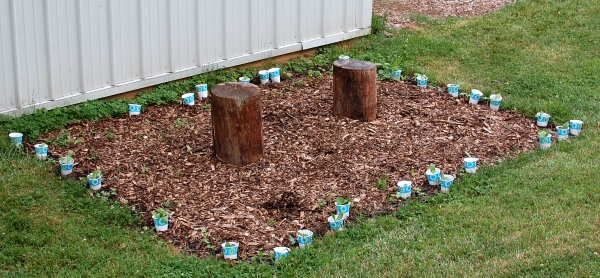
- The next task was to spread a thick layer of mulch over the grass inside the Sunflower House.
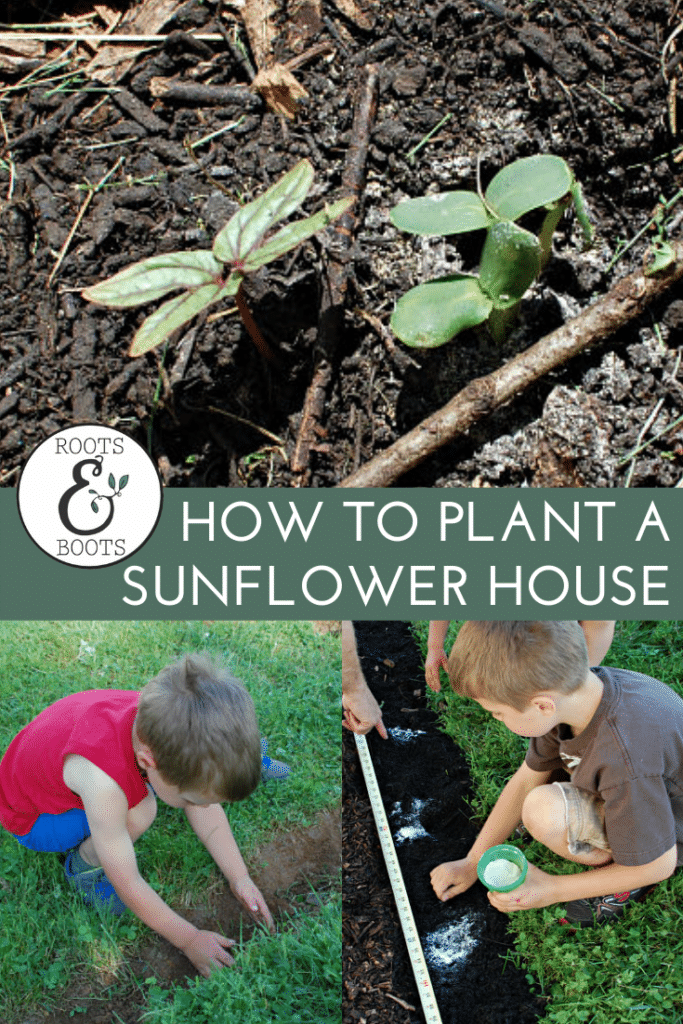
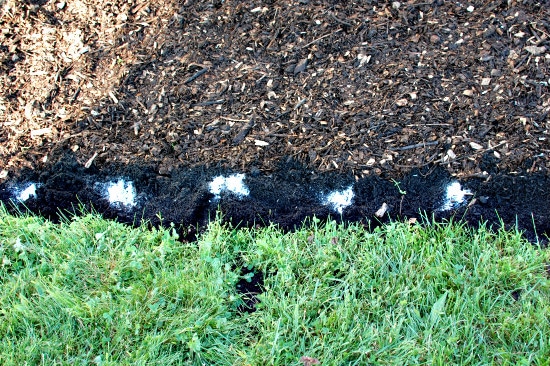
- Then we used flour to mark our planting spots at one-foot intervals, leaving a two-foot gap in the middle of one end for a door.
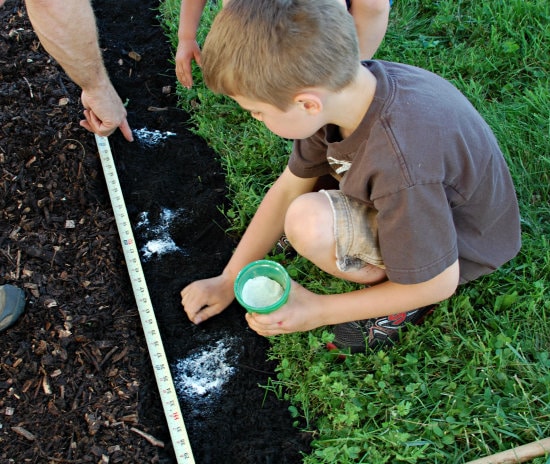
- And now, the fun part: we planted two of the tallest sunflower seeds and one morning glory seed in each flour spot.
- In between the flour spots, we planted the two shorter varieties of sunflower seeds.
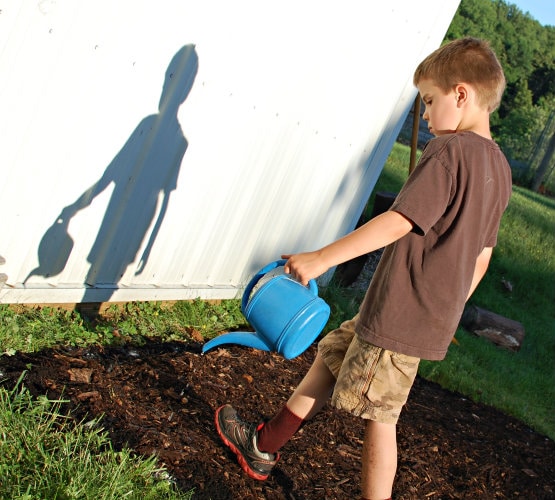
- Lastly, we watered the seeds.
- Optional: We also located stumps to be used as furniture. (We still need a third stump to use as a table with the two “chairs”.)
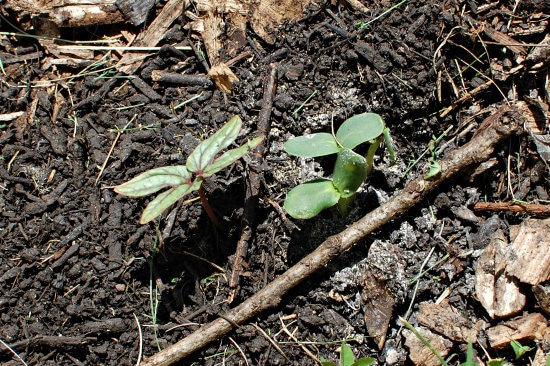
I was surprised at how quickly our seeds sprouted–there were little green shoots poking up out of the ground before Baby Brother was even a week old.
The Next Steps
1. Paper Cups
After the seeds sprouted, Mr. Native Texan helped the boys cut out the bottoms of paper cups and place them around each seedling. This will protect the small plants from cutworms. When the plants get bigger, we’ll remove the cups.
2. Stakes
Then, as the largest variety of sunflowers grows taller, we may need to provide extra support with a stake at each stalk. Our Black Russians may reach 15 feet in height!
3. Twine
Finally, we’ll train the morning glories to climb the Black Russian sunflowers. When the vines reach the tops of the sunflowers, we’ll loosely tie twine from the tall sunflowers on one side to those on the other side in order to allow the morning glories to climb across the house, providing a roof for the Sunflower House.
We’re excited to watch our Sunflower House continue to grow!
More sunflower & gardening fun…
- How to Harvest Sunflower Seeds for Re-Planting & Gift-Giving
- Perfect Garden Project for Kids – see pictures of several years’ worth of our sunflower houses
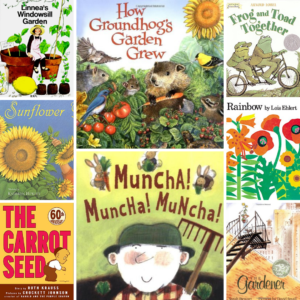
- 11 Favorite Children’s Books About Seeds & Gardens
")
Sign up NOW for my best tips delivered weekly to your inbox!
You’ll also get instant access to my library of free ebooks and resources.
You might also like...

11 responses to “How to Plant a Sunflower House”
-
I’ve always wanted to do this. Thanks for the great photos & clear step-by-step instructions. I’m pinning this for future reference!
-
Sure. Thanks for stopping by, Debi!
-
-
This is awesome!! I’ve wanted to do this for awhile but couldn’t find instructions with good pictures. (I’m totally a visual person.) Thanks for the great pictures. We are making plans to tackle this project starting in December. (the seedlings at least) Yay! Yay!
Oh, will you post any more pictures?
-
Laurie–It’s been so fun to watch the sunflowers grow! I do need to post an update, with pics of the tall sunflowers. I’ll try to do that soon. 🙂
-
-
Hi Kathleen
I just found your post on growing a sunflower house – thanks for the clear instructions and the photos. Now I need to find a spot in my garden to have a go at this!
Any chance you can post a photo of the finished house please? (If you’re not too busy with all your boys!)Thanks
Beckie
-
Well, I never did manage to get a photo of the house. Plus, we didn’t do the best job with the morning glory part…it was that postpartum haze! But we’re attempting it again this year, so stay tuned…good luck with your plans! 🙂
-
-
Thank you for such a neat idea to do with my kids. Do you have an “after” photo that you will be posting?
-
Hi Lyset, Did you see these pictures: http://yankeehomestead.com/perfect-garden-project-kids/
-
-
Are there any “after” pictures? I’d love to see.
-
Thank you for the clear pictures and instructions! Also, you mentioned in the beginning that you went into labor hours after completing the sunflower house on May 25. My birthday is May 26, it’s a good day to have a baby! 🙂
-
Yes, it is! 🙂
-
Leave a Comment