

How to Make Beeswax Candles

This post may contain affiliate links, which means I make a small commission at no extra cost to you.
See my full disclosure here.
Want to make your own beeswax candles?
You came to the right place.
There’s nothing like a candle (or two or seven) for great ambiance. But did you know that most regular candles release toxins into the air? It’s true.
The opposite of beeswax candles
In my former life I adored scented candles. I evenworked as a manager of a notable home decor chain store with an entire section of scented candles with names like Ocean, Rain, Vanilla Creme, Sugar Plum, and the like.
They came in many varieties from tea lights to huge pillar candles. We made candlescapes with all manner of candle holders, rocks and gems. It was serious stuff.
Fast forward to today: I now know that while my formerly cherished candles may have added ambiance to my home decor, they also added serious air pollution.
We’re talking carcinogens, toxic chemicals, and heavy metals. Read more about that here and here.
What’s a crunchy candle-loving girl to do?
Two suggestions:
- Diffuse essential oils.
- Burn beeswax candles.
Diffusing essential oils is a fantastic way to scent your home while also enjoying therapeutic benefits from the oils. Find a few of my favorite diffuser blends here.
And guess what I’ve learned about burning beeswax candles?
It actually purifies the air. Apparently burning beeswax candles can even help with respiratory conditions such as asthma and allergies.
Fascinating, right? Read more about that here and here.
How to Make Beeswax Candles
Skip the toxic scented candles and make your own beeswax candles instead. You’ll add cozy ambiance…without the toxins!
These simple homemade candles also make a great gift.
You will need:
1. Beeswax
I used a little over 2 pounds and filled six 8-oz jars plus one 4-oz jar.
Pellets are easiest to work with and melt the fastest. Blocks are fine, too, but take much longer to melt.
2. Coconut Oil
Adding coconut oil helps to extend the burn time of your beeswax candles.
You’ll need about 1 cup coconut oil to 1.5 pounds beeswax.
3. Glass jars
The possibilities are endless! I’ve used both 8-oz and 4-oz canning jars.
I’ve also recycled old candle jars by melting out the last bits of wax and refilling them with my homemade recipe.
More recently, I’ve loved thrifting for cut glass bowls, pretty stemware, and other glass containers that make a perfect vessel for homemade candles.
4. Candle wicks
Be sure to find metal-free wicks.
5. Pencils, dowels, or skewers
To hold the wicks in place while the candle hardens.
6. Double boiler
I use my 8-cup glass Pyrex measuring cup with a handle, resting inside a large pot of boiling water.
Watch me make beeswax candles in this video. Can’t see the video? Click here to watch.
Instructions
1. Melt beeswax.
Bring a large pot of water to a boil, then insert Pyrex measuring cup (or a smaller dedicated pot). Add beeswax to the measuring cup and wait for it to melt completely.
Alternatively, you can melt your beeswax in the oven. Simply place the beeswax in an oven proof dish and melt for about 20 minutes at 350°.
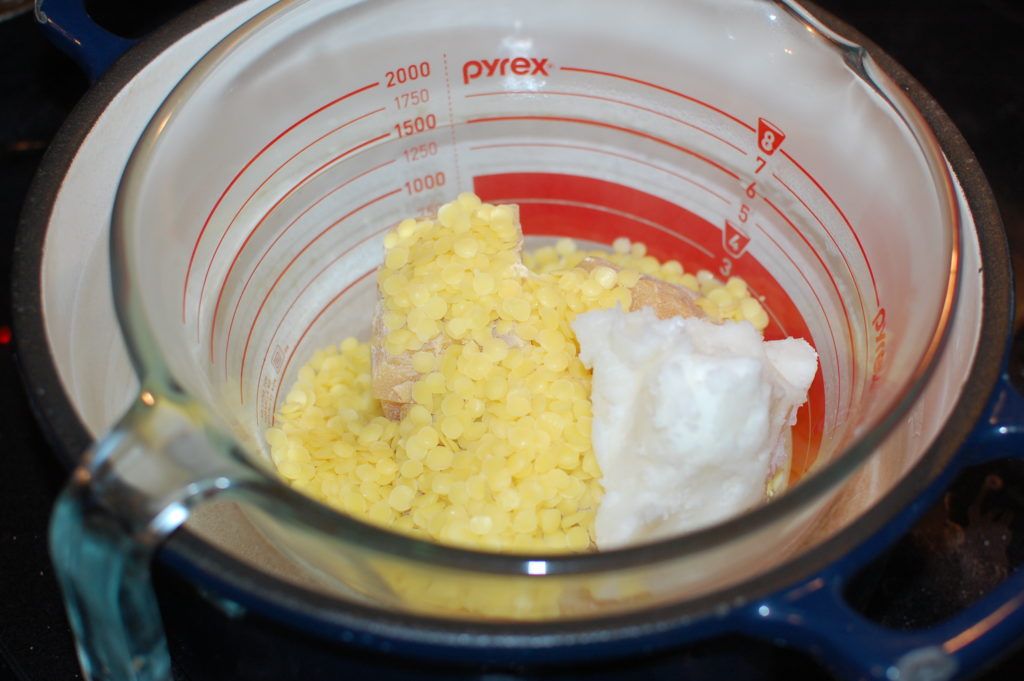
2. Melt coconut (or palm) oil.
Add your oil of choice to the double boiler or oven proof dish and continue heating until fully melted.
3. Prepare jars and wicks.
While the wax and oil are melting, place the wicks in the jars and tie the tops around a pencil or dowel rod to keep them in place.

4. Set the wicks.
Have an extra pencil or dowel rod available for this step. Center the metal wick clip in the bottom of the jar, and pour in just a bit of hot wax. Quickly use the eraser end of a pencil, or an extra dowel rod to press the wick down into the center of the jar. Wait a minute or so for the wax to harden.
5. Pour the candles.
Fill each jar with wax, taking care to keep the wick centered and straight.

6. Allow candles to harden.
Leave the candles to harden for about 24 hours or overnight.
7. Trim the wicks.
Trim wicks to about 1/4 inch. Some people recommend allowing the candles to cure for an additional 24 hours before burning, which I usually do just to be safe. Others say you can go ahead and enjoy your candle as soon as it hardens.
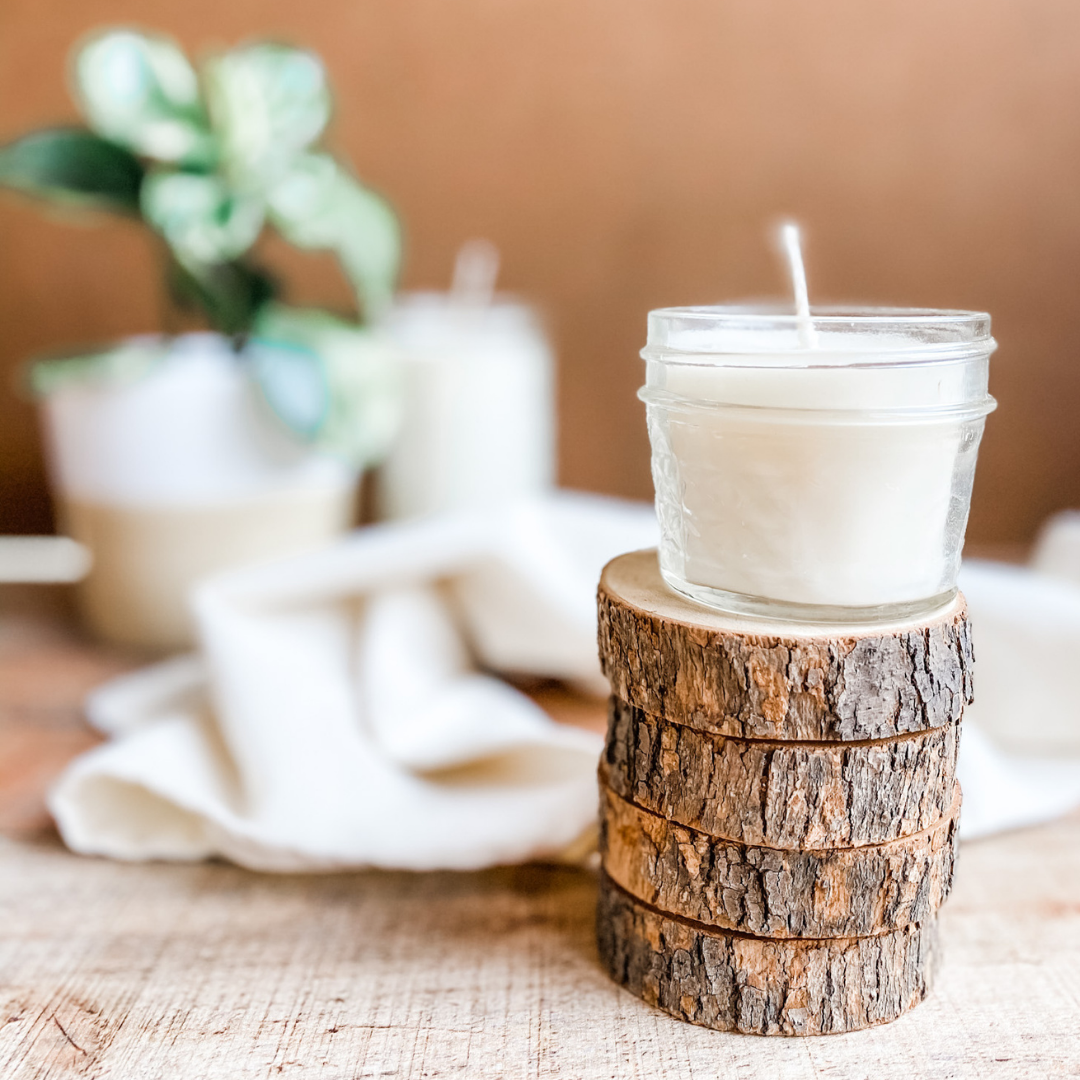
8. Enjoy your nontoxic, air purifying, homemade candle!
I’m burning one right now as I type, and **SPOILER ALERT** also plan to give a few as gifts this holiday season. Aren’t they adorable?

Notes:
Burning: The first time you burn your beeswax candle, you may want to allow it to burn long enough for the wax to melt all the way to the sides of the jars. This should prevent tunneling (when only the middle of the candle burns, leaving a wall of wax around the edges).
Essential Oils: Some folks add essential oils to the candles after pouring, but I chose not to. It’s generally recommended to avoid heating essential oils, as it can alter (and damage) their properties. It’s up to you!
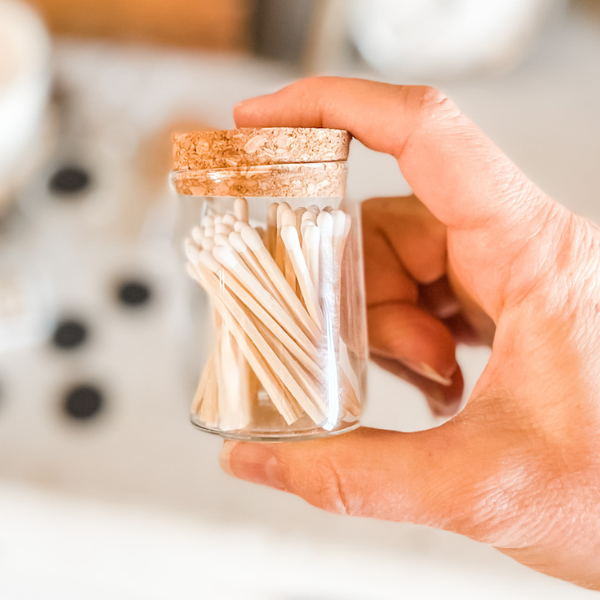
Add a match jar
A good-looking match jar pairs perfectly with these homemade beeswax candles. Make one yourself for a fraction of the cost of a store-bought version.
You’ll need a few supplies:
- glass jar
- decorative matches
- striker stickers
Get the instructions here: Homemade Match Jar Project.
Happy candle making!
")
Sign up NOW for my best tips delivered weekly to your inbox!
You’ll also get instant access to my library of free ebooks and resources.
You might also like...
2 responses to “How to Make Beeswax Candles”
-
Is it possible to add an essential oil to scent the candle?
-
Hi Lisa, Some folks add essential oils to the candles after pouring, but I chose not to. It’s generally recommended to avoid heating essential oils, as it can alter (and damage) their properties. It’s up to you. Hope that helps!
-
Leave a Comment