

3 Steps to Create Hügelkultur Beds on the Ground


Plan your best garden with simple, step-by-step instructions!
This post may contain affiliate links, which means I make a small commission at no extra cost to you.
See my full disclosure here.
Create Hügelkultur beds right on top of the ground in just 3 steps! No digging required. This is permaculture gardening at its finest.
Why create Hügelkultur beds on the ground?
1. Soil transformation
Hügelkultur raised beds offer the perfect way to transform lousy soil into rich, loose, garden dirt. We take organic materials like wood, straw, and compost, and layer them right on top of the subpar soil. Over time, these layers will break down into healthy soil.
In the meantime, we can grow healthy plants in the hügel bed while we wait for that soil transformation to take place.

2. Recycled wood waste
I love how hügelkultur beds utilize old, rotting wood and turn it into rich garden soil! Hügel beds provide an excellent way to use up fallen trees, old firewood, tree and shrub prunings, and more.
3. Greater surface area
A true hügel bed, shaped in a mound, offers greater planting surface than the flat ground. I can’t wait to let my squash plants sprawl all over the hügel bed pictured here.
More ways to use hügelkultur in your garden:
- How to Build Hugelkultur Raised Beds
- 3 Important Tips for Hugelkultur Raised Beds
- How to Create Trenched Hugelkultur Beds
Watch us create a hügel bed in our garden. Can’t see the video? Click here to watch.
3 steps to create Hügelkultur beds on the ground
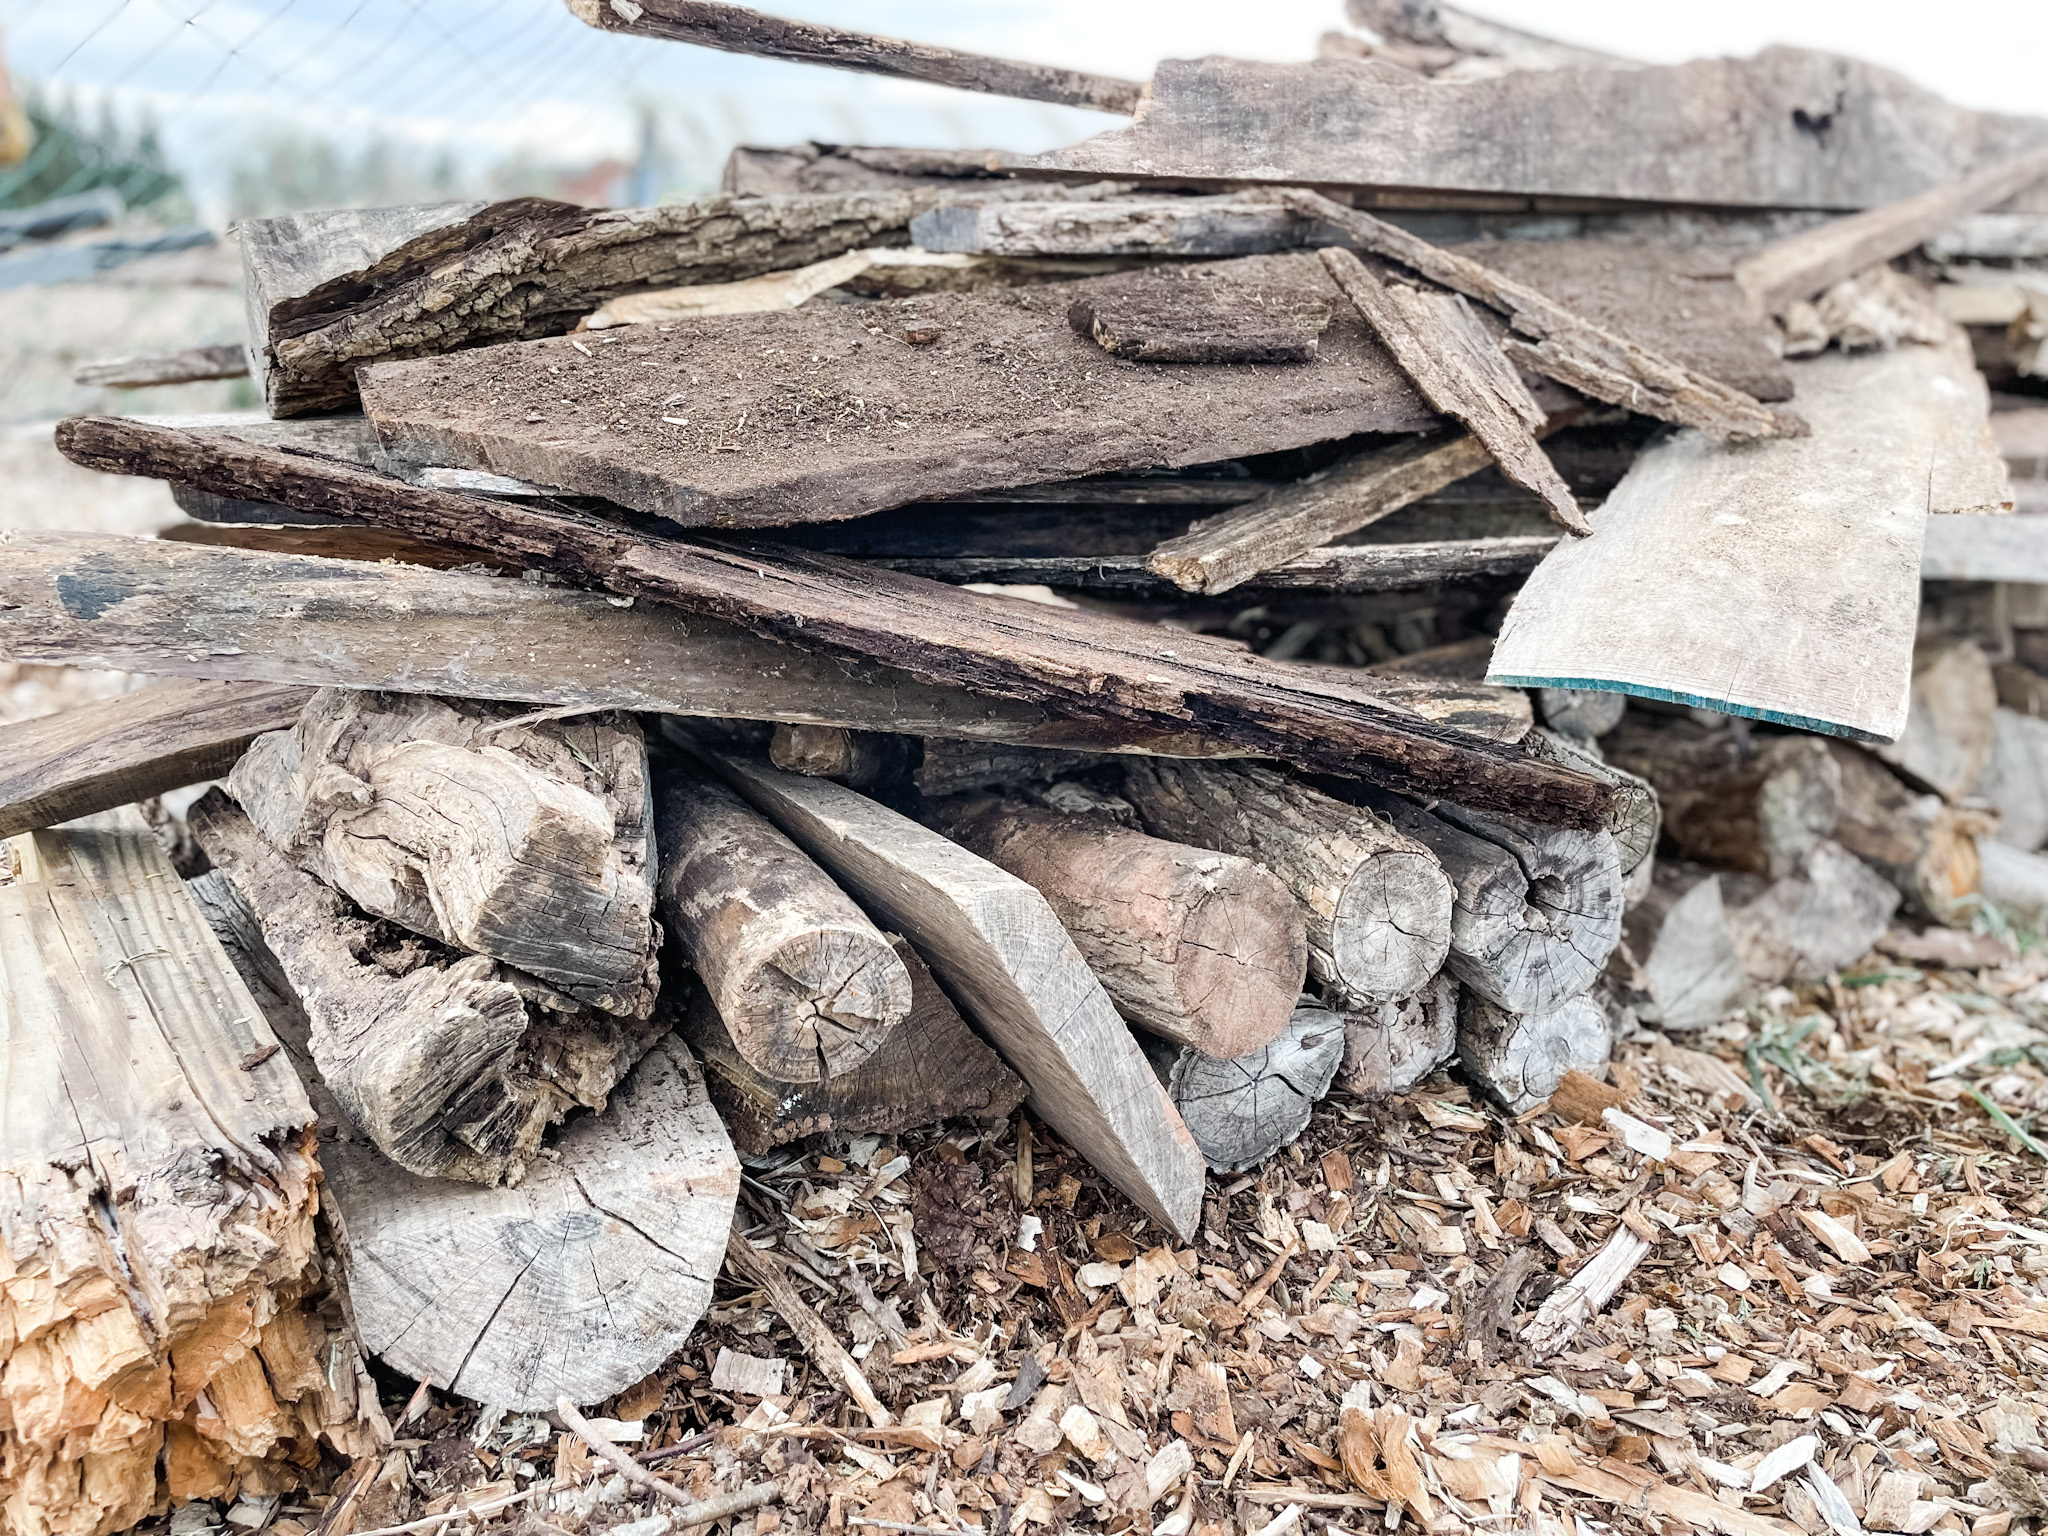
1. Wood base
Start by layering large pieces of wood to form the base of your hügel bed. If you wish, you can begin with a layer of cardboard or thick newspaper under the wood base.
2. Middle layer
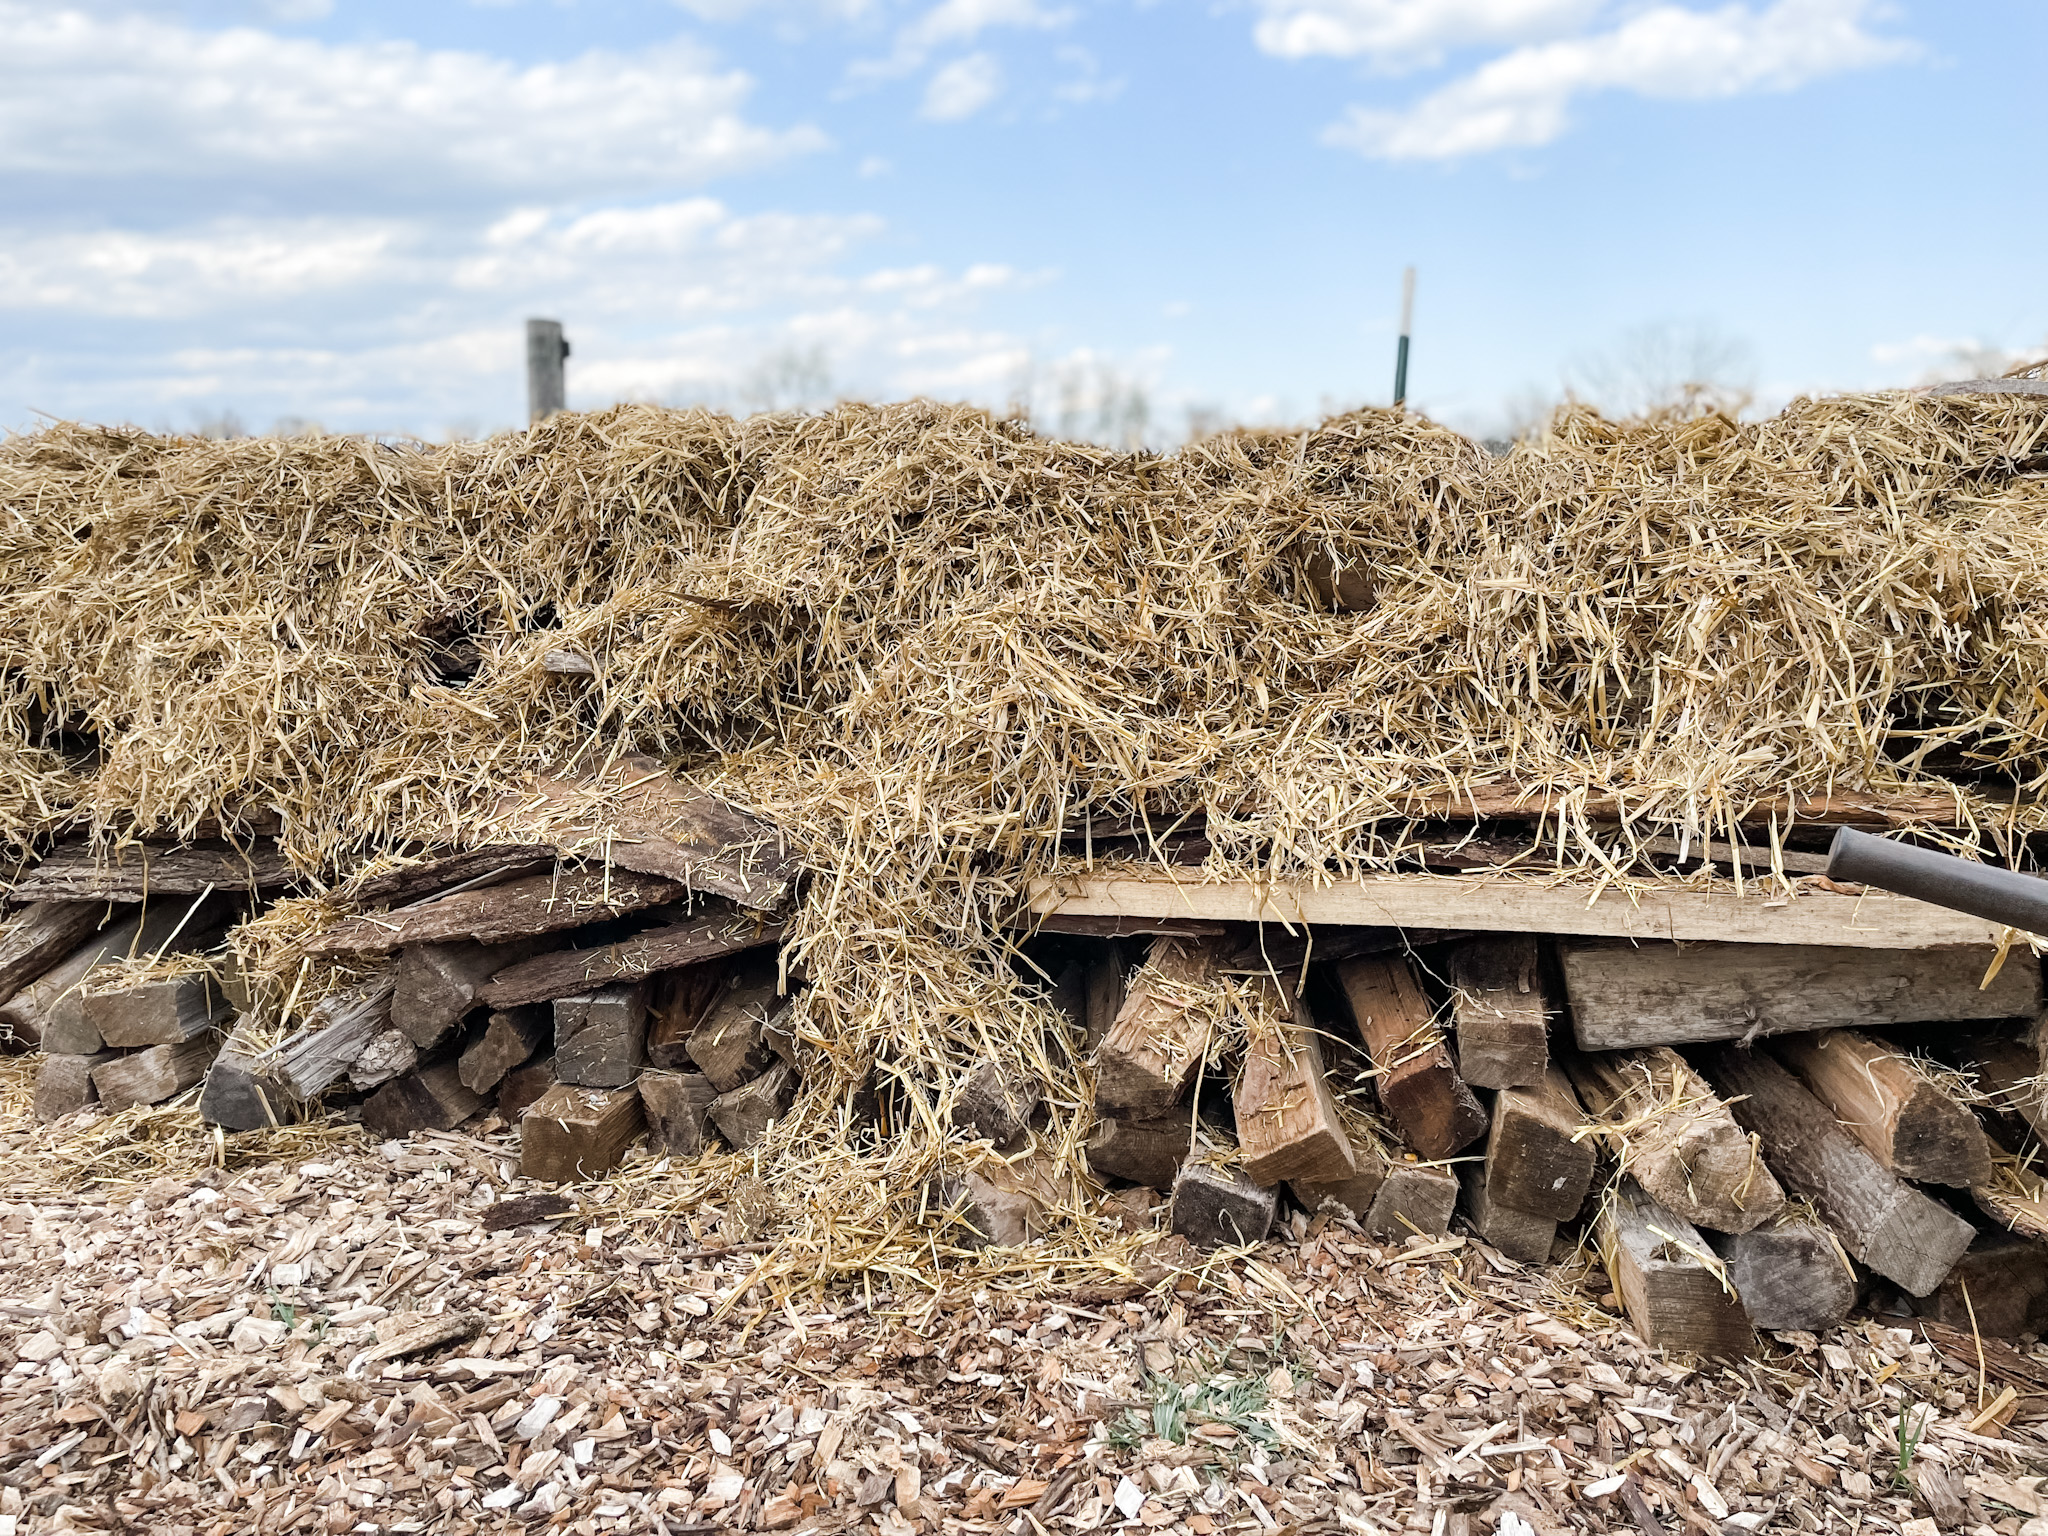
On top of the wood base, add a thick layer of organic materials like straw, leaves, grass clippings, branches, twigs, etc. In this hugel bed, we used the straw bedding from our goat pen.

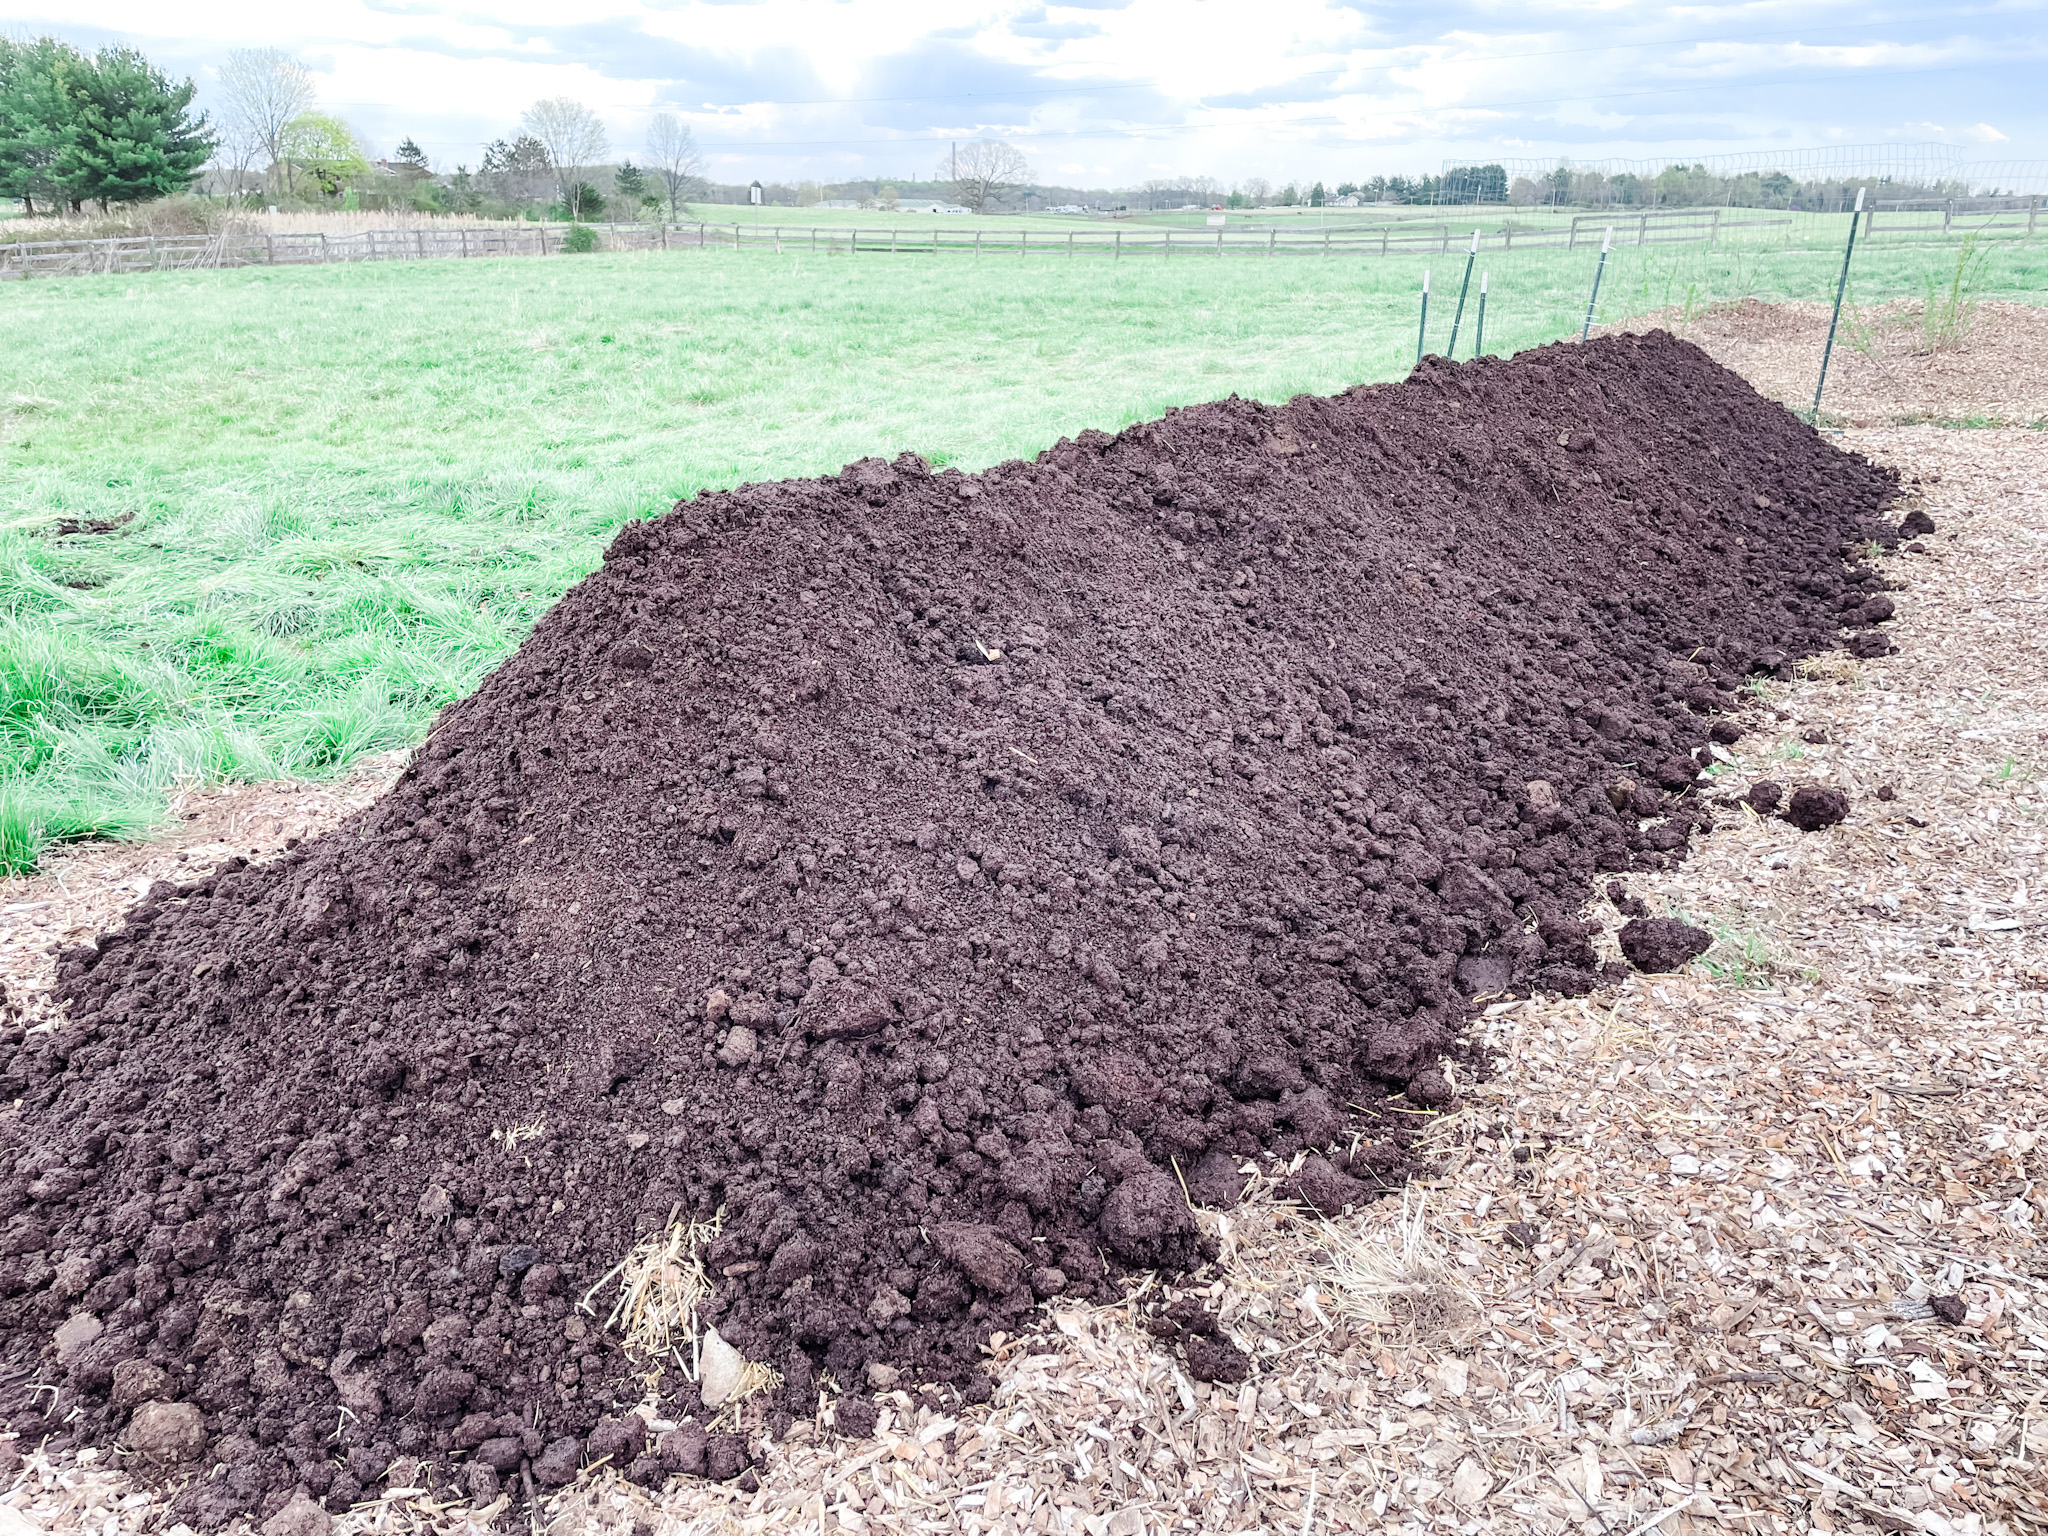
3. Top layer
Finally, top the hügel bed with a thick layer of rich soil. We use composted horse manure, because we have access to a free and plentiful supply.
Planting in your hügelkultur beds
Because you’ve added a thick layer of rich compost on top of your hügel bed, you can plant directly into the bed right away. The hügel bed pictured here will wait a few weeks until I’m ready to plant warm weather seedlings like squash and pumpkins.
Hügelkultur beds are perfect for growing many types of vegetables, berries, fruit trees, and more. They do settle over time, so keep that in mind when planting.
Have you ever gardened in hügelkultur beds?
Want More Help?
Hügelkultur Ebook - 18 pages
Tried and true methods for fast results: build your soil and grow better veggies.


Leave a Comment