How to Create Trenched Hugelkultur Beds
Plan your best garden with simple, step-by-step instructions!
This post may contain affiliate links, which means I make a small commission at no extra cost to you.
See my full disclosure here.
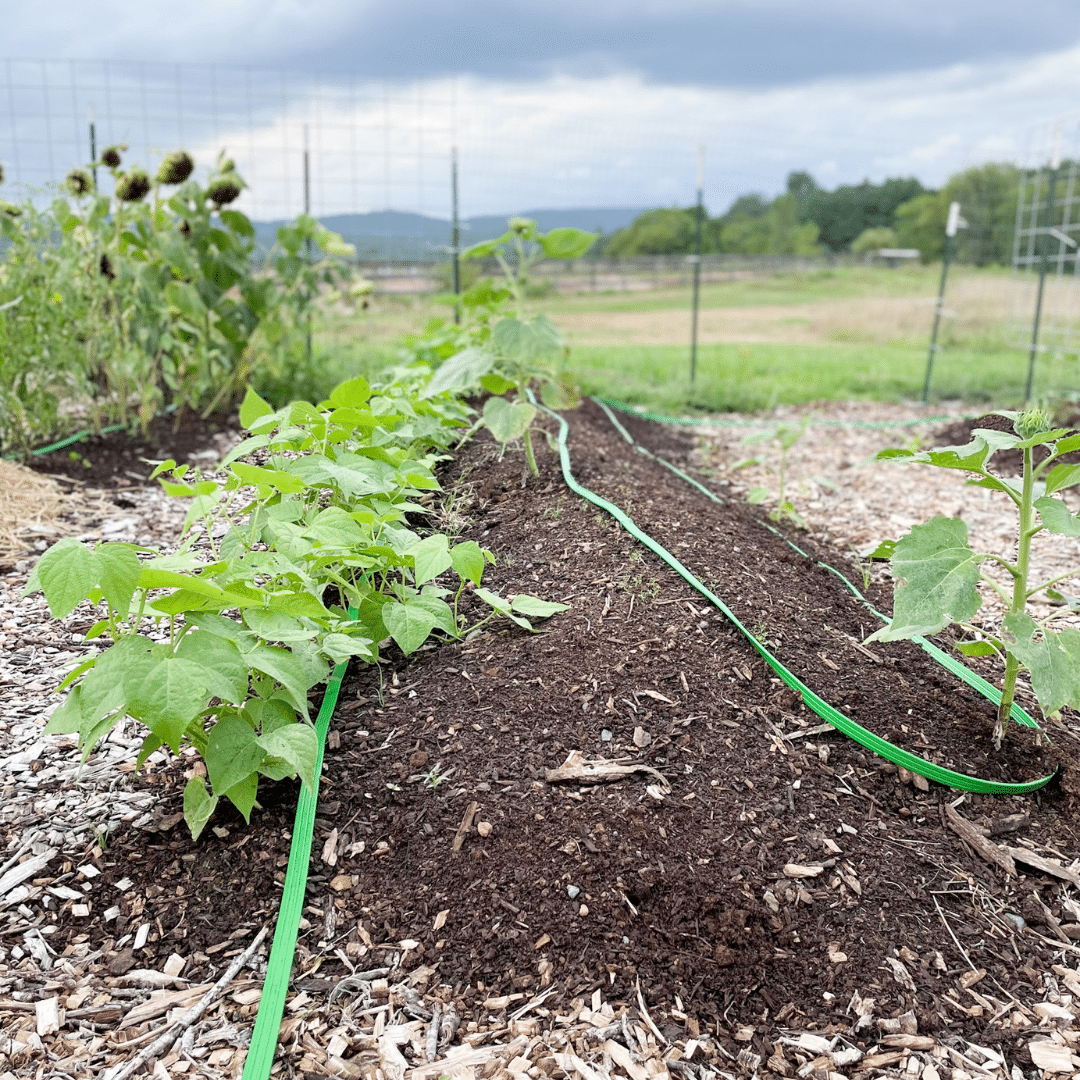
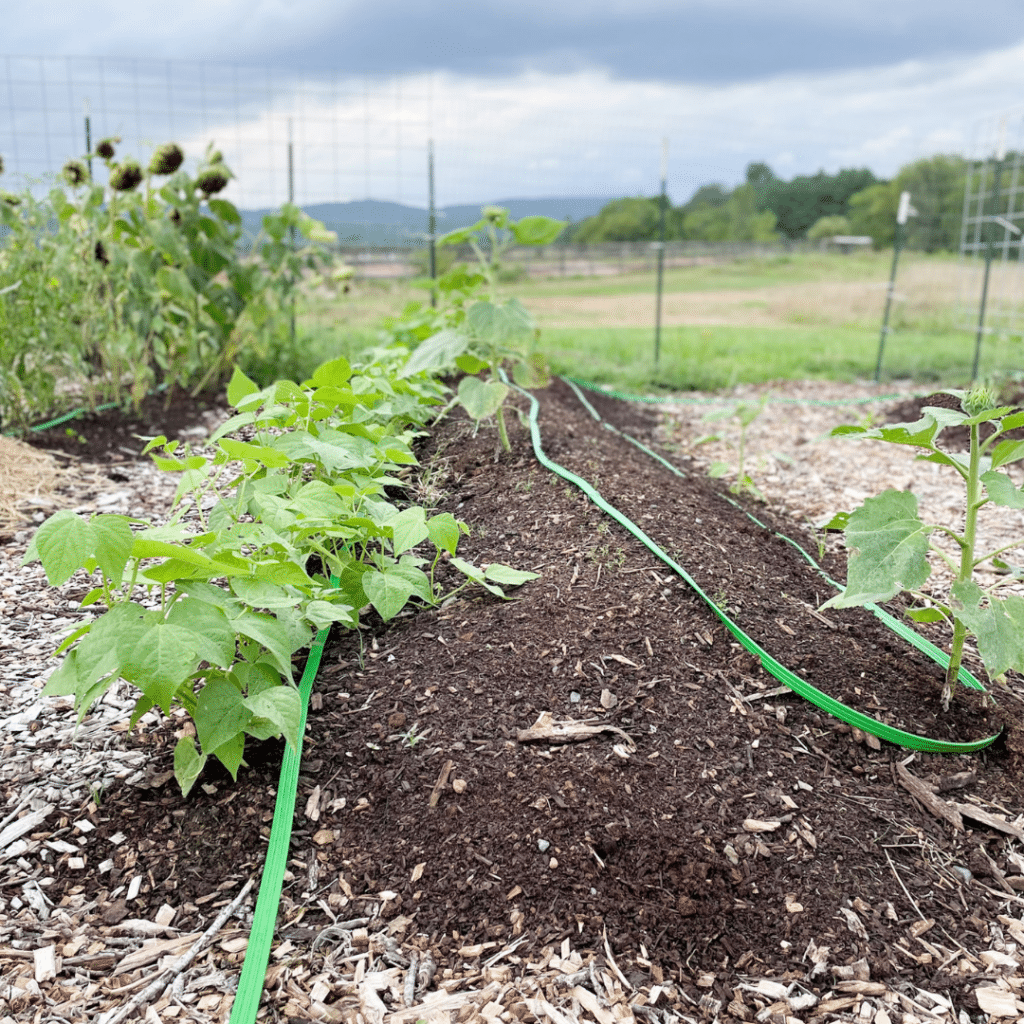
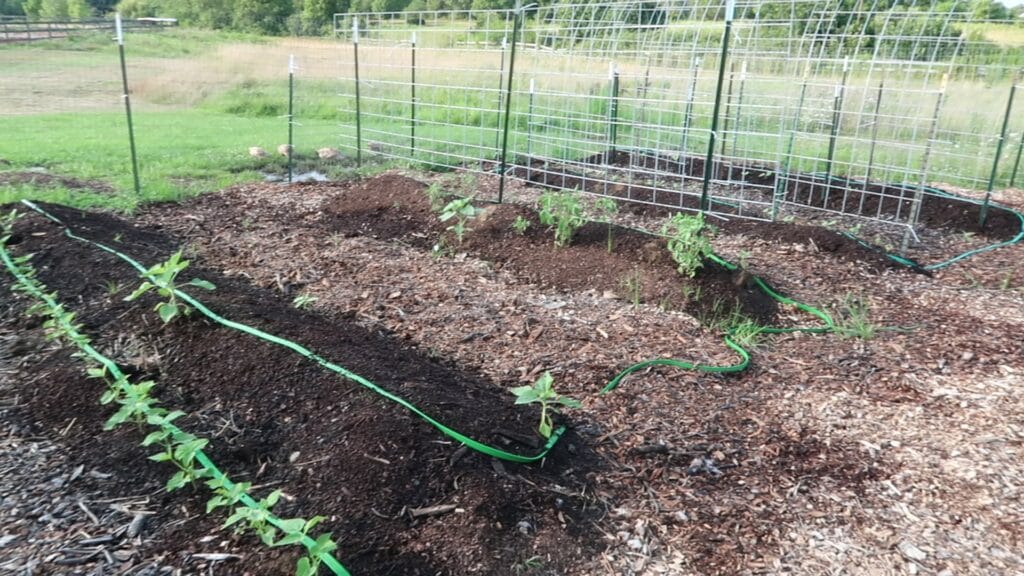
The wooden raised beds in my kitchen garden were filled hugel-style, but for this year’s new addition to our far garden we decided to create trenched hugelkultur beds. Here’s why…
Find out more about hugelkultur and gardening in clay soil:
- How to Build Hugelkultur Raised Garden Beds
- 3 Important Tips for Hugelkultur Raised Beds
- 3 Steps to Create Hugelkultur Beds on the Ground
- 6 Tips for Gardening in Heavy Clay Soil
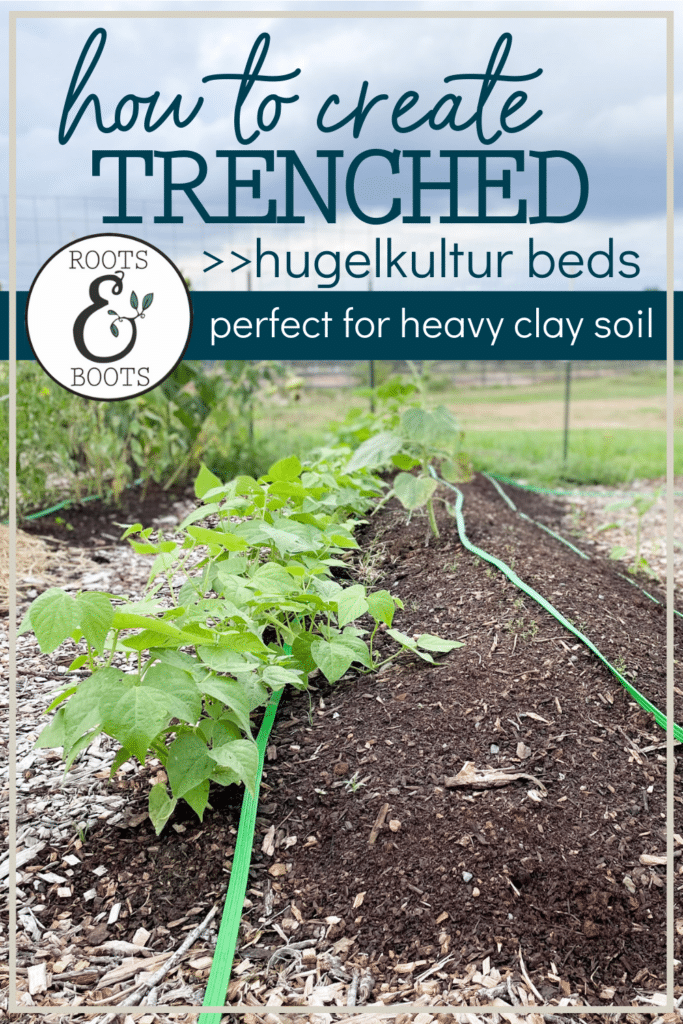
Trenched hugelkultur beds for clay soil
Trenched hugelkultur beds are perfect for areas with heavy clay soil. It’s almost impossible to grow anything in heavy clay. I know this from personal experience gardening here in our northern Virginia clay.
Two main problems with clay soil:
- Poor water drainage: clay soil often remains water-logged, choking the growth of healthy plant roots.
- Poor root penetration: compacted clay prevents plant roots from penetrating the soil and developing properly.
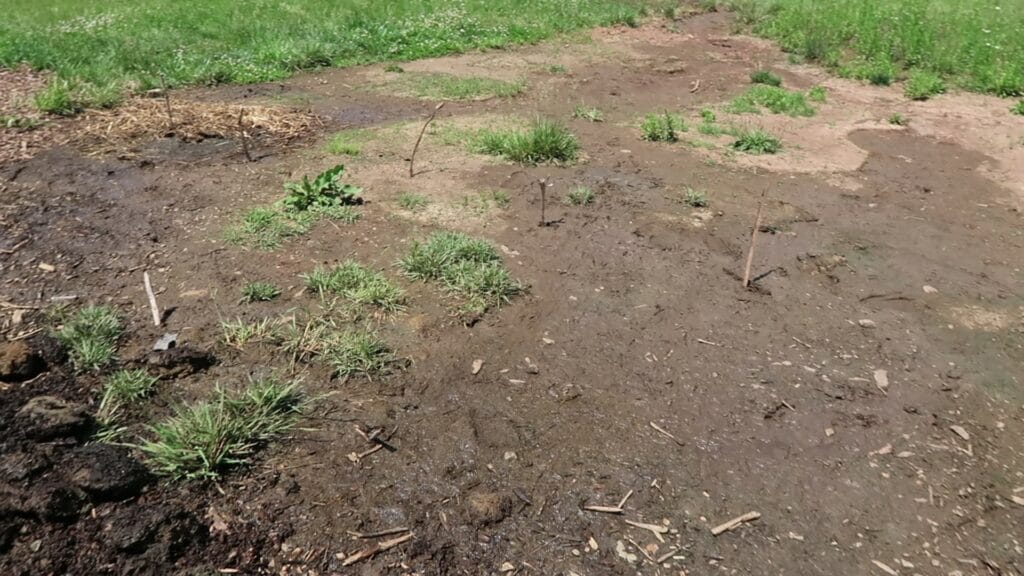
Stunted, water-logged roots are bad news! They cannot support healthy plant growth, and your plants will never thrive in this type of soil.
You can definitely take steps to improve heavy clay soil over time. However, if you want to fast track the process of growing a decent harvest in clay soil, hugelkultur beds are the answer.
Benefits of trenched hugelkultur beds
- Build the soil: layers of organic materials break down over time to improve clay soil.
- Improve drainage: elevated layers allow water to drain properly.
- Allow root growth: loose, rich, organic materials allow plant roots to penetrate.
How to create trenched hugelkultur beds
A quick overview:
- Dig a trench.
- Pile on the wood.
- Add more layers.
- Top with compost.
Here’s a video we made to show you how we created trenched hugel beds in our northern Virginia clay. Can’t see the video? Click here to watch.
More details:
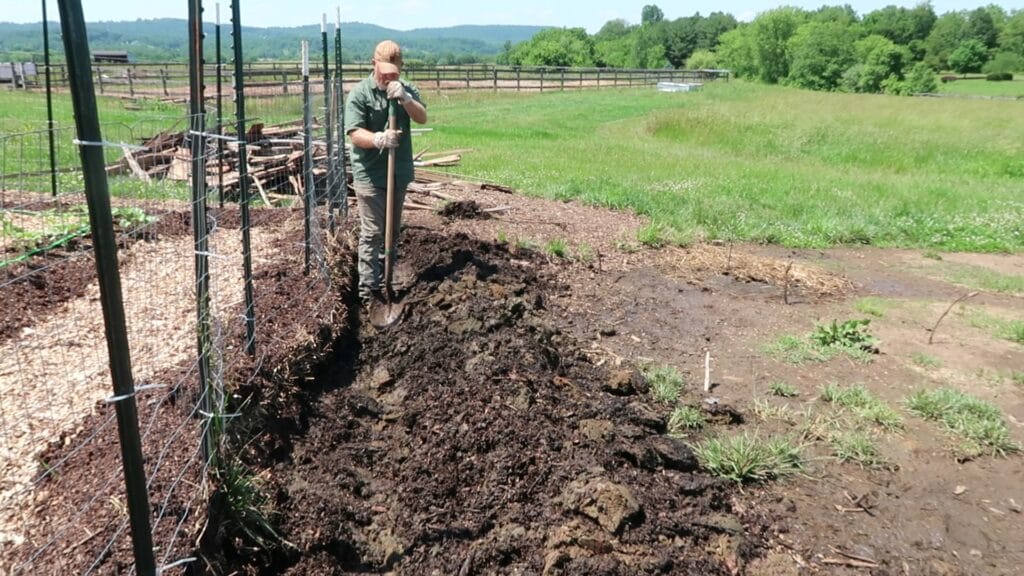
1. Dig a trench.
This step is optional. Trenching results in a lower profile finished bed, and can help to improve drainage. You could also choose to skip the trenching and simply start your hugel layers directly on top of the ground.
2. Pile on the wood.
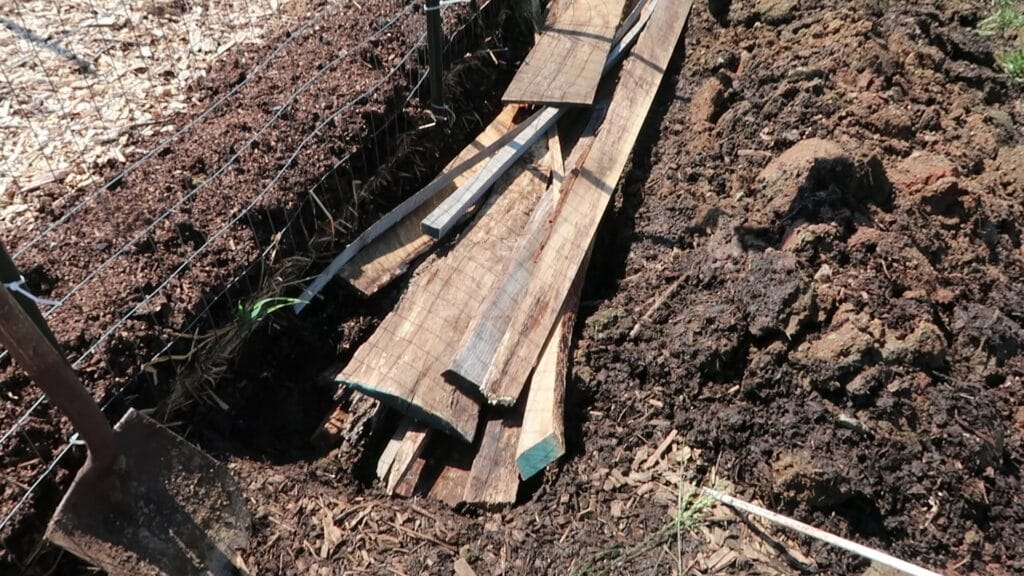
Start with a thick layer of wood: logs, branches, scrap lumber from a saw mill. I don’t recommend using wood chips for this layer, for reasons outlined here: 3 Important Tips for Hugelkultur Beds.
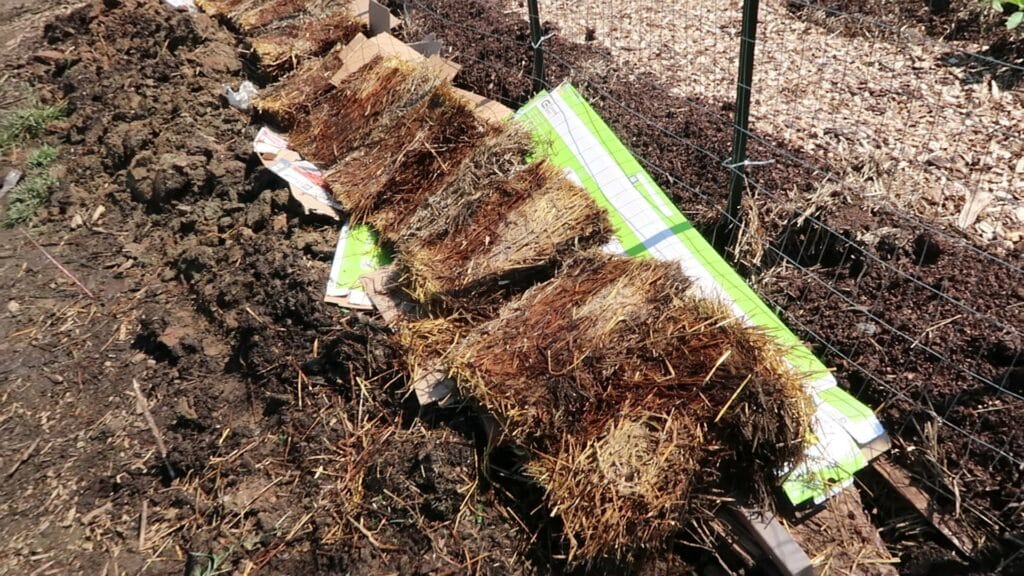
3. Add more layers.
On top of the wood, add layers of newspaper, cardboard, leaves, straw, or grass clippings.
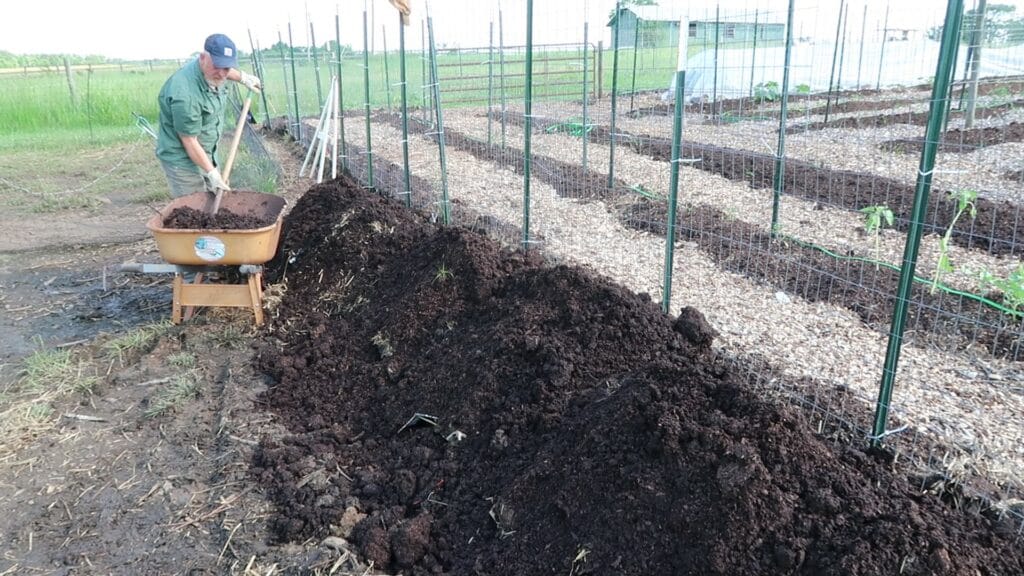
4. Top with compost.
The last step is to add a thick layer of rich compost. You will plant directly into this layer, so make it thick and make it good!
Do you garden in heavy clay? Have you tried trenched hugelkultur beds?
Want More Help?
Hügelkultur Ebook - 18 pages
Tried and true methods for fast results: build your soil and grow better veggies.


