

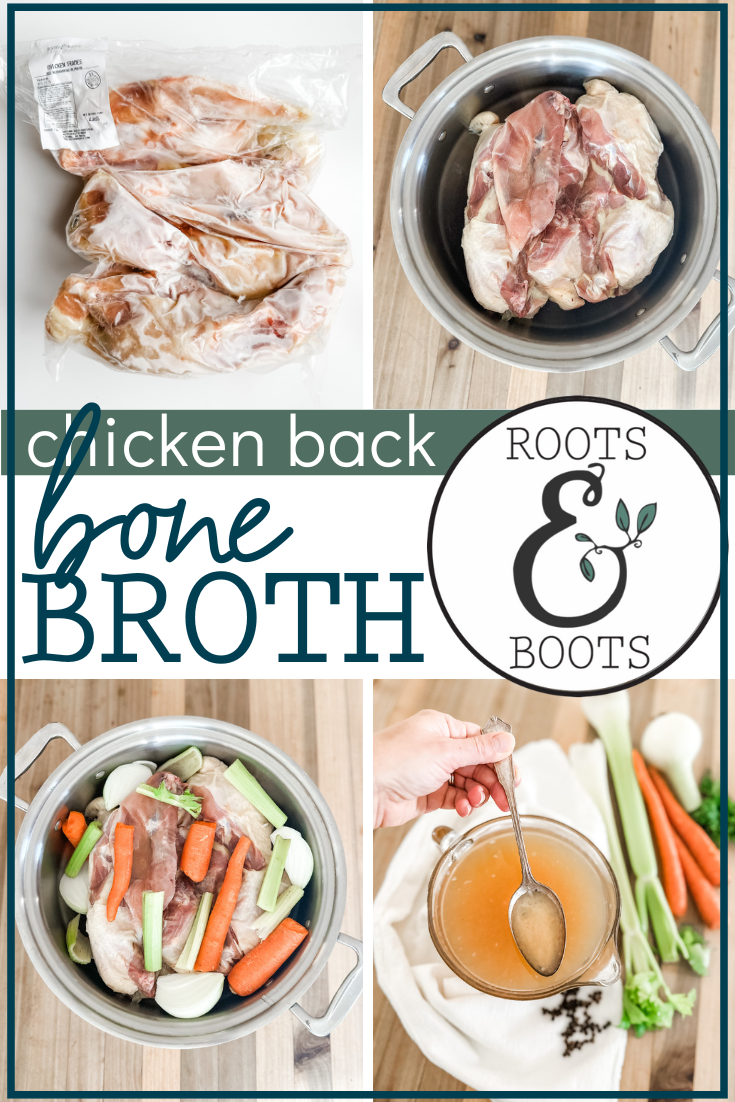
How to Make Chicken Back Bone Broth

This post may contain affiliate links, which means I make a small commission at no extra cost to you.
See my full disclosure here.
Chicken Back Bone Broth: The Most Economical Way to Enjoy Local Pastured Chicken
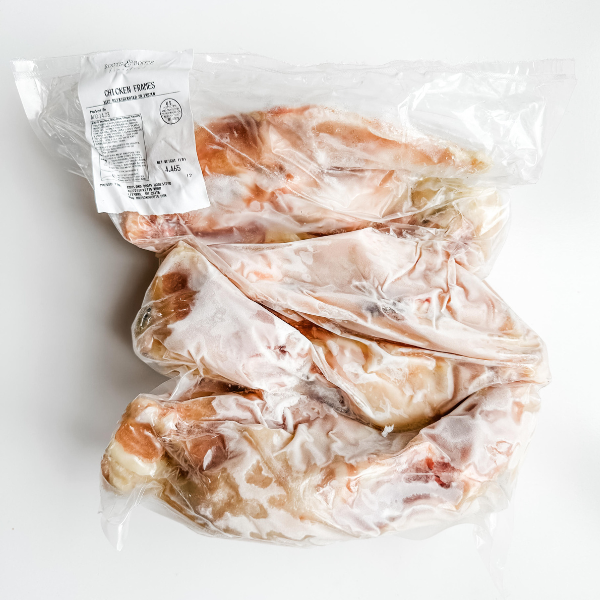
Friends, if I could whisper one real-food secret into your ear, it would be this: start with a humble package of chicken backs. Also known as chicken frames, they’re the best-kept secret for stretching your food budget while boosting your nutrition—and I’m here to show you just how easy it is to make your own chicken back bone broth.
 What Is a Chicken Back?
A chicken back is essentially the backbone and attached bits of meat left after a whole chicken has been broken down into parts. It’s not the star of the show when it comes to presentation, but it is pure gold when it comes to nourishing broth.
When you cook a whole chicken (which I highly recommend—here are two of my favorite recipes: Roast Chicken with Lemon & Herbs and Slow Cooker Whole Chicken), you can turn the leftover carcass into bone broth. That’s real-food multitasking at its finest!
Another budget-friendly option? Ask your local farmer for a package of chicken backs or chicken frames. They’re incredibly affordable and the perfect base for homemade broth.
Why (Local) Pastured Chicken Matters
Choosing locally raised, pastured chicken isn’t just better for your body—it’s better for the planet and your community, too. Pasture-raised chickens enjoy sunshine, forage naturally, and live the way chickens were meant to live. That translates into richer flavor, deeper nutrition, and peace of mind knowing you’re supporting ethical food choices.
If you’re local to us in Northern Virginia, we’d love to see you at our Roots & Boots Homestead farm stand! We offer pasture-raised whole chickens, chicken backs, and other pasture-raised meats, eggs, and fresh goat milk to nourish your family.
How to Make Chicken Back Bone Broth
Here’s how I make a big batch of gelatin-rich chicken back bone broth, perfect for sipping or cooking:
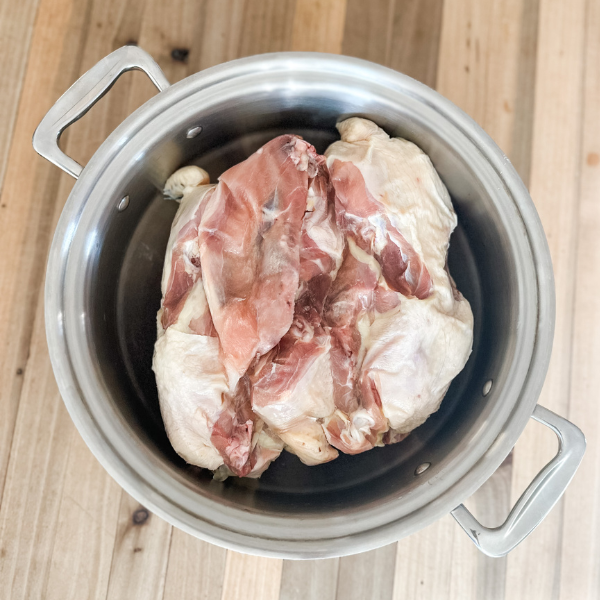
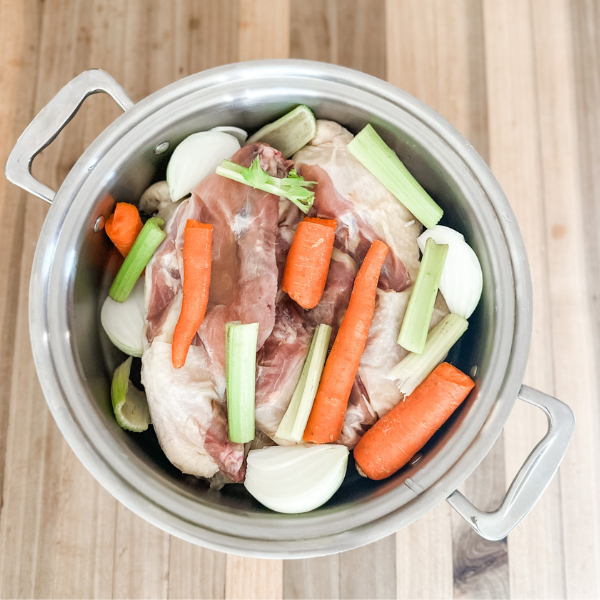
- Add three chicken backs to a large pot or your favorite slow cooker. (Save 25% on my favorite nontoxic slow cooker with code ROOTSBOOTS.)
- Optional but highly recommended: toss in about four to six chicken feet for an extra boost of gelatin (this is broth that jiggles, y’all).
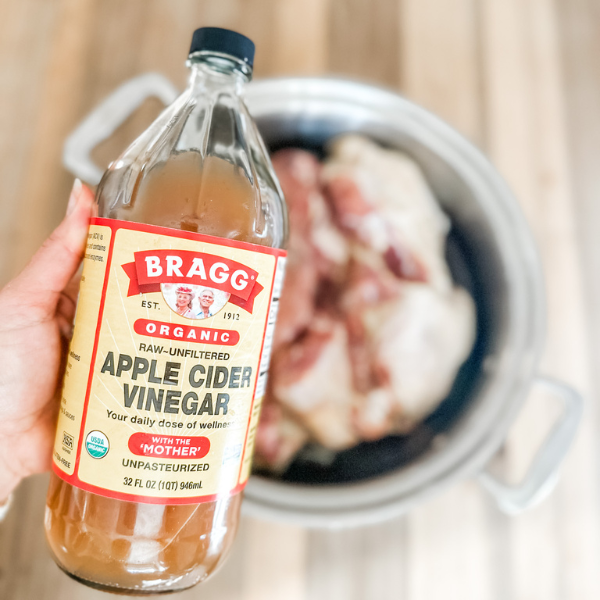
- Splash in a few tablespoons of apple cider vinegar—this helps draw minerals from the bones.
- Add 1-2 quartered onions, 2-3 carrots, and 2-3 ribs of celery, chopped. (If you grow your own celery, save the leafy tops in the freezer just for broth—so flavorful!)
- Cover with filtered water.
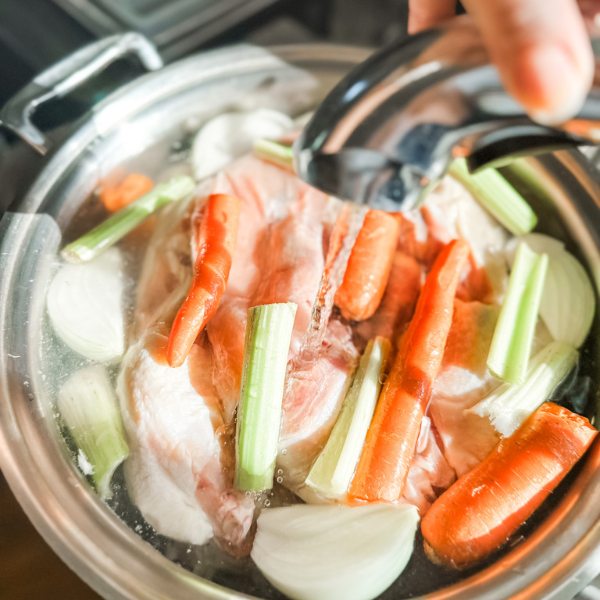
- Stovetop: bring to a gentle boil, then reduce to a low simmer. Cover and let cook for about 12 hours. In a slow cooker, simply turn the knob to high, cover, and cook for about 12 hours.
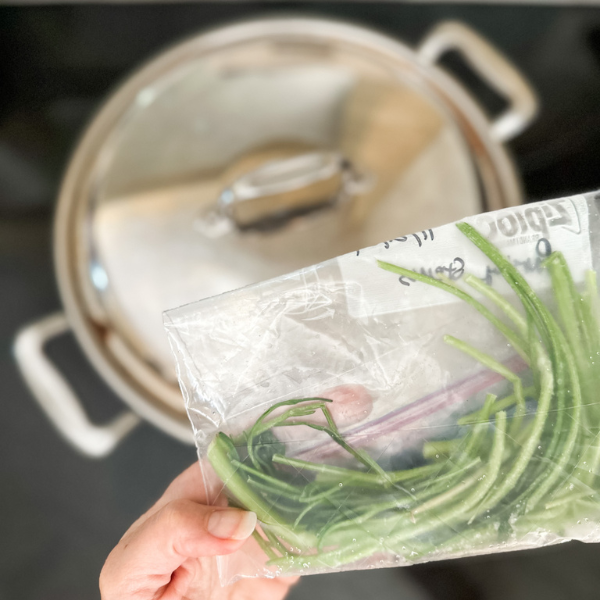
- When it’s done, turn off the heat and toss in a handful of black peppercorns and fresh parsley. (I freeze my extra parsley stems for exactly this purpose!)
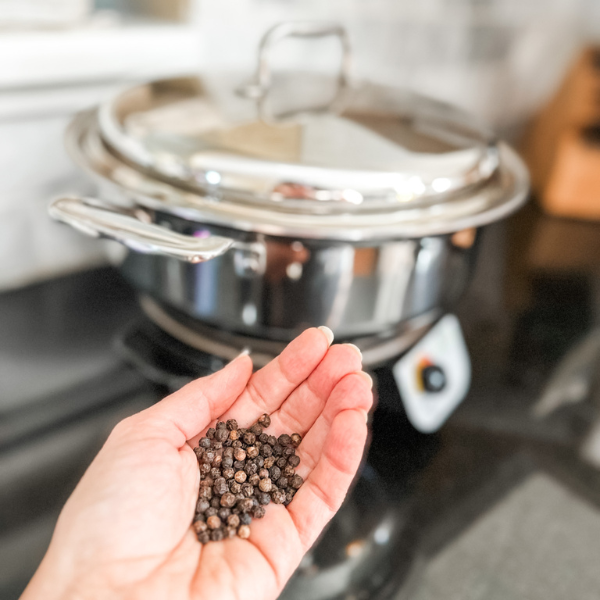
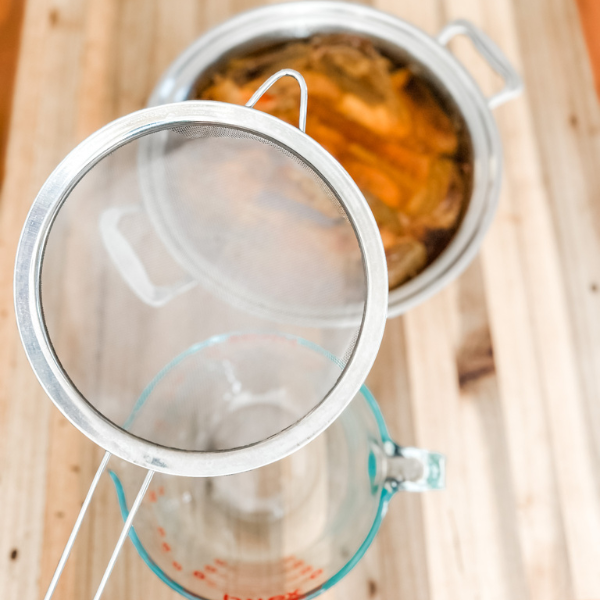
- Let the broth steep for another 30–60 minutes with the lid on.
- Strain everything into jars and store in the fridge for 4–5 days or in the freezer for several months.*
*Get instructions for freezing broth in glass jars: How to Freeze Food in Glass Jars.

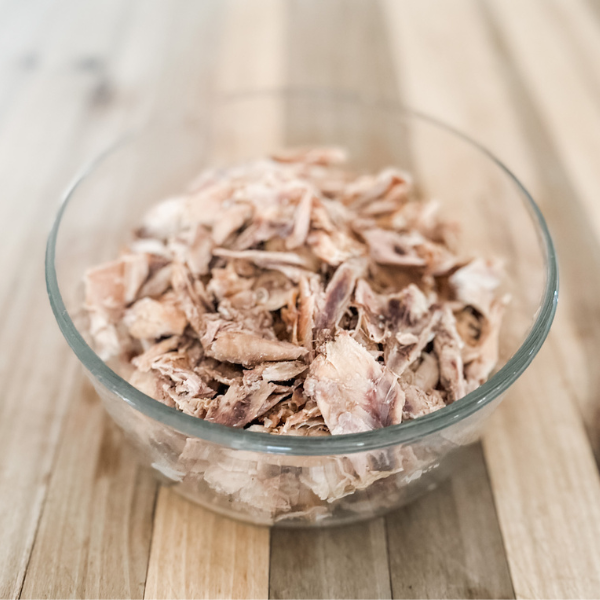
Don’t Waste the Meat!
After straining, I like to pick all the meat off the chicken backs. You’d be amazed how much tender meat you’ll get—perfect for soups, burrito bowls, salads, or just stirring into some hot broth for a quick lunch.
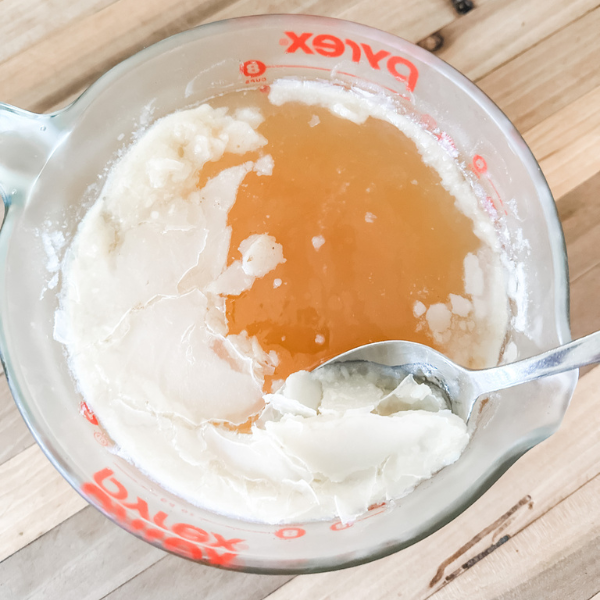
Chicken Fat: The Layer on Top
As the broth cools in the fridge, a layer of fat will form on top. Simply skim this off and discard before using the broth.
By the way, this fat is completely edible. However, it makes the broth feel heavier and greasier and most people prefer to remove it.
We add this skimmed chicken fat to our “pig bucket”. Yep, we keep two stainless steel compost pails (with lids!) next to our sink: one for the pigs and one for the compost pile, or anything that pigs won’t or shouldn’t eat.
Alternatively, dogs love chicken fat! You can feed it to them straight or mix it into their food. If you’re not feeding dogs, livestock, or a compost pile, simply discard in the trash. Whatever you do, don’t send it down the drain!
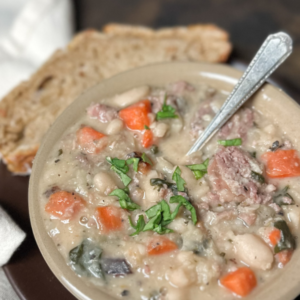
Soup Recipes for Chicken Bone Broth
Once you’ve made a big, beautiful batch of chicken back bone broth, it’s time to put it to work in the kitchen. Here are a few of my favorite ways to use this golden goodness.
Side note: using homemade bone broth and tender meat cooked during the broth-making process, I can have any of the above soups ready to serve in 30 minutes. #momwin
More soup recipes
I love soup so much that I compiled my family’s favorite soup recipes into an ebook called Nourishing Soups. You will love these real-food, one-pot, paleo-friendly recipes packed with rich, simple flavors! Here are just a few of the recipes included in the ebook:
- White Chicken Chili
- Chicken Poblano Soup
- Chicken Zoodle Soup
- Chicken & Dumplings
- Slow Cooker Chicken Stew
- Turkey & Veggie Soup
- Ham & Bean Soup
- White Bean & Sausage Stew
- Creamy Tomato Basil Soup
- Carrot Ginger Soup
- Butternut Squash Soup
- Southwest Butternut Squash Soup
- Classic Potato Soup
- Saffron Chickpea & Butternut Stew
- Red Lentil & Squash Soup

Real Food, Real Simple
Making chicken back bone broth at home is one of the easiest, most nourishing things you can do in your kitchen. It’s frugal, satisfying, and endlessly versatile. Once you’ve tried it, you’ll wonder why you ever reached for store-bought broth.
Have you made broth with chicken backs before? I’d love to hear your favorite add-ins or creative uses for the broth and meat!
Print
Chicken Back Bone Broth
Description
Making chicken back bone broth at home is one of the easiest, most nourishing things you can do in your kitchen. It’s frugal, satisfying, and endlessly versatile. Once you’ve tried it, you’ll wonder why you ever reached for store-bought broth.
Ingredients
- 3 pastured chicken backs (aka frames)
- optional: 4-6 pastured chicken feet
- 3-4 tablespoons apple cider vinegar
- 1-2 onions, quartered
- 2-3 carrots, quartered
- 2-3 celery ribs, quartered
- handful black peppercorns
- handful fresh parsley
- unrefined sea salt, to taste
Instructions
- Add three chicken backs to a large pot or your favorite slow cooker. (Save 25% on my favorite nontoxic slow cooker with code ROOTSBOOTS.)
- Optional but highly recommended: toss in four to six chicken feet for an extra boost of gelatin (this is broth that jiggles, y’all).
- Splash in a few tablespoons of apple cider vinegar—this helps draw minerals from the bones.
- Cover with filtered water.
- Add 1-2 quartered onions, 2-3 carrots, and 2-3 ribs of celery, chopped. (If you grow your own celery, save the leafy tops in the freezer just for broth—so flavorful!)
- Bring to a gentle boil, then reduce to a low simmer. Cover and let cook for about 12 hours.
- When it’s done, turn off the heat and toss in a handful of black peppercorns and fresh parsley. (I freeze my extra parsley stems for exactly this purpose!)
- Let the broth steep for another 30–60 minutes with the lid on.
- Strain everything into jars and store in the fridge for 4–5 days or in the freezer for several months.*
- For sipping purposes, add unrefined sea salt to taste. For soups and other cooking purposes, you can add salt to taste during that process.
- After straining, I like to pick all the meat off the chicken backs. You’d be amazed how much tender meat you’ll get—perfect for soups, burrito bowls, salads, or just stirring into some hot broth for a quick lunch.
Notes
*Get instructions for freezing broth in glass jars: How to Freeze Food in Glass Jars.

22 NOURISHING GLUTEN-FREE SOUP RECIPES
Simplify your dinner prep with these tasty, nourishing soups!
")
Sign up NOW for my best tips delivered weekly to your inbox!
You’ll also get instant access to my library of free ebooks and resources.


Leave a Comment