

Homemade Basil Salt
This post may contain affiliate links, which means I make a small commission at no extra cost to you.
See my full disclosure here.
Homemade Basil Salt
If you have a bumper crop of basil, homemade basil salt is one of the easiest ways to put a whole bunch of it to good use.
And this stuff is SO good.
I keep a jar of basil salt right near the stove alongside my regular salt and pepper. It’s an easy way to add extra flavor to roasted or sautéed veggies, eggs, meats, potatoes, green salads, and more.
You need only two ingredients: fresh basil and salt. A quick spin in the food processor followed by a short stint in the oven transforms them into a flavorful seasoning you can use for months.
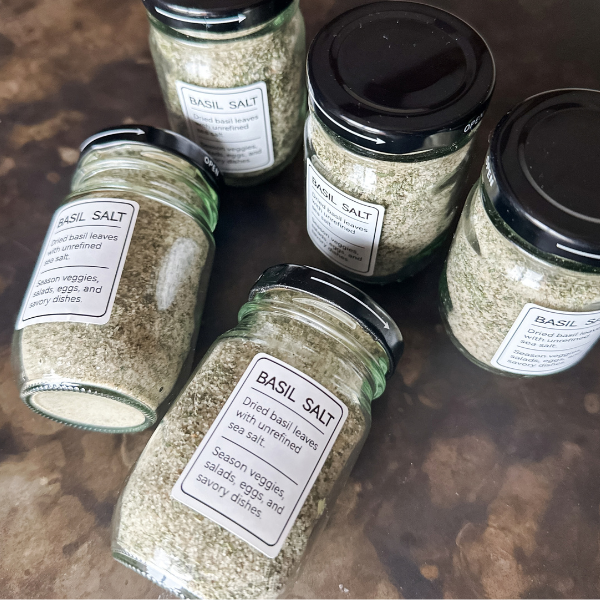
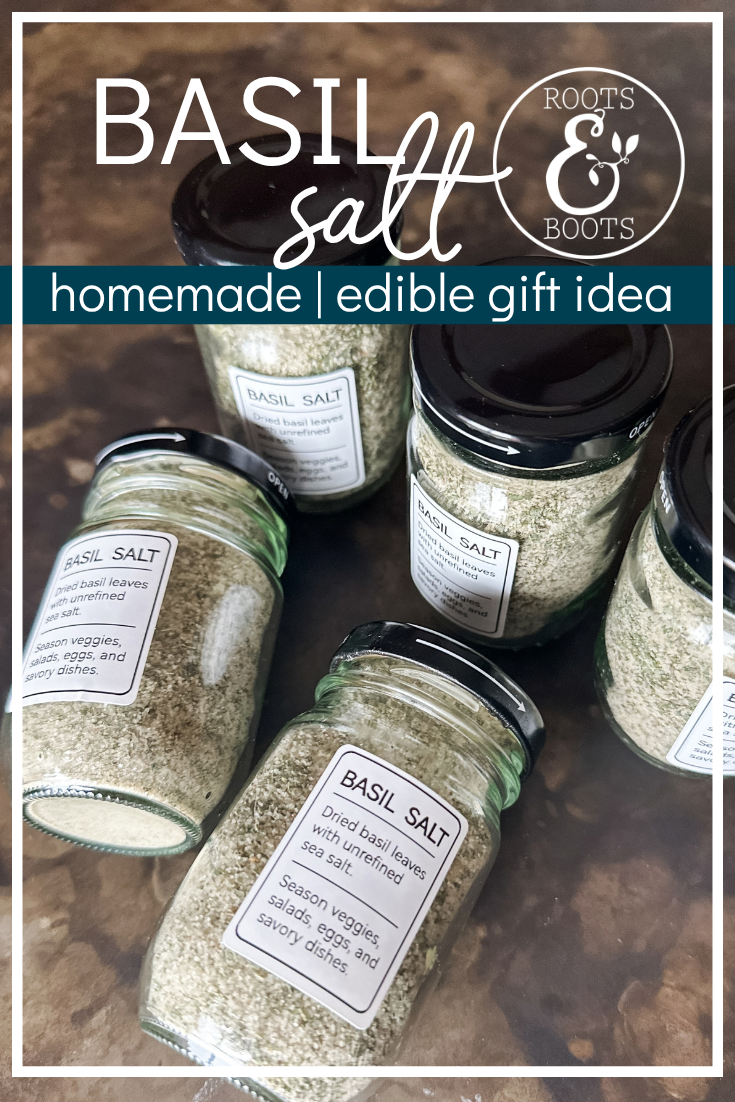
Bonus: basil salt is very giftable! Spoon it into a pretty little spice jar, add a polished label from my handy label printer, and you’ve got an easy homemade kitchen gift.
Why You’ll Love Homemade Basil Salt
- Uses up a LOT of fresh basil
- Requires only two ingredients
- Adds instant flavor to everyday meals
- Stores easily near the stove
- Makes a fantastic homemade gift
- Gives you another way to preserve a bumper crop of basil
Ingredients
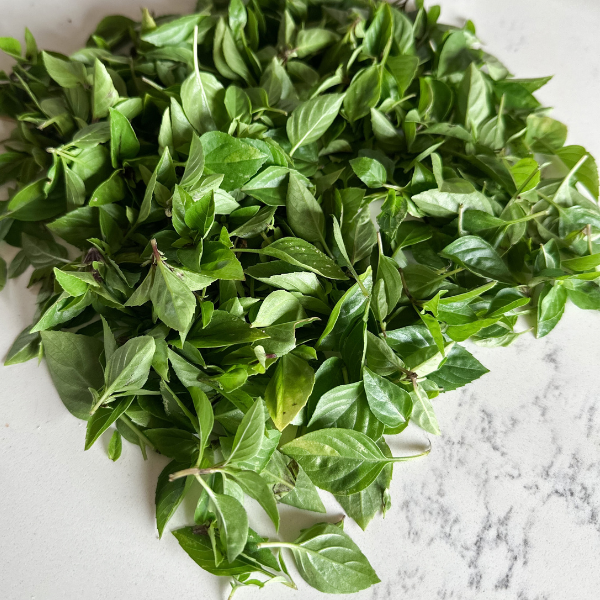
- Fresh basil leaves – This is a great project for late summer when basil plants are producing faster than you can use them.
- Unrefined sea salt – I use Redmond Real Salt, my favorite unrefined sea salt. It contains naturally occurring trace minerals and no additives. Use code KEEPITREAL for 15% off your order.
The proportions are flexible, but I like to use about 4 cups loosely filled, unpacked basil leaves to 1 cup salt.
How to Make Basil Salt
Prep the basil
Remove the basil leaves from the stems. Wash if necessary and dry well. I do not rinse my homegrown basil.
Process the basil and salt
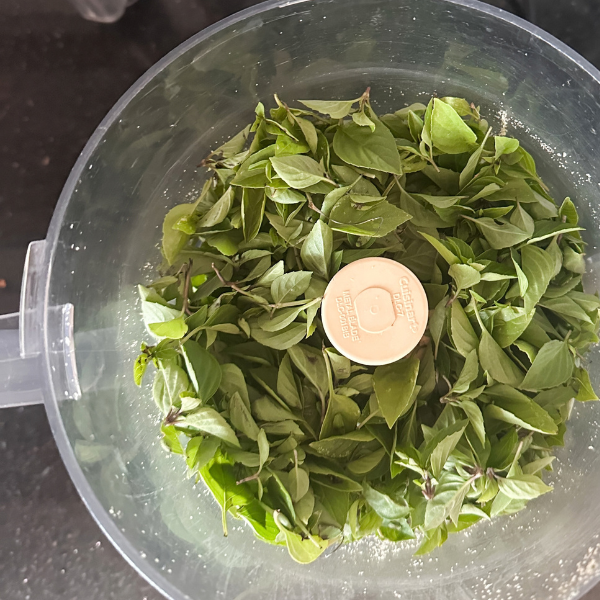
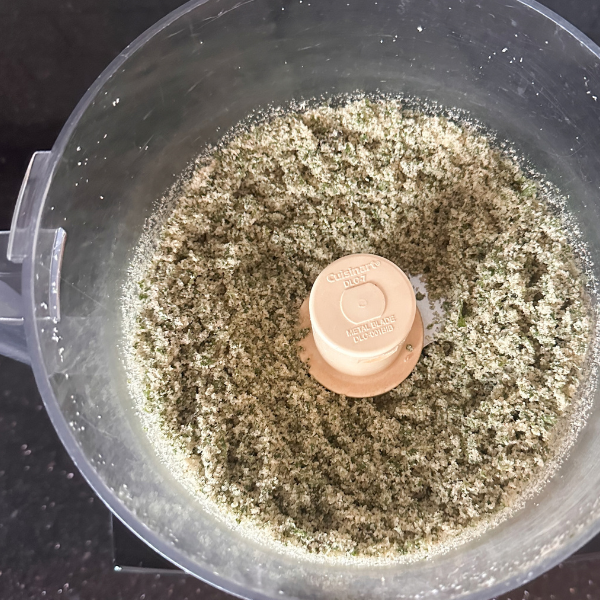
Add the fresh basil leaves and salt to a food processor.
Pulse until the basil is chopped very small and thoroughly incorporated into the salt. The mixture will be moist and green.
Spread on a baking sheet
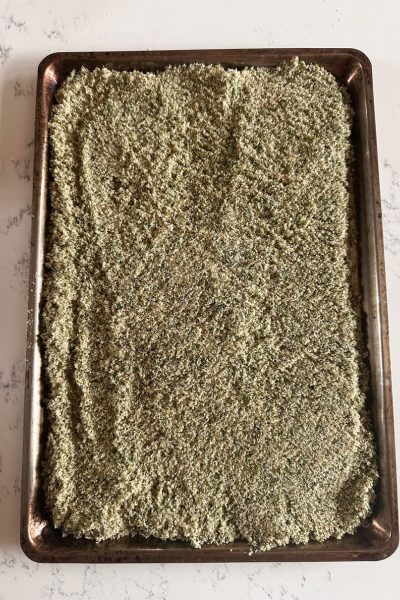
Spread the basil salt evenly over a rimmed baking sheet.
Dry the basil salt
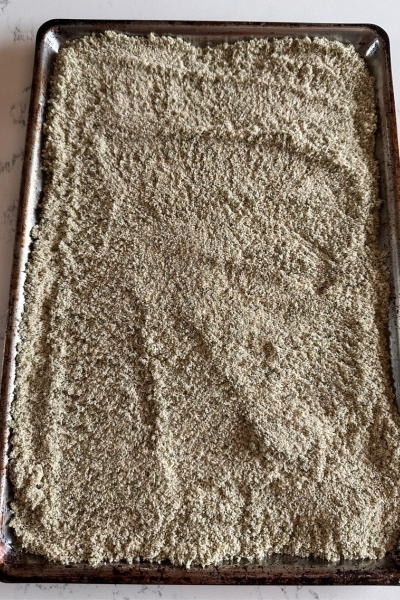
Transfer to a preheated 170°F oven and dry for approximately 45 minutes, or until the basil is completely dry.
It’s helpful to stir the mixture partway through to break up any clumps and encourage even drying.
Cool and grind
Allow the basil salt to cool completely.
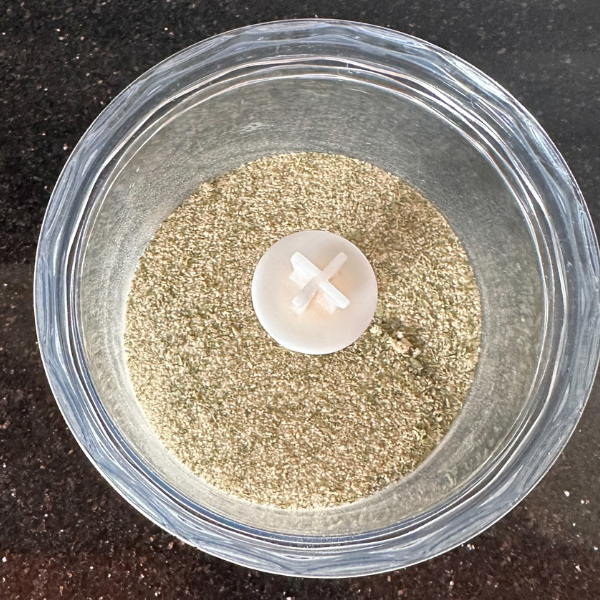
Once cool, transfer it to a mini food processor and pulse again until the basil salt reaches a fine, uniform consistency.
I use the mini food processor attachment that came with my beloved powerhouse immersion blender. It’s perfect for small jobs like this.
Transfer to jars
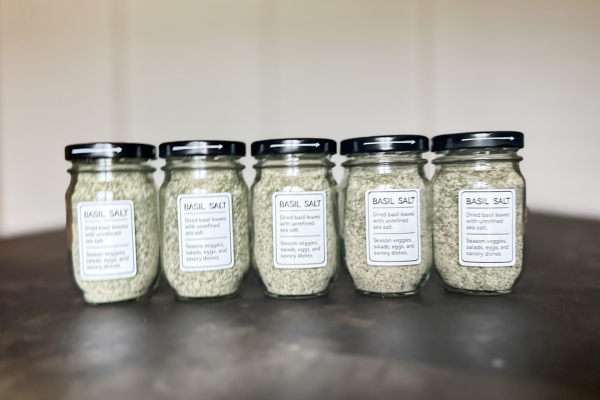
Transfer the finished basil salt to airtight storage jars.
I like to keep mine handy near the stove with my regular salt and pepper.
How to Store Homemade Basil Salt
Store completely cooled basil salt in an airtight container in a cool, dry location.
The key is making sure the basil is fully dried before the final grind and before you transfer it to a jar. If the mixture still feels damp, return it to the oven and continue drying.
How to Turn It Into Dinner
This is truly an all-purpose seasoning. Anytime a savory dish needs salt, there’s a good chance basil salt will make it even better.
Try it on:
- Roasted or sautéed vegetables
- Scrambled or fried eggs
- Chicken, beef, or pork
- Burgers
- Roasted or skillet potatoes
- Green salads
- Fresh tomatoes
- Soups
- Rice or other grains
I especially love having basil salt within arm’s reach while I’m cooking. It adds both salt and that extra layer of savory basil flavor in one step.
Make Basil Salt for Gifts
Homemade basil salt is one of those kitchen goodies that feels special but requires very little extra work.
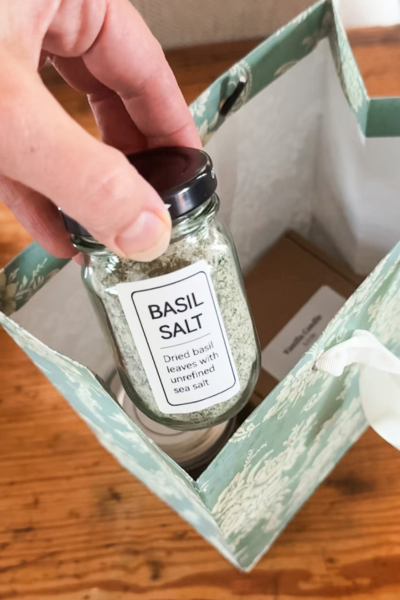
For gifting, transfer the cooled salt to small spice jars and add a printed label. My handy label printer is perfect for projects like this. I use it for pantry staples as well as giftable kitchen goodies, and it gives homemade gifts a polished finishing touch.
Basil salt would also be fun to tuck into a collection of homemade seasonings for a hostess gift, Christmas gift, or other small food gift.
More Homemade Edible Gift Ideas
If you love giving useful, homemade gifts from the kitchen, you’ll find plenty more ideas in my Edible Gifts ebook. It’s packed with recipes and inspiration for turning homemade food into gifts people will actually use and enjoy.
More Ways to Use Up Fresh Basil
When the basil is coming in faster than you can keep up, here are a few more of my favorite ways to put it to work:
- Fresh Basil Pesto – One of my favorite ways to use a big pile of fresh basil. Make a big batch to enjoy now, and freeze extra for later.
- Pesto Sausage and Carrots – An easy one-pot dinner and a tasty way to put that homemade pesto to use.
- How to Dry Herbs – Dry extra basil to keep on hand for cooking all year long.
- Homemade Italian Seasoning – Put that dried basil to work with other homegrown herbs in this handy homemade seasoning blend.
- Plus, see my 25 Ways to Use Fresh Basil for even more ideas.
Homemade Basil Salt
- Prep Time: 10 minutes
- Cook Time: 45 minutes
- Total Time: 55 minutes
- Yield: approx. 1 cup
Description
Homemade basil salt is an easy, flavorful way to preserve a bumper crop of fresh basil. Keep it near the stove for seasoning veggies, eggs, meats, potatoes, salads, and more.
Ingredients
- 4 cups fresh basil leaves, loosely filled and not packed
- 1 cup unrefined sea salt
Instructions
- Preheat oven to 170°F.
- Add basil leaves and salt to a food processor.
- Pulse until the basil is chopped very small and thoroughly incorporated into the salt.
- Spread the mixture evenly over a rimmed baking sheet.
- Dry for approximately 45 minutes, stirring partway through, until the basil is completely dry. (Make sure the basil is completely dry before the final grind and storage. If the mixture still feels damp after 45 minutes, stir and continue drying as needed.)
- Remove from the oven and cool completely.
- Transfer the cooled basil salt to a mini food processor and pulse until fine and uniform.
- Transfer to airtight storage jars.
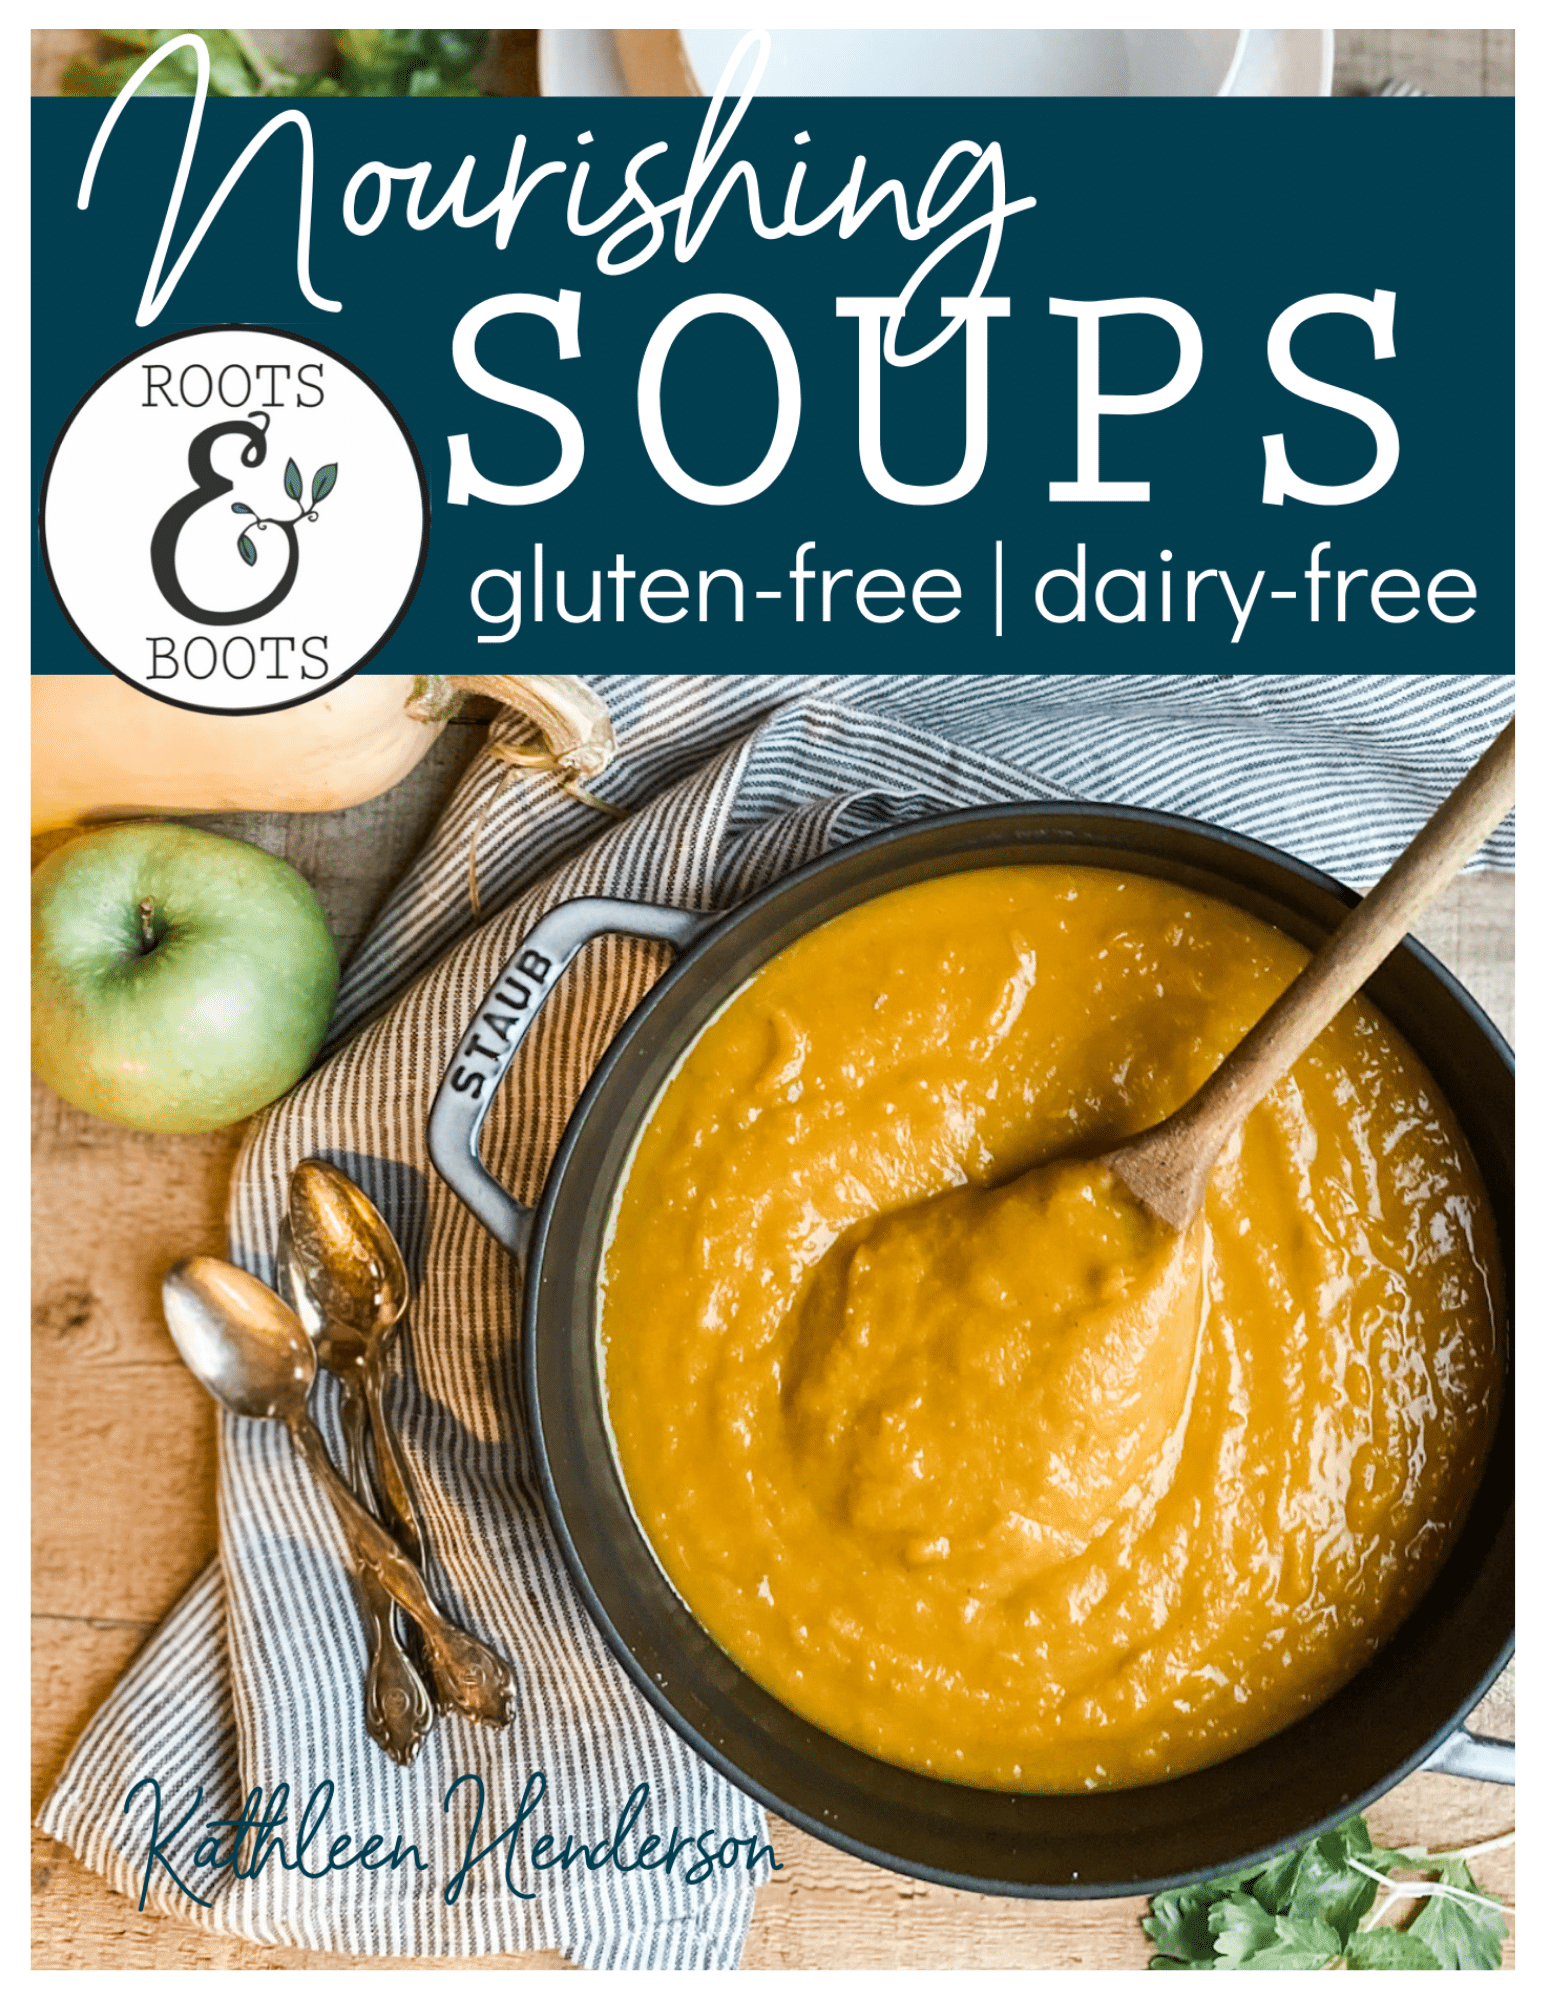
22 NOURISHING GLUTEN-FREE SOUP RECIPES
Simplify your dinner prep with these tasty, nourishing soups!
Sign up NOW for my best tips delivered weekly to your inbox!
You’ll also get instant access to my library of free ebooks and resources.
You might also like...

Leave a Comment