

How to Build a Chicken Run

This post may contain affiliate links, which means I make a small commission at no extra cost to you.
See my full disclosure here.
If you’ve kept chickens for any amount of time, I’m sure you know the heartbreak of raising chicks to adulthood only to have them nabbed by a predator just when they’d started laying eggs.
Losing even a few chickens from a small backyard flock is enough to make any homesteader sad, mad and determined to outsmart those wily predators!
In more than four years of raising backyard chickens, we’ve discovered snakes, a possum and a raccoon in our chicken coop. We’ve also had trouble with foxes and hawks.
Our three-acre homestead is situated at the top of a hill with few trees, and hawks are definitely our worst predator.
At least they were.
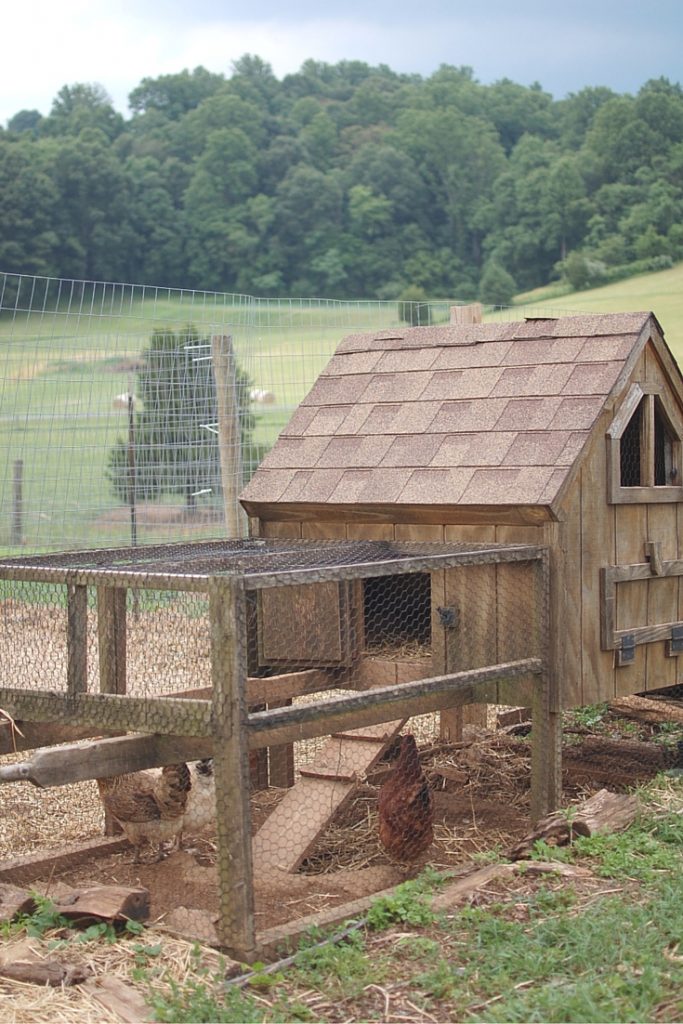
In the end, we chose to construct a simple chicken run. We even made our own gate! I’m happy to report that in over one full year with our chicken run, we’ve had zero trouble with hawks. Hooray!
Here’s how we did it…
 How to Build a Chicken Run
Supplies
- 4”x8’ wooden posts OR half posts / garden posts OR 7’ T-posts
- 2×4 14 GA OR 8-10 GA welded wire fence
- Zip ties
- ¾” poultry net staples
- Metal wire
- Optional, but recommended: hardware cloth OR a strong metal fencing material with ½” to ¼” openings (Other options include small aperture chicken wire or rabbit fencing. Do NOT use regular chicken wire.)
- Optional: heavy duty C flex 80 round deer fencing
- Gate (or supplies to build one; see below)
Tools
- Tape measure
- Post hole digger or T-post driver
- Tamper
- Pliers
- Wire snips
- Hammer
 Instructions
1. Determine the dimensions of your run.
We chose to wrap our run around two sides of an existing vegetable garden for three reasons:
- The chicken coop was already located near the garden.
- The garden was already enclosed with a wire fence to keep out deer.
- We were banking on the added bonus of bug control for the garden.
 A few considerations:
- To protect against hawks, a good width for your run is about four feet. Even when the run is left uncovered, a hawk will not land in such a narrow space.
- Be sure to designate space for a gate!
- Make sure your chicken coop is even with one side of the run.
 2. Choose your materials.
The existing fence around our vegetable garden was built from 4×8 wooden posts and 2×4 14 GA welded wire fence. We chose to use the same fencing for the chicken run, with T-posts for the additional supports.
If you’re building a chicken run from scratch, choose the material that best suits your needs.
Note: Regular chicken wire will not keep out predators. Unfortunately, even the 14 GA welded wire fence of our own chicken run did not keep out raccoons. They can reach right through the openings to kill a chicken.
The solution is to add a strip of hardware cloth (or some sort of metal fencing with very small holes, no larger than ½”) along the bottom of the run. Theoretically you could build the entire run out of hardware cloth, but it’s pretty pricey. A more economical option is to build the run out of a less expensive material and use the hardware cloth along the bottom of the run.

3. Space posts about every six feet.
- For 8’ wooden posts, use a post hole digger to dig a 2’ hole.
- Place the post in the hole, fill with dirt and pack with a tamper.
- For 7’ T-posts, hammer in with a T-post driver.
Note: Our run is 4′ wide on the long side and 5′ wide on the short side (where the gate is located). The gate is 3′. This required two extra posts for mounting the gate, spaced about 1′ from the sides of the run. (See gate instructions below.)

4. Roll out the fence.
- Roll it out along the entire path you’ve created with the posts.
- Be sure to roll it out completely in front of the coop.
5. Attach the fence to the posts.
- Before attaching to the posts, make sure the fence is at ground level along the entire path. For additional security against digging predators, make a trench and bury the fence about 6-12 inches deep.
- When the fence is positioned correctly, wrap one end around the first post and use zip ties to hold it in place.
- Pull the fence tight along the rest of the posts and wrap the other end around the last post, securing with zip ties. We chose to leave the zip ties attached permanently for added stability.
- Check to make sure you’re happy with the fence position all the way around your run.
- Use 3/4” poultry staples to attach the fence to wooden posts or pieces of wire to attach to T-posts.
 6. Attach hardware cloth. (optional, but recommended)
For added protection, attach hardware cloth or similar fencing along the bottom of the fence.
Note: most predators that are able to reach through regular fencing to nab a chicken will attack at night. If you want to avoid the cost of hardware cloth, another option is to lock up the chickens in the coop at night.
 7. Cut out an opening for the coop.
- Use wire snips to cut an opening in the fence.
- Use wire and staples to attach the fence to the coop, as in #5.
 8. Optional: cover the run.
To deter climbing predators, cover the run with heavy duty C flex 80 round deer fencing and secure with zip ties.
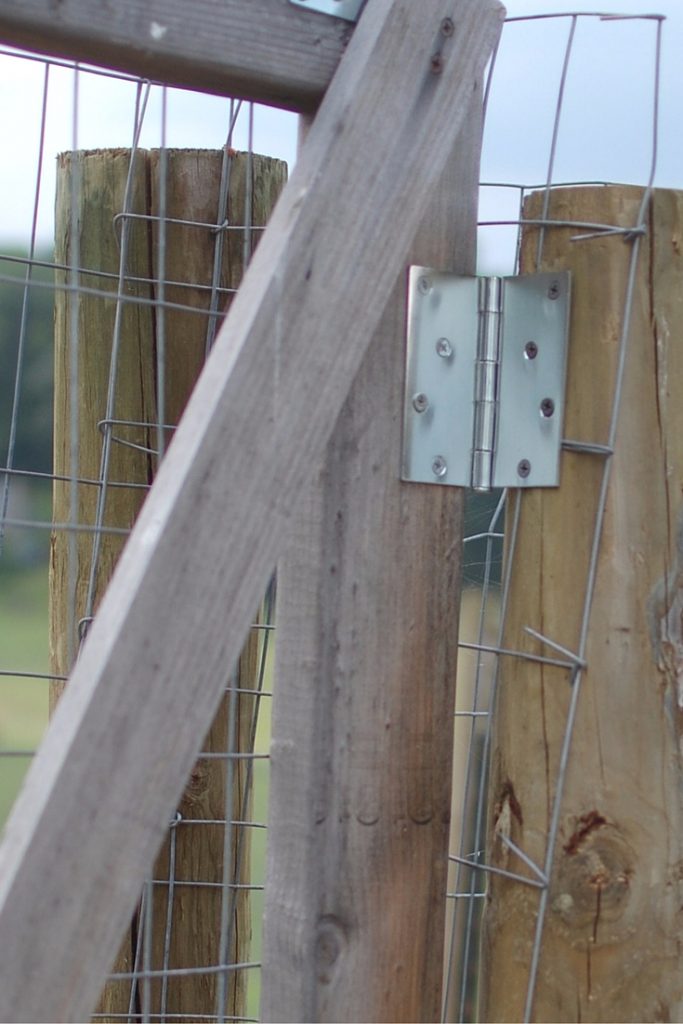
9. Build (or purchase) and install a gate.
 How to Build a Gate
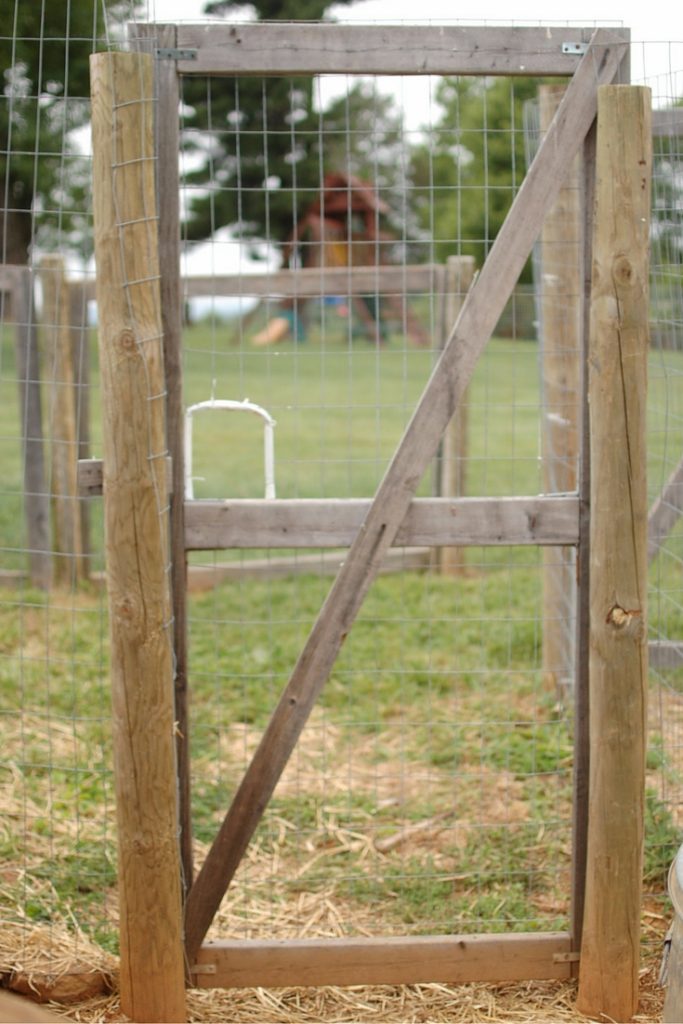
There are many ways to build a gate. This is how we built the one pictured here…
Supplies
- (2) 6’ 2x4s
- (3) 3’ 2x4s*
- (1) 1×4 to fit diagonally across the gate
- Screws–2″ to 3″ wood screws to attach wood frame
- Screws–1/2″ screws for the L-brackets
- Fencing material to fit wooden gate frame
- (8) L-brackets
- (3) gate hinges
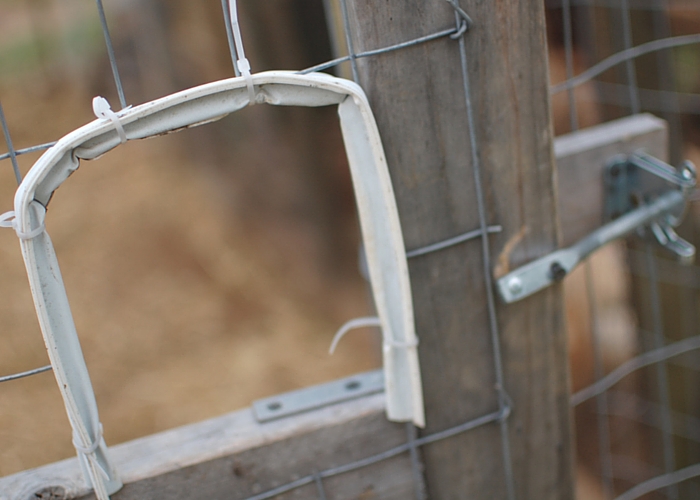
- (1) latch
- Optional: weather stripping or similar padding
*This should match the width of your finished gate. Remember to make your gate large enough to accommodate a wheel barrow or any equipment you’ll need to use inside the run. Our gate is 3’ wide.
Tools
- Tape measure
- Circular saw
- Drill with screw bit
- Hammer
- Wire snips
Instructions
1. Measure, mark and cut the 2x4s for the gate’s frame.
2. Connect the three shorter 2x4s to the 2 longer 2x4s with 2″ to 3” wood screws inserted at an angle.
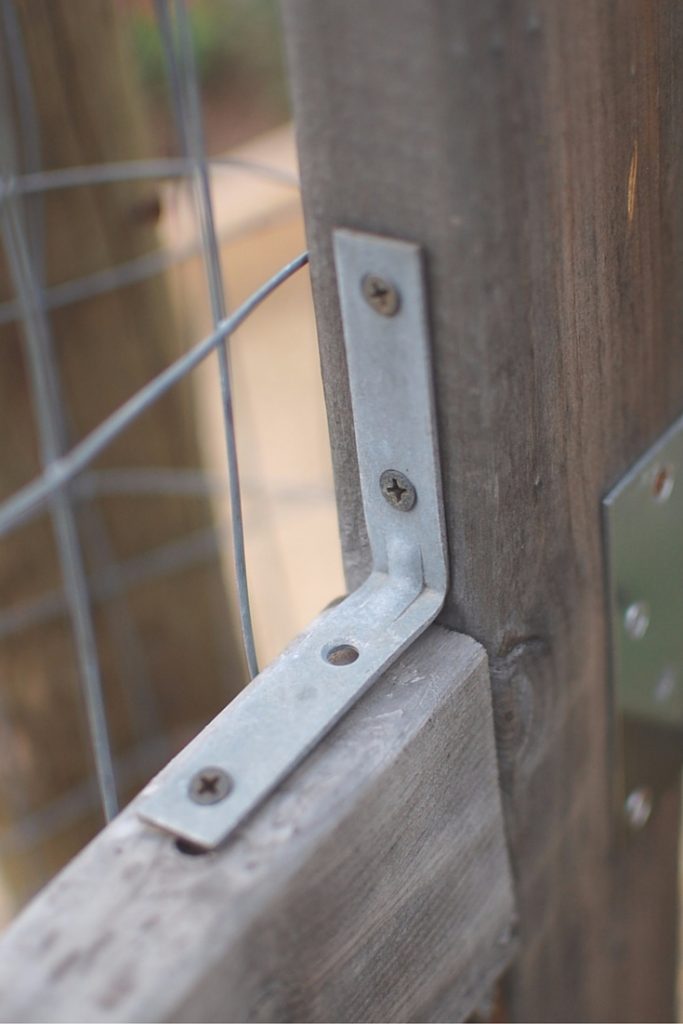
3. Attach eight L-brackets to give the gate more stability. We used only four. In hind sight my husband recommends bracing each corner, which requires eight brackets.
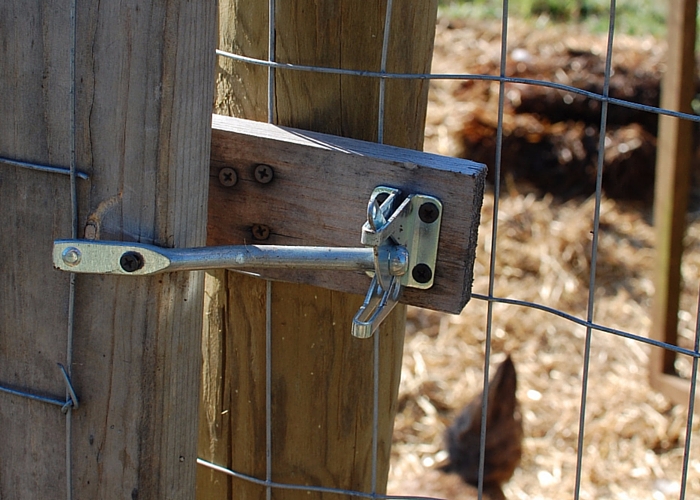
8. It’s a tiny bit hillbilly, but we used what we had on hand–weather stripping secured with zip ties–to line the sharp edges of the opening in the wire. This protects our hands from getting scratched!
And that’s it! We’ve been so pleased with our simple chicken run.
Which predators cause the most trouble for your backyard chickens? How do you protect your flock? Have you tried a chicken run?
Kathleen Henderson lives on a few acres in Northern Virginia, where she keeps up with Mr. Native Texan, three busy boys, an assortment of chickens and an organic garden. She blogs about healthy living at yankeehomestead.com, providing time-saving resources for naturally-minded mamas.
")
Sign up NOW for my best tips delivered weekly to your inbox!
You’ll also get instant access to my library of free ebooks and resources.


This is very short but helpful. Thanks for share this content. I am jenifer from Hickory.
I just used these plans to build my first chicken run and gate!! So helpful and simple. Thank you.
So happy to hear that, Emily! 🙂