How to Make Almond Milk…the Easy Way
This post may contain affiliate links, which means I make a small commission at no extra cost to you.
See my full disclosure here.
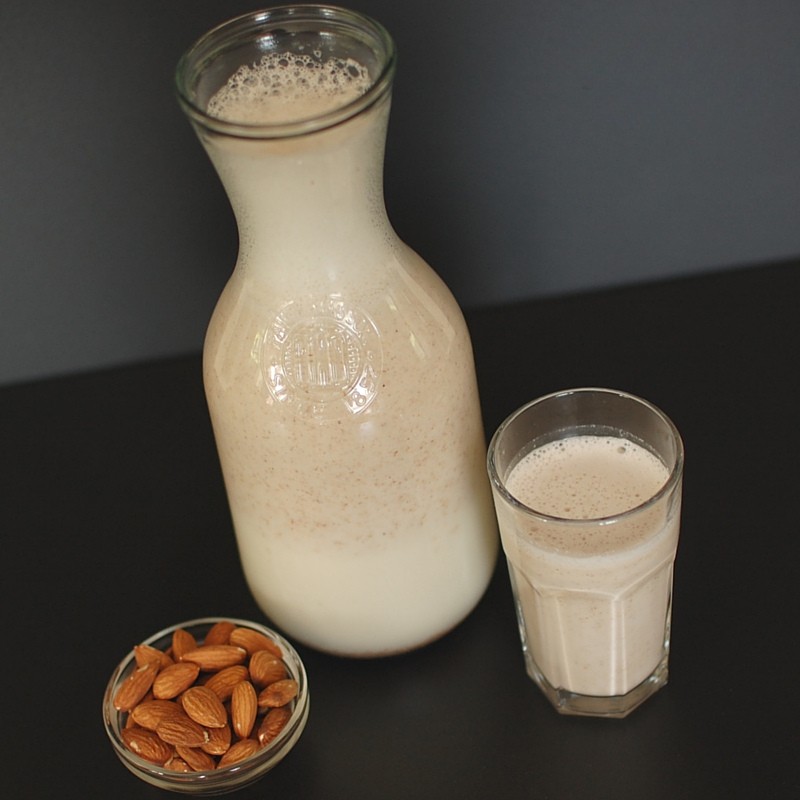
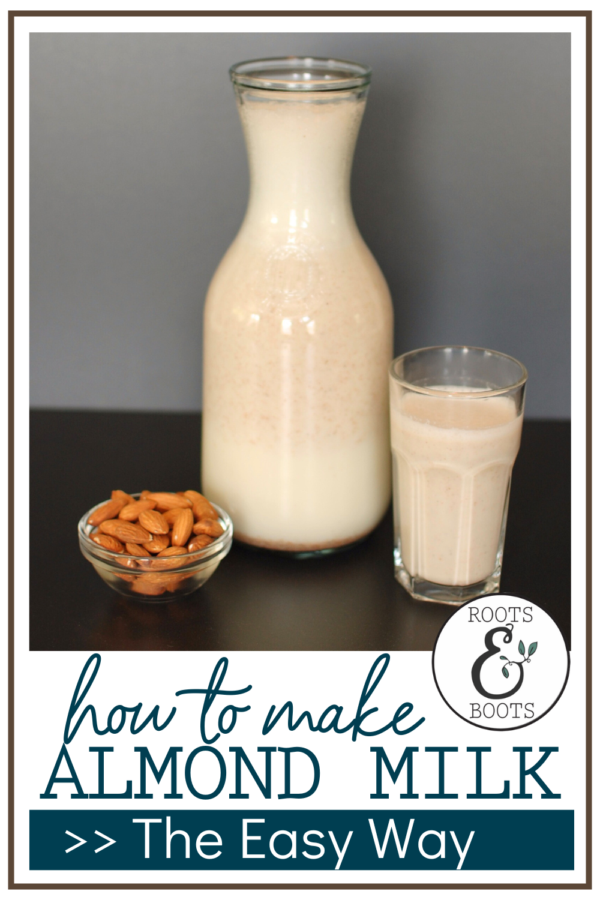
Why buy almond milk when it’s so easy to make at home? Homemade almond milk is better for you, too. Did you know that most store bought nut milks contain unhealthy ingredients (like synthetic vitamins, oils and sugar)?
When you make it yourself, the only ingredients are almonds, water and salt. Optionally, you can add vanilla and your sweetener of choice. It’s that simple!
I’ll admit that making my own intimidated me at first. The blender part is easy. It was the straining-with-a-nut-bag part that had me concerned.
It’s really not that hard, though, especially if you use my easy straining method (see below). If you want really smooth almond milk for drinking from a glass, you’ll want to pick up a nut milk bag. I don’t recommend the cheese cloth method. Trust me on this one! Otherwise, a regular ol’ fine mesh strainer will work just fine.
Once you’ve perfected your method, it really is a snap to whip up a batch of almond milk. I love to have it on hand for smoothies. It’s also perfect as a milk substitute in recipes like Dairy Free Hot Chocolate, over homemade granola, and more.
Almond Milk
- Prep Time: 10 mins
- Total Time: 10 mins
- Yield: 4 cups / 1 quart
Description
If you’d like to make more than 1 quart of almond milk, do it in batches. This will avoid over-filling your blender, which could lead to disaster!
Ingredients
- 1 cup crispy almonds*
- 4 cups water
- 1/8 teaspoon unrefined sea salt
- sweetener, to taste (1-2 pitted & soaked dates, honey, or vanilla stevia)
- (optional) 1 vanilla bean or 1 teaspoon vanilla extract
Instructions
- *When starting with raw almonds, you’ll want to soak them for about 12 hours (overnight) in water with a bit of unrefined sea salt (about 1/8 teaspoon). Next, drain and rinse them a few times.
- Place all ingredients in a high powered blender. (I use a Vitamix.)
- Blend until smooth.
- Strain. (See notes below.)
- Store in a glass jar in the fridge for about a week.
- Don’t throw away the pulp! Toss it in smoothies, dry it to make almond flour, or use it in other yummy recipes like these cookies.
Notes
- Click here to shopmy favorite kitchen tools and real food ingredients.
- Click here to save 15% off my favorite, healthy brand of salt. Use code KEEPITREAL.
- For smooth, perfect almond milk, you’ll want to use a nut milk bag. Guess what: I don’t even own one! I do own some cheesecloth, and have tried that method before. It’s messy and frustrating and makes me not want to make almond milk.
- My easy method is simply to use a fine mesh strainer and a large spoon or spatula to press the pulp down and squeeze out all the milk. This method doesn’t catch all the particles and my almond milk isn’t as smooth as store bought varieties. For use in smoothies and other recipes, a little almond pulp in the milk doesn’t really matter.
- If you plan to drink your almond milk straight up, you may want to invest in a nut milk bag or a super-fine mesh strainer. Otherwise, there’s no need to bother with an extra, messy step.
Do you make almond milk? How do you strain it? Do you drink it plain or add it to recipes?
22 NOURISHING GLUTEN-FREE SOUP RECIPES
Simplify your dinner prep with these tasty, nourishing soups!

Sign up NOW for my best tips delivered weekly to your inbox!
You’ll also get instant access to my library of free ebooks and resources.
You might also like...
7 responses to “How to Make Almond Milk…the Easy Way”
-
Hi, Kathleen.
Thank you so much for this recipe. I just made my very first batch of almond milk and it’s sooooo good. My hubby likes it too.
Take care.
All the best,
DME-
I’m so glad you both liked it! 🙂
-
-
I’ve been making almond milk for years and use it in recipes, baking, smoothies, with granola, drink it straight up….
I couldn’t live without the nut bag, it works perfectly!
I use an empty16 oz glass jar, after overnight soak and Vitamix, I put a funnel in the jar, drape the nut bag over the funnel, pour the almond milk in and walk away.
I continue to pour more milk in until it’s gone. Last step is to squeeze pulp.
So easy.
I dehydrate or freeze the pulp till needed for whatever…
Thanks-
Awesome! Thanks for sharing your process, Diane. 🙂
-
-
Nut bags are the only way to go!!
Easy to buy on amazon….. -
I make as Diane (above) does but I usually skin the almonds first. If I’m feeling lazy I don’t bother but for beautiful white milk removing the skins makes all the difference! After soaking them the skin comes off easily by pinching the nut. It’s a pain but I sit & watch tv while I do it.
-
Good to know, thanks for sharing!
-



Leave a Comment