

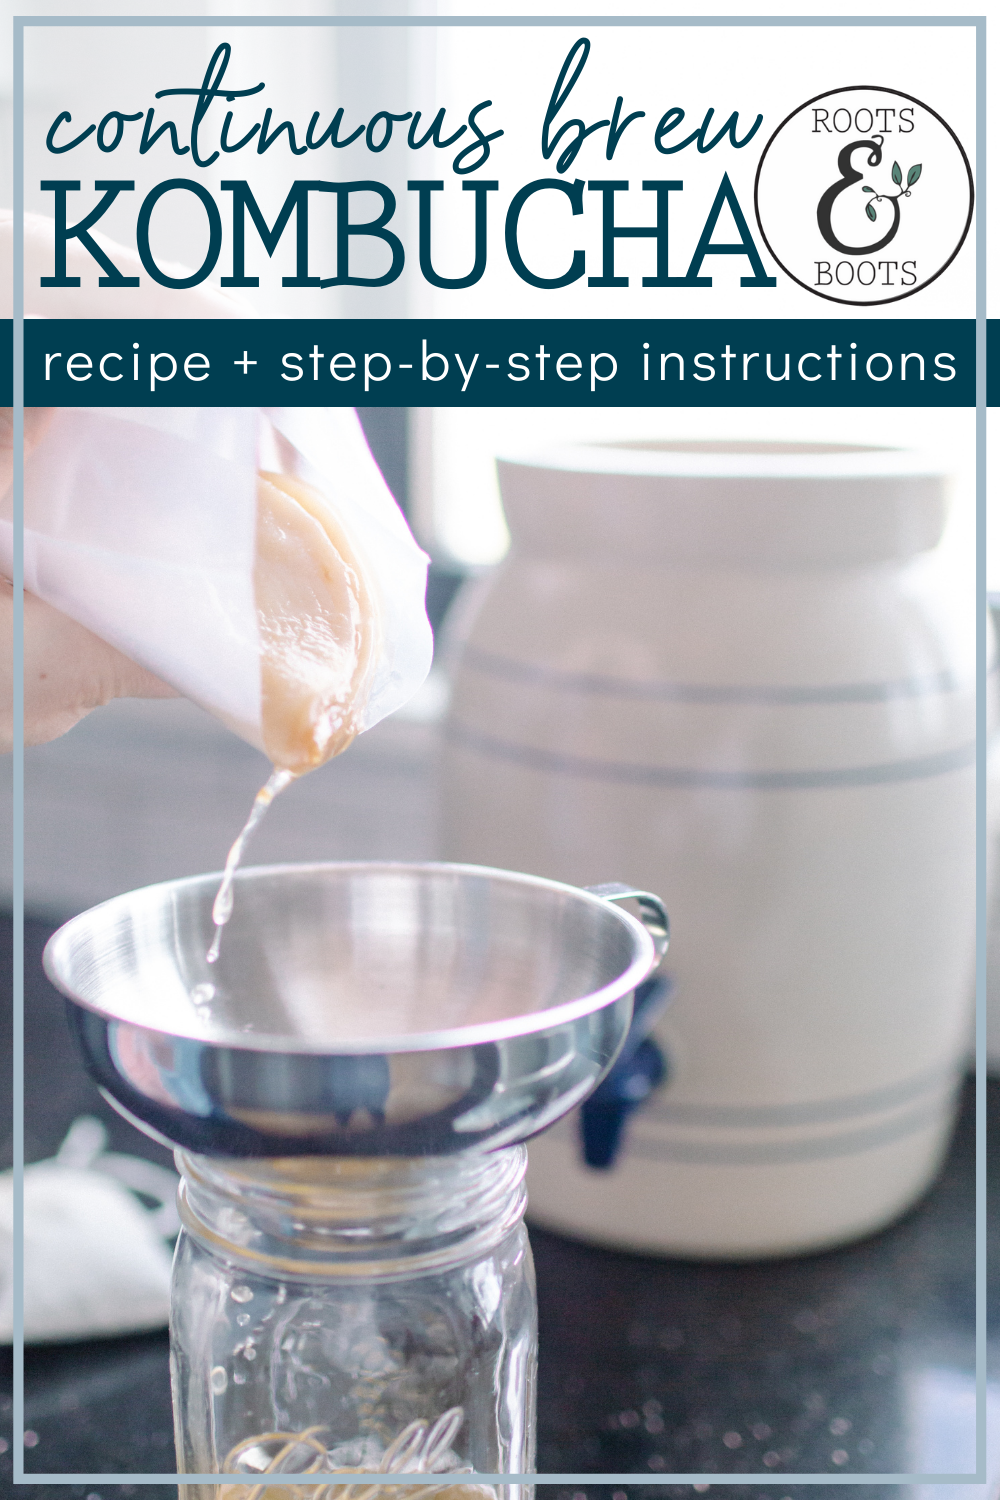
How to Start Continuous Brew Kombucha

This post may contain affiliate links, which means I make a small commission at no extra cost to you.
See my full disclosure here.
Wondering how to start continuous brew kombucha? Let’s take a look at the supplies you’ll need to get started, along with step-by-step instructions.
Continuous brew vs. single batch
First of all, what makes continuous brew different from the single batch kombucha brewing process?
The answer is pretty straightforward: continuous brew continues to brew indefinitely as you remove kombucha for drinking and replace it with sweet tea. With the single batch kombucha brewing method, you simply start a new batch every time you brew, saving a bit of kombucha from each batch in order to start the next batch.
Personally, we’ve found the continuous brew method much easier to fit into our busy life on the homestead.
Previously, our eldest son managed the kombucha brewing at our house. It eventually got to be too much for him. We drank kombucha constantly and our weekly batch grew to gallons and gallons of brew.
He finally decided to take a break, and we both agreed that when we started again we would try the continuous brew method. After several months of experimenting with continuous brew, we are hooked!
How to start continuous brew kombucha
You will need:
Please see below for more details about the specific supplies I recommend.
- large crock, 2-gallon minimum with spigot
- breathable cover
- SCOBY + 1 cup starter liquid
- kombucha tea
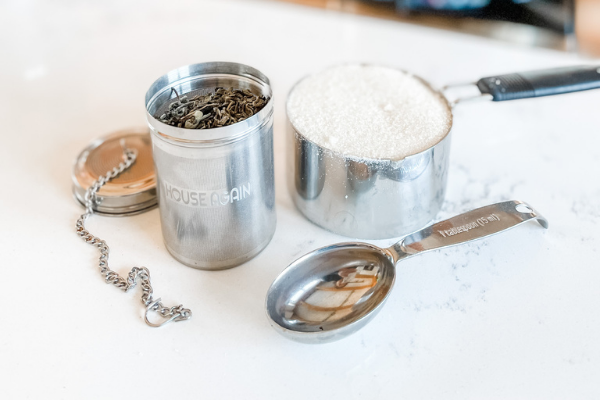
- tea strainer
- sugar – I use organic cane sugar
Instructions
Note: These instructions result in one gallon of kombucha, which you will gradually increase to fill your storage crock of choice. Alternatively, you can purchase one SCOBY + 1 cup starter liquid PER GALLON you wish to brew.
In other words, if you have a 3-gallon storage crock, you would purchase 3 SCOBYS + 3 cups starter liquid, and multiply the recipe below times 3. OR you can start with one SCOBY + 1 cup starter liquid to brew one gallon of kombucha, and gradually increase the amount over a period of weeks until you reach your 3 gallon goal.
To brew your first gallon:
- Bring 4 cups of water to a boil.
- Turn off heat and add 4-6 teaspoons loose leaf kombucha tea in a tea strainer.
- Steep about 20 minutes, then remove tea leaves.
- Stir in 1 cup sugar until dissolved, then add 12 cups room temperature water and pour into your storage crock.
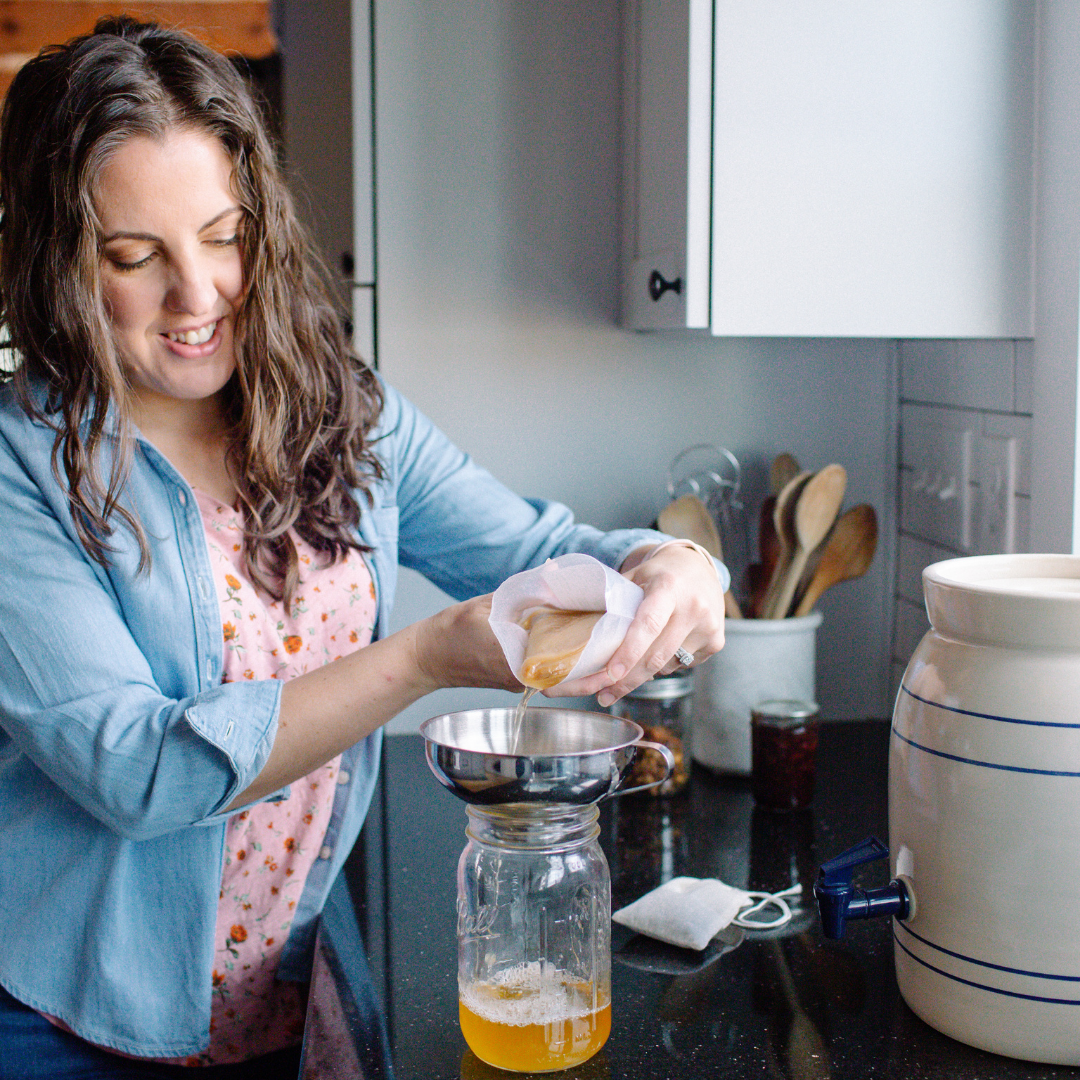
- Add SCOBY and 1 cup starter liquid.
- Cover crock with a tightly woven cloth or paper coffee filter, securing with a rubber band.
- Ferment for 1-3 weeks, until it reaches your desired taste.
To increase from one gallon to two gallons:
- Brew your replacement (feeder) tea concentrate: Bring 4 cups water to a boil, then turn off heat and add 4 tablespoons tea. Steep for 20 minutes or so, then remove tea and stir in 2 cups sugar. Store this feeder concentrate in the fridge in a glass jar.
- When your first gallon of kombucha tastes ready, remove 4 cups via the spigot. Enjoy!
- Replace the 4 cups you removed by adding 8 cups of feeder tea to the storage crock: Combine 1.5 cups feeder concentrate with 6.5 cups water and pour into the storage crock. Secure the cover and allow to ferment for a week or so, until it reaches your desired taste.
- Repeat steps 2 and 3 until your 2-gallon storage crock is filled.
- If your crock is larger than 2-gallons, continue to repeat this process until the entire crock is filled.
Remember these ratios:
- Basic feeder concentrate ratio: 2 cups water + 2 tablespoons tea (1 each of black and green) + 1 cup sugar.
- Basic replacement tea recipe: 3/4 cup concentrate + 3 1/4 cups water
 Recommended kombucha supplies
Make things easy on yourself and order a starter kit from my favorite organic tea small business! This kombucha starter kit includes:
- 2.5 oz black kombucha tea blend*
- Live kombucha SCOBY
- 2.5″ mesh stainless steel strainer
- 100 unbleached tea bags
- 1 lb organic unbleached cane sugar
- Recipes for brewing & flavoring
- Kombucha Brewing E-Book (including how to brew caffeine-free kombucha, use alternative sweeteners, create a TON of fizz, 8+ flavoring recipes & MORE!)
- 3-part Kombucha Brewing video tutorial
- Strawberry Mojito flavoring pack
- Rosemary Citrus flavoring pack
- Rose Berry flavoring pack
- FREE SHIPPING Valued at $12
This bundle is a great deal on my favorite top-notch kombucha supplies. Hurry over and snag your special pricing!
*I also recommend adding a bag of green kombucha tea to your order. We like to use half black and half green, which has produced amazing flavor.
You’ll also need:
- breathable cover: paper coffee filters work well. I’m currently using a small, square dish towel and a rubber band.
- large brewing vessel: at least 2 gallons, this one is similar to the one I use.

How much kombucha to remove from your mature brew
The rule of thumb for continuous brew is to keep 30% of the starter liquid in the crock. This means that once you have two gallons of mature brew, you can remove 70% at a time, or 22 cups (1.4 gallon).
Of course, if you remove 22 cups, you’ll need to replace that liquid with feeder tea, and then allow it to ferment again. You can repeat this cycle over and over, indefinitely!
Brew time
Theoretically, the more mature your brew, the faster it will ferment after you add replacement tea.
Room temperature plays a part, too. Ideal room temperature for kombucha brewing is 60-85 degrees Fahrenheit but I’ve heard that the sweet spot is 75-80.
We’re still experimenting with the question of “how long until the next batch is ready?” but generally have found it to take anywhere from 2-5 days.

Second ferment
We’ve found our continuous brew kombucha to have amazing flavor and a pleasant fizz. However, if you want to add flavoring or increase the fizziness, you’ll want to conduct a second ferment.
Essentially, you’ll remove kombucha from the crock and add it to a flip top bottle. Flavor agents should be added at this time, too. See How to Flavor Kombucha with Frozen Fruit for ideas.
Then seal up the bottles, wrap with a towel and set aside for a few days. Some people like to keep these bottles in a cooler. Ours sit on the counter, wrapped in a towel. The towel helps to block light and insulate the bottles.
It may be necessary to burp the bottles once a day to avoid excess carbonation, which can explode the glass bottles. This is another good reason to wrap the bottles in a towel!
The verdict
Having brewed single batch kombucha for several years, I can say that continuous brew works much better for our busy homesteading family. The flavor and fizz factor seem better, too.
This may be the combination of continuous brew–keeping mature kombucha in the crock each time seems to deepen the flavor as opposed to starting with a new batch every time–plus the amazing loose-leaf tea we’ve switched to.
My only regret is that our 2-gallon storage crock feels too small! In time we may graduate to a larger or a second continuous brew vessel.
For now, we are enjoying the convenience and amazing flavor of the continuous brew method. We’re so glad we learned how to start continuous brew kombucha!
More kombucha resources:
- How to Make Kombucha
- Flavoring Kombucha with Frozen Fruit
- How to Flavor Kombucha with Essential Oils

22 NOURISHING GLUTEN-FREE SOUP RECIPES
Simplify your dinner prep with these tasty, nourishing soups!
")
Sign up NOW for my best tips delivered weekly to your inbox!
You’ll also get instant access to my library of free ebooks and resources.

Leave a Comment