

How to Freeze Dry Homemade Marshmallows

This post may contain affiliate links, which means I make a small commission at no extra cost to you.
See my full disclosure here.
How to Freeze Dry Homemade Marshmallows
Homemade marshmallows have always been a family favorite at my house. They’re soft, pillowy, and melt beautifully into a mug of hot cocoa.
But as much as we love them, they don’t last long—especially when stored at room temperature. That’s why I was eager to experiment with my freeze dryer as soon as I got it.
Homemade marshmallows were at the very top of my list, and I’m thrilled to report that freeze drying was the perfect solution!
Gifting Freeze Dried Marshmallows
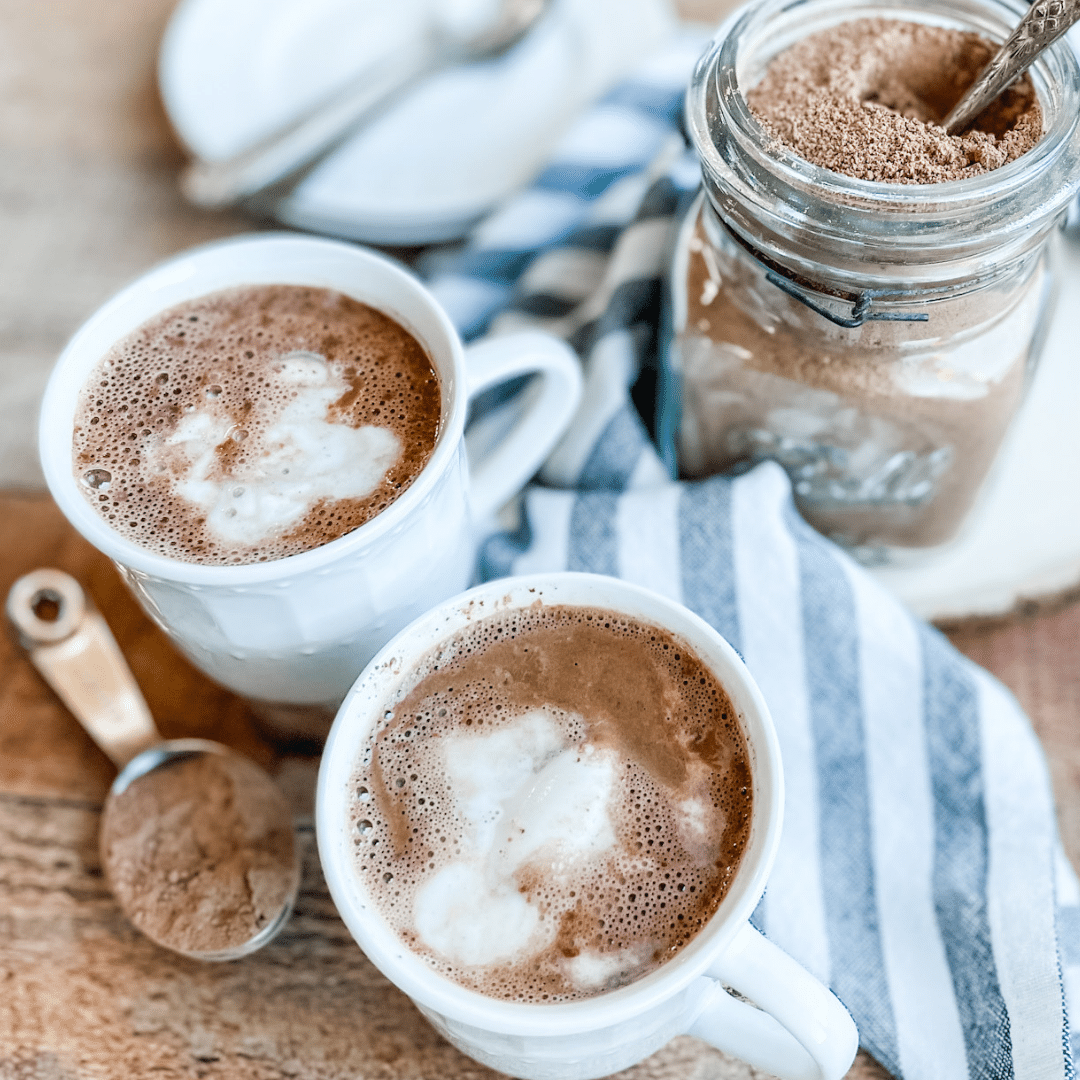
Freeze drying homemade marshmallows makes them shelf-stable, long-lasting, and perfect for gift-giving. They pair especially well with my Homemade Hot Cocoa Mix recipe, making a cozy and thoughtful gift bundle for friends and family.
Why Freeze Dry Homemade Marshmallows?
- Shelf-stable: No more worrying about marshmallows going stale or sticky.
- Perfect for gifting: Pair with hot cocoa mix for a homemade treat.
- Kid-approved: My children love scooping crispy marshmallows into their cocoa.
- Indefinite storage: While rehydrated marshmallows won’t return to their original fluffy consistency, they melt beautifully into warm drinks.
Simply put, when you freeze dry homemade marshmallows, you preserve the joy of marshmallows for months—or even years—to come.
Step-by-Step Instructions
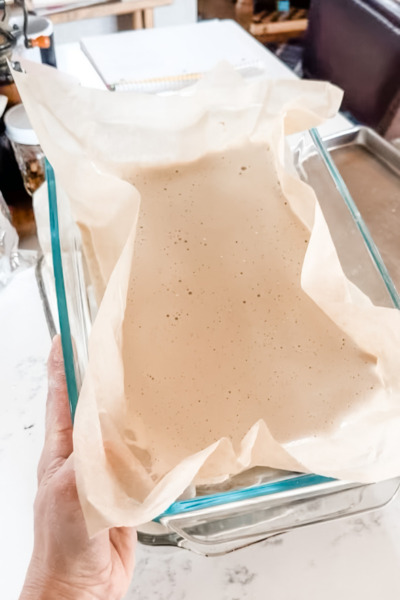
Follow my Homemade Marshmallows recipe as your starting point, then prepare them for freeze drying:
- Pour the mixture to a depth of no more than one inch.
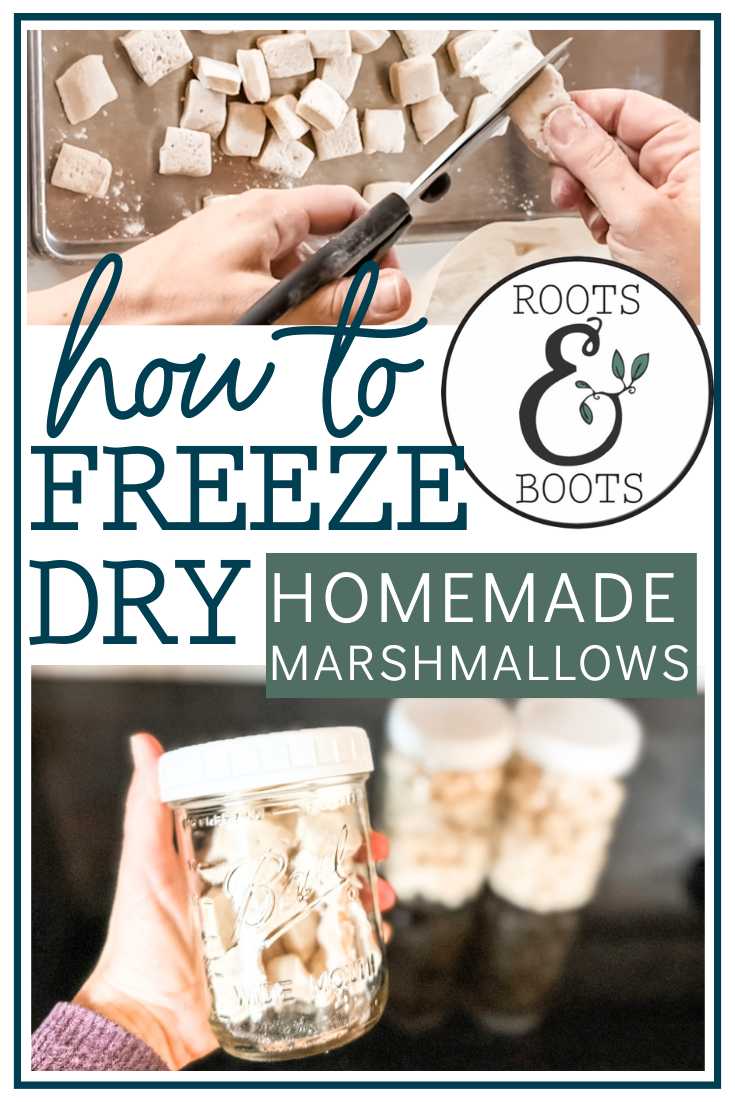
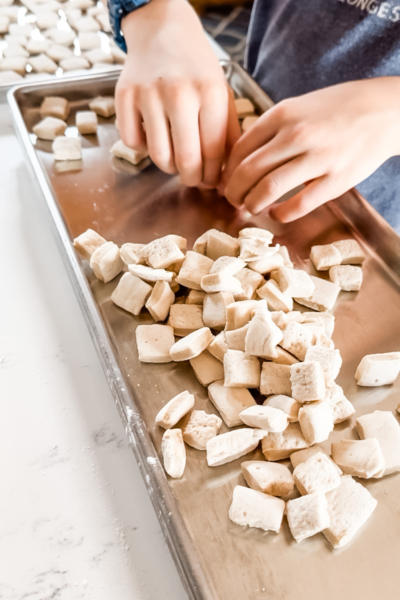
- Cut into strips once set, then snip into small squares or rectangles with kitchen scissors.
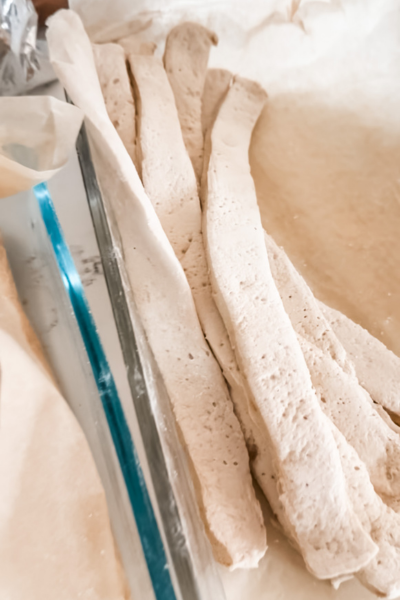
- Dust generously with arrowroot to prevent sticking in the trays.
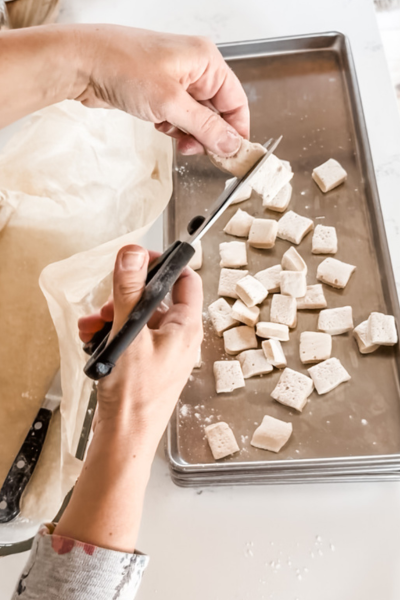
- Arrange in a single layer on freeze dryer trays.
My Freeze Drying Process
I use a medium-size Harvest Right freeze dryer. Here’s my procedure:
- Press Start to initiate a cycle.
- Wait about 15 minutes as the machine prepares itself.
- Load trays, close the door securely, and close the drain valve.
- Begin freeze drying.
This process can take many hours and often lasts into the next day. When the cycle finishes:
- Check marshmallows to ensure they’re completely dry and crispy.
- They should feel room temperature or warm to the touch—never cold.
- If they feel cold, add more dry time or warm the trays.
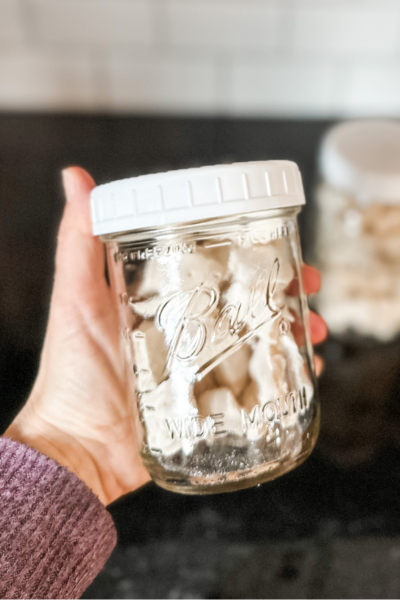
Once dry, remove marshmallows and store them in an airtight container. I store mine in glass canning jars, and my kids love adding them to mugs of hot cocoa.
Final Thoughts
Freeze drying homemade marshmallows is the perfect way to preserve your family’s favorite treat. They’re shelf-stable, gift-ready, and melt beautifully into hot cocoa. Whether you’re stocking your pantry or preparing thoughtful holiday gifts, this method ensures your marshmallows last indefinitely—without losing their charm.
So go ahead, whip up a batch of homemade marshmallows, and give freeze drying a try. You’ll be amazed at how well this simple process transforms a fleeting treat into a long-lasting delight.

22 NOURISHING GLUTEN-FREE SOUP RECIPES
Simplify your dinner prep with these tasty, nourishing soups!
")
Sign up NOW for my best tips delivered weekly to your inbox!
You’ll also get instant access to my library of free ebooks and resources.
You might also like...


2 responses to “How to Freeze Dry Homemade Marshmallows”
-
What temp settings did you use to freeze dry?
-
Hi Jessica, I’ve never set a temperature on my freeze dryer. It manages temperatures automatically. 🙂 (Maybe you are thinking of a dehydrator? I’ve never tried dehydrating my homemade marshmallows, but maybe I should!)
Leave a Comment