

DIY Hard Lotion Bars

This post may contain affiliate links, which means I make a small commission at no extra cost to you.
See my full disclosure here.
DIY Hard Lotion Bars
- Are your hands dry and cracked?
- Do your elbows or lips need extra care?
- Could your skin use some serious softening?
These DIY Hard Lotion Bars are the perfect solution. I’ve been making them for years, and they’re a staple in our home.
Hard lotion bars are simple, effective, and versatile—great for hands, elbows, lips, and anywhere your skin needs a little extra love.

Why DIY Hard Lotion Bars?
Unlike liquid lotion, these bars are solid and activated by body heat.
The beeswax provides structure and locks in moisture, while coconut oil and shea butter deliver deep hydration and soothing relief. Together, they create a protective layer that helps restore and maintain healthy skin.
Whether you’re dealing with everyday dryness or irritated patches, these bars are a safe, natural option.

Ingredients
You’ll only need three ingredients, in equal parts:
- Coconut oil
- Shea butter
- Beeswax
The beeswax makes the bars firm, while the oils moisturize and heal. If you prefer a softer bar (great for lip balm), simply reduce the beeswax slightly.
Where to Find Ingredients
- Coconut oil is widely available—even at Costco.
- Shea butter can be purchased online or at specialty stores.
- Beeswax beads or pastilles are best—avoid large blocks, which are difficult to cut.
If you prefer to buy lotion bars instead of making it yourself, I recommend this source for a clean, nontoxic option. (My kids love their lotion sticks!)

Supplies
- 4- or 8-cup glass measuring cup with handle
- Large cooking pot
- Disposable stir stick, such as a bamboo skewer.
- Heart molds (My blue molds shown here are discontinued but these are similar.)
- 2-ounce tins for gift-giving
Molds & Sizes
You can pour your melted mixture into almost any mold: ice cube trays, candy molds, muffin tins, or loaf pans. Smaller bars are perfect for little hands or gift giving, while larger bars work well for legs or bigger areas of skin. Keep in mind the containers you’ll use for storage—round tins, jars, or bags.
Instructions
- Create a double boiler using a Pyrex measuring cup in a saucepan of boiling water.

- Melt equal parts coconut oil, shea butter, and beeswax until liquified.

- I find it helpful to stir with a disposable stick, such as a bamboo skewer, to speed the process.

- Pour into molds and allow to harden.

- Optional: I always make mine unscented, but some people like to add a few drops of essential oils before pouring for fragrance or added benefits.
- Be sure to thoroughly wipe out the glass measuring cup while the mixture is still warm. Do not rinse down the drain! Instead, wipe with a cloth or paper towel.
Once hardened, your DIY Hard Lotion Bars are ready to use. Rub the bar between your hands to soften, then apply anywhere you need moisture.

Storage & Gifting
Round tins are my favorite storage option. Smaller tins are perfect for travel or keeping in a desk drawer, while larger tins work well at home. These bars also make wonderful gifts—pair them with custom labels or tuck them into eco-friendly packaging for a thoughtful, practical present.
Labeling Made Easy
One of my favorite tools for finishing touches is my label printer.
It’s incredibly versatile—able to print round labels that fit perfectly on round tins and rectangular labels for rectangular tins. This makes it simple to create professional-looking packaging for your DIY Hard Lotion Bars, whether you’re storing them at home or gifting them to friends.
A neat, custom label adds polish and makes your homemade bars feel extra special.
- Small round labels
- Medium round labels
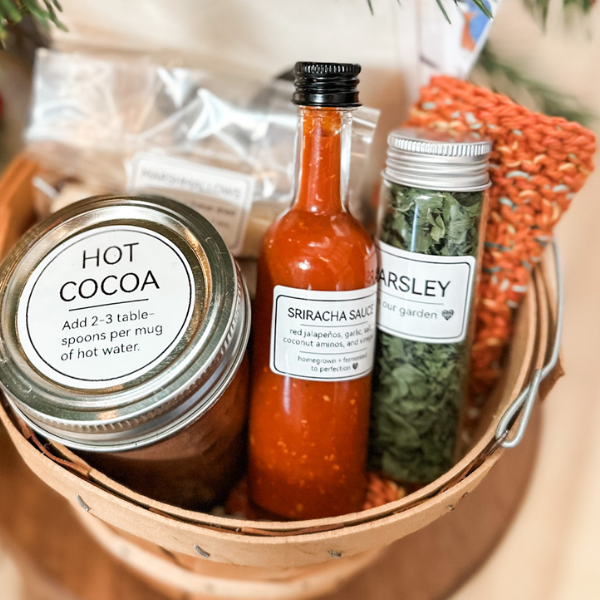
- Large round labels (see Hot Cocoa example, above)
Lip Balm Variation
For lip balm, simply adjust the recipe by using less beeswax and more coconut oil. Pour into lip balm tubes for easy application. If you have extra, just make more lotion bars!
DIY Hard Lotion Bars are a simple, natural way to care for dry or irritated skin. They’re easy to make, customizable, and perfect for everyday use or gifting. Once you try them, you’ll wonder how you ever lived without them.
")
Sign up NOW for my best tips delivered weekly to your inbox!
You’ll also get instant access to my library of free ebooks and resources.

Leave a Comment